Monday, October 30, 2017

Marble Swirl Fall Leaves - Happy Halloween!

Hello stamping friends!
I hope you had a great weekend!


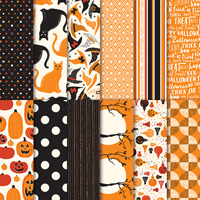
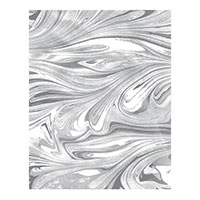
Marbled background with leaves

I sure did!  See what I made?
I spent some time with my Paper Pumpkin buddies yesterday afternoon and I adapted September 2017 Paper Pumpkin's project idea with the lovely background stamp called Marbled from Stampin' Up!, which I borrowed from one of my stamping buddies! I think this card turned out just beautiful!


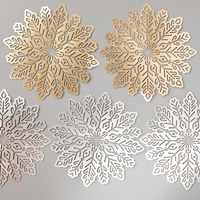
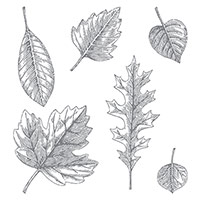
Close-up of stamped, die-cut leaves and embellished with ribbon trims
What do you think?

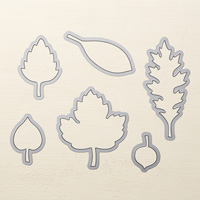
You can definitely change up the color by using any combination you wish!  The Vintage Leaves stamp set and the matching Leaflets Framelits dies (both from Stampin' Up!) make putting this card together really fun and easy!


I hope I have inspired you here today. Have a wonderful week and see you again next time.


Stampin' Up! Supplies Used:


Tips and Tricks to recreate this card:
Cut:
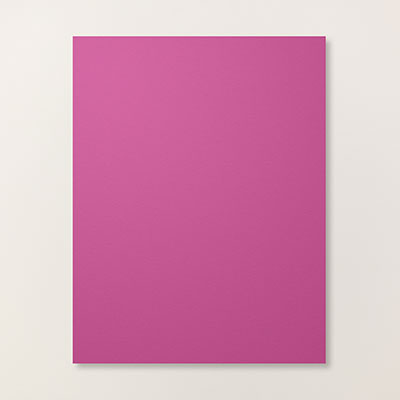
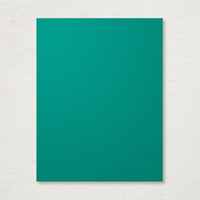
Cajun Craze cardstock cardbase: 8 1/2" x 5 1/2"
Whisper White cardstock 2 pieces 5 1/4" x 4" (one for stamping and the other for inside of card)
Scraps of:
Tranquil Tide, Crushed Curry, Lemon Lime Twist, Vellum
Next:
1. Fold card base in half and set aside.
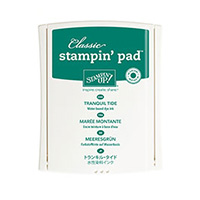
2.  Ink up your Marbled background stamp with Lemon Lime Twist.  Then, taking your Tranquil Tide ink pad, swipe over areas you want colored with this ink (you can also tap ink onto the background stamp using your daubers - you choose!)  Now take one piece of the Whisper white cardstock and place over your inked background stamp, place a scrap piece of paper over top and then use your hands to "ink" up your cardstock piece.
3. Glue this onto your card base.
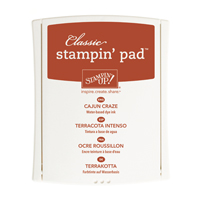
4.  Ink up your leaf image with Crushed Curry and then swipe over smaller areas of the leaf with Cajun Craze ink and then Tranquil Tide Ink.
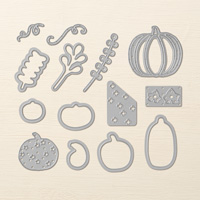
5.  Die cut your stamped leaf image (or cut out with your paper snips).
6.  Now die cut two more matching leaves using your scraps of Lemon Lime Twist and Tranquil Tide cardstock pieces.
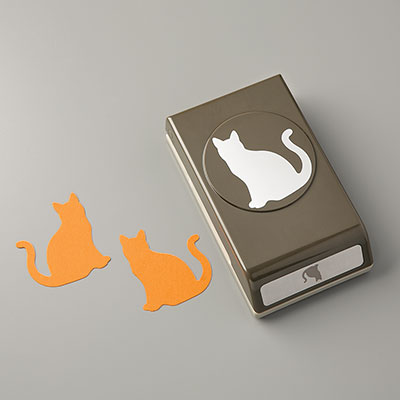
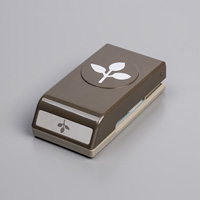
7.  Punch out a vellum leaf using your Leaf punch.
8.  Assemble your leaves by placing a strip of Snail onto backside of your stamped leaf image and placing this onto your Lemon Lime Twist leaf; then another strip of Snail and onto the Traquil Tide leaf.
9.  Place your vellum punched leaf over top using a glue dot.
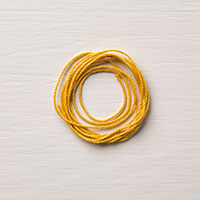
10.  Tie a 12" piece of the baker's twine (I used what I had from my Paper Pumpkin kit, but alternatives are the Crushed Curry Bakers Twine or the Linen Thread) around your leaf stems (place a 2" strip of the mini sequin trim over the tied twine and tie a knot.  Now tie your bow.
11.  Attach your assembled leaf to your background stamped card base with Stampin' Dimensionals.
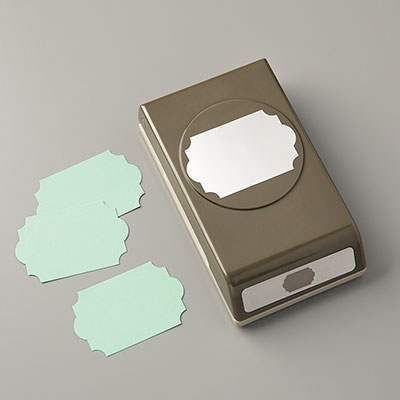
12.  Ink up your choice of greeting (I used Happy Halloween from Teeny Tiny Wishes) with Cajun Craze ink and stamp onto a scrap of Crushed Curry cardstock.  Now punch out with the Classic Label punch (or cut out freehand using your paper snips) (I also punched out a strip from Lemon Lime Twist cardstock which I placed glued right underneath my greeting).
13.  Attach your greeting using Stampin' Dimensionals.
14.  Stamp and attach your second piece of Whisper White cardstock to the inside of your card.
15.  Sign back of card. Make a matching envelope (yes, I still need to do this so don't feel bad if you haven't either by this point!)
Enjoy your stamped creation!  

Saturday, October 28, 2017

October 28, 2017 Bloghop


Hello Stamping buddies and welcome to the Sea Shore Stampers' October Blog Hop!
This month's theme is gift packaging and I decided to create a gift box for Halloween using Stampin' Up!'s tutorial, which you can watch here.

Gift Box

By using just one sheet of 12" x 12" Designer Series Paper of your choice, and one sheet of 12" x 12" cardstock for the base, you can create a LOT of personalized gift boxes!  I hope you give it a try and find out how easy it is to make these lovely boxes!  Let me know how you do.


Top view of box
Close-up of box embellishment 
Close-up of tails

A few punches, some thinlits, some cardstock scraps, some bits of ribbon, a stapler, some tear and tape and other adhesive, along with a white chalk marker is all it took to make the box topper embellishment! 

Now carry on (or back) to the next blog for more delightful gift-giving ideas:


Adrienne

Erica

Have a wonderful weekend and see you next time!


Stampin' Up! Supplies Used:
Tips and Tricks to recreate this gift box:
Watch the video (link noted above) on how to create and assemble your box
For embellishment on Halloween gift box:
Use a 12" x 12" sheet from the Spooky DSP for the lid and one sheet of black 12" x 12" cardstock for base
7/8" striped rribbon (wrap around completed box and cut with 3/4" overlap (staple together)
Now decorate the ribbon at the place of it's overlap so you hide the join.
If you look closely at the close-up photo of the embellishment, you will be able recreate it your own way!
Have fun and Happy Halloween!


Monday, October 23, 2017

Monday, October 23rd blogpost

Hello stamping friends!
I hope you had a wonderful week!

Do you celebrate Halloween?   Do you need a cute treat bag for someone special?  Well, I am sharing a treat bag I made yesterday afternoon.  It was so very easy to create using Stampin' Up!'s Mini Treat Bag Thinlits die and a 12" x 6" strip of Designer Series paper!  


Halloween Treat Bag

By changing up the Designer Series Paper and color combination, you can create a treat bag for any occasion.  As well, you can tuck in quite a few treats, whether home made from your kitchen, or purchased at the store.
Close-up of stamped decorative element

For now, have a wonderfully creative week and see you again next time.


Stampin' Up! Supplies Used:


Tips and Tricks to recreate this card:
Cut:
From any 12" x 6" strip of Designer Series Paper (DSP) die cut the mini treat bag
(save the remaining end for use on a card.
Cajun Craze cardstock scrap 3 1/2"x 3 1/2" (to stamp greeting and punch out 2" circle
Crushed Curry cardstock scrap  3 1/2" x 5" (to die cut from layering Circles Thinlit dies and greeting)
Basic Black cardstock scrap (to punch out two 1 1/4" circles
Next:
1.  Assemble your treat bag using Tear & Tape or Multipurpose glue.
2.  Wrap a length of the 7/8" striped ribbon around bag as shown and cut so that you have 3/4" overlap. Put one staple into centre of overlapped ribbon.
3.  Place each black punched circle over and under the overlapped ribbon and staple in place.
4.  Using Black Memento ink, stamp your greeting onto Cajun Craze cardstock and punch out using 2" circle punch.
5.  Using Black Memento ink, stamp the ribbon portion of the greeting onto Crushed Curry cardstock and fussy cut the ribbon banner as shown in photo.
6.  Die cut a layering circle scallop die from your scrap of Crushed Curry cardstock.
7.  Cut a 6 1/2" length of mini gold sequin trim.
8.  Now assemble your pieces onto the 7/8" striped ribbon trim:  glue the Crushed Curry die cut circle to the black circle; next apply two strips of Tear & Tape to backside of your Cajun Craze greeting circle and attach the gold mini sequin trim;  apply two more strips of Tear & Tape over the trim and attach this section centered overtop of the Crushed Curry scallop circle; place two (2) or three (3) Stampin' Dimensionals to the backside of your cut out ribbon banner and attach overtop the matching stamped portion on your Cajun Craze circle greeting.
9.  Place a 1" strip or so of Tear & Tape between the ribbon and treat bag on the backside (this will secure your ribbon band to the treat bag without it falling off.
10.  Apply Wink of Stella to the spider web and to the banner - this will make it shimmer :)
11. Optional:  Take your Fine Tip Glue Pen and apply glue over the words "Spooky-licious".  This will make the greeting pop!
10.  Now all that's left is for you to place goodies into your treat bag and you are done!
Additional option:  Did you know you can place one of Stampin' Up!'s mini notecards into the bag as well?! Just another idea for you to ponder and try out :)
Wheeeee - have fun creating more using items from your own stash!
Let me know how you do.