Happy hello and welcome! Are you one of my blog readers from the Mother's Day Mini Pizza Gift Box post where I told you I would show you how to make a mini pizza gift box with a piece of cardstock? Well, here is the information you need to create your own! Thank you for your patience. So, on with the show!
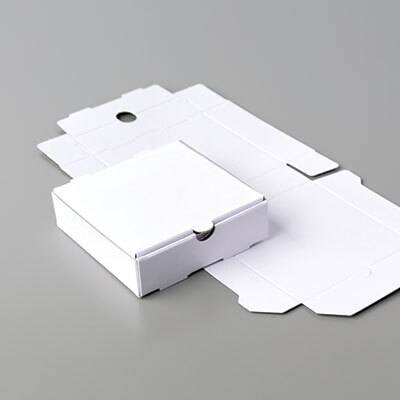
10" x 5 1/2" Score on short side at 1" and 4 1/2 " Score on long side at: 1", 4 1/2", 5 1/2" and 9" Make cuts as shown in picture above
Fold all flaps Put glue onto center score flaps as shown
Glue your flaps to backside of pizza box
Glue the front flaps to box front - bottom of pizza box completed!
Fold the top of pizza box over completed bottom for a dry-fit.
Now add glue to front flaps and carefully glue pizza box lid in place.
Glued top in place!
Completed pizza box!
So, did your box turn out okay? ...and did you get a pizza box that measures 3 1/2" x 3 1/2"? Good!
Next post I will show you a completed pizza box and hopefully a video too on how I did it.
In the meantime, enjoy your crafting time!
Thank you so much for stopping by - see you next time!
P.S. If you reside in Canada and are looking for a Stampin' Up! demonstrator, I would be honored to be yours.
Hello and welcome to the monthly Seashore Stamper's Blog Hop for April. It has been a while since I posted a blog post but, with a bit of encouragement from my stamping friends, I made it this month! Happy Dance! I am thrilled to share with you the project I made with my friends earlier this month and since it is Mother's Day in a few short weeks, I thought you might like this project too.
Two styles of the gift box
Isn't Ms. Ladybug uplifting? Little Ladybug was a Sale-A-Bration stamp set available to all hosts during this time period. Therefore, if you missed out and you really like this stamp set, you will have to source out an avid Stampin' Up! host and see if you can persuade them to let you borrow this set for your project. Be prepared for resistence! If you are unsuccessful, please check your stamping stash and see what pulls at your heartstrings and use that stamp for your own creative gem! Next, if you don't have any of the mini pizza boxes from Stampin' Up! on hand, don't dispare, I will show you how to make your own mini box from one sheet of cardstock in my next blog post, so stay tuned!
Inside of the box
Is your heart smiling yet? Go, ahead, actually pull out your supplies and make one (...or a few...they are so fun to make - instructions at end of post) and Ms. Ladybug will love you for pulling her out to become part of a lovely gift for someone special in your life. Now, here is a first for me: I actually am learning to do videos and this is one of my first ones that my customers have already viewed. So, if you are a visual learner instead of a reader, here you go!
So, now, please hop or fly on (or back) to the next blog for additional "blog eye-candy"!
How to recreate this mini gift box: SUPPLIES NEEDED:
Stamp Sets:
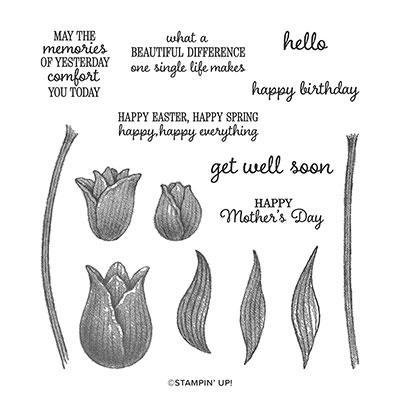
Little Ladybug
Timeless Tulips
Paper:
Mini Pizza Box
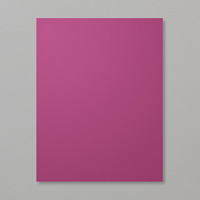
Rich Razzelberry C/S - 3 7/16” x 3 7/16”square
o11” x 1 1/8”strip
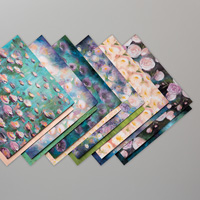
DSP of choice - 3 ¼” x 3 ¼”
o3 1/4” x ¾”
Whisper White C/S
– 5 ½” x 4 ¼” – for stamping elements
o3 ¼” x 3 ¼”
Scrap of green C/S
to match your DSP – for 2 punched sprigs
Scrap Petal Pink
C/S for scalloped square
Ink:
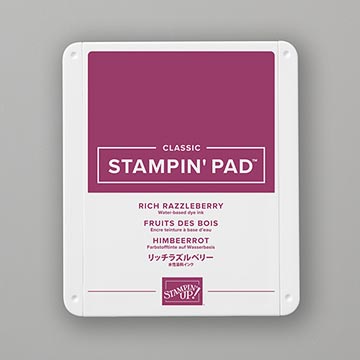
Memento Black,
Rich Razzelberry, Melon Mambo and Petal Pink
Miscellaneous:
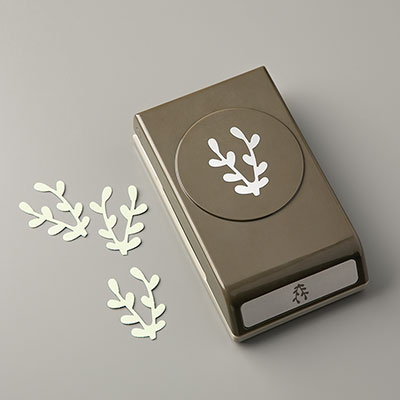
Sprig Punch,
Label Squares Dies, Stitched So Sweetly Dies
Stampin’ Dimensionals,
Multipurpose Liquid Glue, Wink of Stella,
***Irridescent Stickles (non-Stampin’ Up!) - my mom loves bright bling!
Directions:
1.Fold together your mini pizza box.
2.Using the Rich Razzelberry C/S square, die cut your
plain square piece and your rectangle scalloped die piece.
3.Using Petal Pink scrap C/S, die cut a scallop
square a teeny bit larger than your plain Rich Razzelberry Square.
4.Glue your cut out Rich Razzelberry C/S piece to top
of pizza box.
5.Then glue DSP on top of Rich Razzelberry C/S.
6.Take 11” strip of Rich Razzelberry C/S and wraparound your closed pizza box and then score. Trim the strip to fit and glue the strip together (but not to the
box!)
7. Place Stampin’ Dimensionals onto strip and glue on
your Petal Pink scalloped square.
8.Place one green
punched sprig onto square glue in place.
9.Glue your plain
Rich Razzelberry square on top.
10.Glue remaining
sprig onto top of Rich Razzelberry C/S
square.
11.Stamp all your
ladybug images with Black Memento Ink onto larger Whisper White C/S piece.
12.Color in images
using the ink colors and a blender pen (you can always use blends).
13.Fussy cut or
use matching Ladybug dies to cut out your images.
14.Use your
favourite ladybug and add dimensionals to the back and place her on top of the
Rich Razzelberry square and punched sprig.
15.Stamp greeting
using Memento Black Ink onto Whisper White C/S.
16.Punch out using
the Classic Label Punch.
17.Glue greeting
to scalloped rectangle.
18.Glue greeting
to front of pizza box.
19.Glue remaining
DSP strip to remaining Whisper White C/S piece.
20.Stamp greeting
of choice and then glue this element to the inside box cover of your mini pizza
box.
21.Add glitter to
your ladybug and anywhere else you desire.
22 . Your gift box
is now ready to fill and gift to your mom or some other very special person in
your life!