Monday, August 28, 2017

You're Priceless Card Class - Using Memories & More Card Pack Perfect Days!

Happy Monday stamping friends!
Glad you are able to stop by today.


Four of the several cards made in class

My card share is a group of cards my customers made yesterday during my Stampin' Up! product based card class using the Your're Priceless Stamp set and the Memories & More Card pack called Perfect Days!


Close-up of one of the cards with the Soft sky card base


Close-up of one of the cards made using Berry Bliss as card base


Close-up of the card where we used difference ribbon and extra
bling (Rhinestone Basic Jewels
We all had a fun day creating these cards and the ladies have lots of supply left over to create more at home!  How cool is that ?!

If you are a card maker and have passed over the Memories & More card paks, give it another look through:  you might be surprised what you can use to create your own batch of cards.

Have a wonderful week!
See you again soon!


Stampin' Up! Supplies Used:


Saturday, August 26, 2017

Sea Shore Stampers Blog Hop - Something Other Than a Card

Happy Saturday stamping friends!


Welcome to this month's Seashore Stampers' Blog Hop! 

This month our group is sharing a paper project that is not a card so that we get to "step outside the box" in a good way.  I love creating cards so making something else other than a card required a bit more thought.  This is what I came up with:  


Explosion Gift Box

My share is a version of the Explosion Gift Box you see all over the internet and on other blogs.  I really enjoyed making this box and I hope it gives you motivation to create one too!  I know seeing all the other lovely box creations motivated me!


Close-up of box 


Inside of opened box


Box lid without top decoration

Open box and box lid

Box topper unassembled


Componets of box before assembly


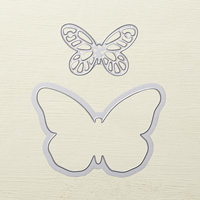
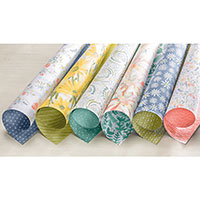
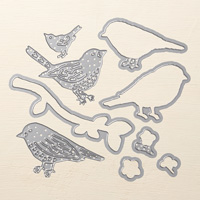
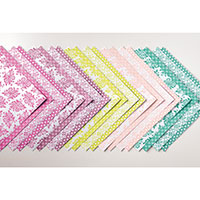
For those of you who are DSP lovers, you will notice I used the Delightful Daisy Designer Series Paper from Stampin' Up! along with the Bold Butterfly Framelit dies.  You can certainly dress up the box using any DPS you have on hand together with other dies and stamps (I actually didn't do any stamping for this project - unusual for me!).  There are so many wonderful combination of ideas out on the internet I know you won't run out of inspiration! 

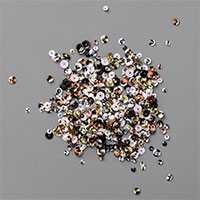
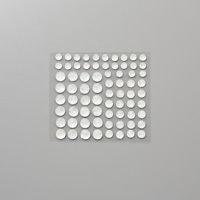
Of course, I love bling (who doesn't), and you will see I added lots of Rhinestone Basic Jewels to my gift box.  You can also add jewels and bling to the inside of the box but I left my plain (basically because I ran out of rhinestones - note to self: need to order more :) )


Have a wonderful weekend and see you again soon!


P.S.  This gift box is for my mom! :) 

Now please check out the other blogs participating in this hop:


Erica
Adrienne


Stampin' Up Supplies Used:


Monday, August 21, 2017

Lift Me Up Greeting Card

Hello fellow stampers and welcome!

I had a wonderful weekend! I got to spend time with my Mom and a few of my stamping friends in Victoria.  What is better than spending time with Mom and friends?  Getting time to play with stamps, ink and paper too! Whoo-hoo!

The other reason I got so excited is because my mom wanted to make a card for each of our friends we would be spending crafting time with (you see my mom is a fibre artist, not a paper crafter - so this is a big thing for me! Yahoo Mom!) So, my mom actually made a set of cards and I want to share it with you today.  It is also a really fun and easy card to recreate, so I hope you give it a try!
Card front

Close-up of greeting banner

Close-up of bird detail

Inside of card
Have a wonderful week!


Stampin' Up! Supplies Used:
Tips and Tricks to recreate my mom's card:
Cut:
Fresh Fig cardstock for card base:  11" x 4 1/4"
Island Indigo cardstock mat:  
DSP card mat:
Lemon Lime Twist cardstock greeting strip:  1" x 4"
Scrap of Tangerine Tango
Next:
1. Die cut two small birds from the Birds and Blooms Thinlits die set from the centre of the Island Indigo cardstock mat.
2.  DIe cut one bird from the Tangerine Tango cardstock.
3.  Use your Banner Triple punch to put the tails out of one end of the Lemon Lime Twist cardstock.
4.  Using Island Indigo ink, stamp your greeting onto the Lemon Lime Twist strip.
5.  Trim the stamped strip down to 3 1/4" from the straight side.
6.  Wrap the Whisper White bakers' twin around the end of the strip three (3) times as show in photo and tie a knot.  Trim ends.
7.  Glue the DSP to the Island Indigo cardstock mat.
8.  Glue your matted piece to your cardstock base.
9.  Attach your Lemon Lime Twist greeting strip to the card as shown in photo with Stampin' Dimensionals.
10.  Glue the Tangerine die cut bird to the Island Indigo die cut bird offsetting them a bit to create a shadow.
11.  Glue this bird down onto your card front as shown in photo.
12.  Stamp inside of card using either Island Indigo or Fresh Fig ink (your choice!).
13.  Glue the remaining Island Indigo bird to the inside card piece.
14.  Glue your inside card mat to the inside of your card.
15. Sign your card. Put into an envelope and send to someone you love!
Enjoy!!!!