

Happy Saturday Stampers! I am wishing you all a happy June and welcome to SUMMER!!!!
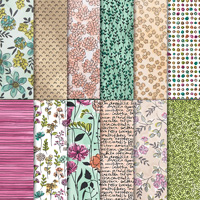
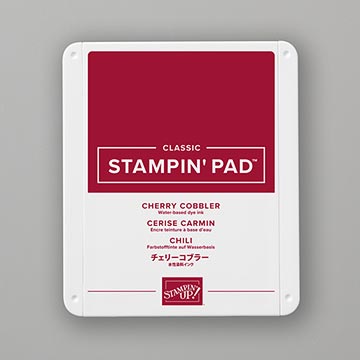
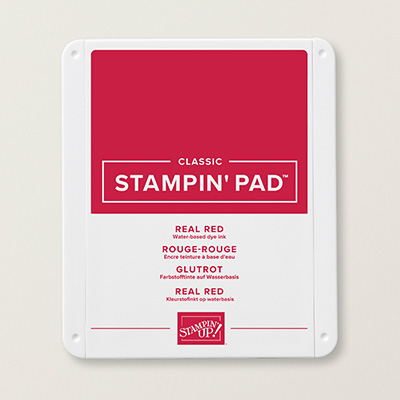
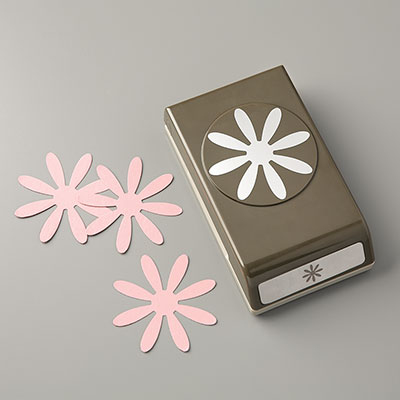
The weather is beautiful here on Vancouver Island and to celebrate, my blog hop share for the theme "red" is the birthday card I made for my mom. I used Stampin' Up!'s Daisy Delight stamp set with matching punch and I incorporated cardstock colors Real Red and Cherry Cobbler. I also used a bit of the Share What You Love specialty designer series paper for a bit of green accent.
 |
| Mom's birthday card |
 |
| Card front |
 |
| Inside of card |
 |
| Close-up of red flower |
 |
| Close-up of bottom corner flower |
I hope you enjoyed my card today and that you find more creative inspiration from the others on this hop.
Have a wonderful week!
 |
| Adrienne |
 |
| Erica |

Stampin' Up! Products Used:


Cut:
Cherry Cobbler cardstock: 11" x 4 1/4" (use both pieces)
Real Red cardstock: 5 1/4" x 4" (cut from one corner down to the other)
DSP: 5 1/4" x 4" (also cut fron one corner down to the other)
Old Olive cardstock: 5 1/4" x 3 1/2" (inside mat)
Blushing Bride cardstock: 5" x 3 1/4" (inside stamping/greeting area)
Next:
1. Fold both Cherry Cobbler pieces in half so you have two card bases 5 1/2" x 4 1/4"
2. Open both up and do a dry fit whereby overlapping half of one piece over the other to create the center of your card.
3. Now, from the fold on the top right, trim diagonally down to the bottom right outside corner, and on the second piece, from the fold on the top left, trim diagonally down to the bottom left outside corner.
4 Now you can glue one rectangle onto the back of the second rectangle Cherry Cobbler piece so you have the "triangles" on either side.
5. Now glue or use Tear-n-Tape on the bottom edge of the right triangle and glue down so it becomes the flap running from top right to bottom left of your card base.
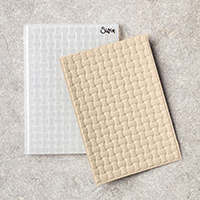
6. Now you take the Real Red cardstock triangle you put from above and lay over the triangle flap so it matches up. Place this piece into your Basket Weave 3D embossing folder and run through the Big Shot.
7. Glue your real red embossed triangle onto the glued down triangle flap on your card base.
8. Now you glue the left hand side triangle on your cardbase down over top of the now glued down right hand triangle piece.
9. I then glued my green DSP triangle piece onto this triangle. Look at photos above to see what I am talking about because I know this can be "clear as mud"!
10. You then ink the daisy from the Delightful Daisy stamp set with real red ink and stamp 5 daisies onto a scrap of Whisper White Cardstock and once onto a scrap piece of Real Red cardstock and punch out.
11. You then ink the daisy with Cherry Cobbler ink and stamp twice onto a scrap of Cherry Cobbler cardstock.
12. Using photos for reference, assemble your daisies and attach to the card front and onto the inside mat.
13. I stamped my greeting using Cherry Cobbler ink.
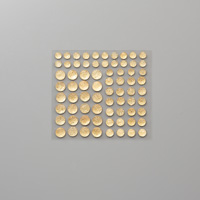
14. I attach a few Gold Facetted gems to the centers of the daisies.
You are done!!! Admire your stamped creation and give yourself a happy pat on the back!
Enjoy.