Saturday, October 27, 2018

October's Sea Shore Stampers' Blog Hop - CASE the Catty Christmas Card


Hello, and happy welcome to another Seashore Stampers Blog Hop for October 2018!  So happy you decided to stop by.

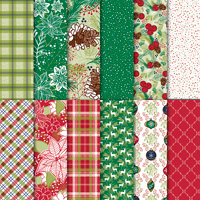
This month we are sharing our projects that are CASE(ed) (Copy And Share Everything) from Stampin' Up!'s 2018 Holiday Catalog.


CASED Christmas Card

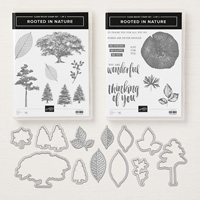
As I wanted to make a Christmas card, and I had the stamp and die set from page 22 of this catty (Peaceful Poinsettia), I CASed the card pictured on page 23 of the catty! 

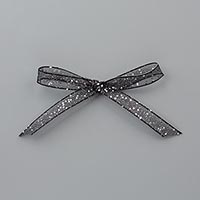
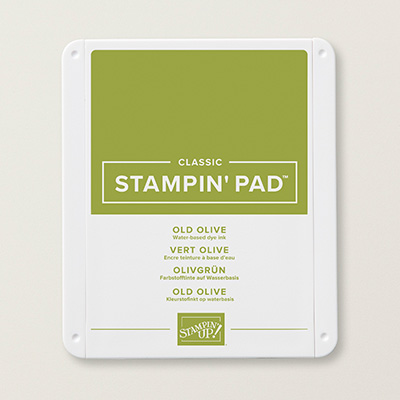
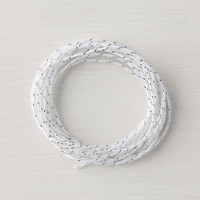
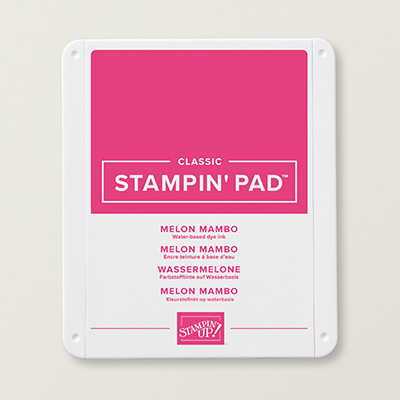
Boy, this set is really wonderful to work with!  I changed up the cardstock colors as I didn't have any Shaded Spruce left!   After some debate, I decided to go with Pear Pizzaz and Melon Mambo! I also changed out the ribbon (yup, didn't have any of that wonderful Black Glittered Organdy Ribbon in my stash) - used Gold Metallic Thread instead - what do you think? Bet you can come up with your own favorite color combination (and also bet you can't stop with just one combo either)!


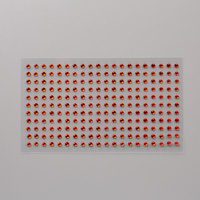
Close-up of cut die and red rhinestones


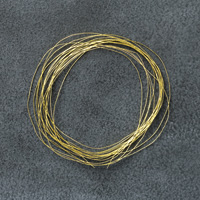
Close-up of greeting and gold thread

Have fun creating your own version!

Okay, now that you have seen my card, please enjoy the rest of the hop and I look forward to seeing you next time!


Adrienne

Erica


Stampin' Up! Supplies Used:


Cut:
Melon Mambo cardstock base:  11" x 4 1/4"
Pear Pizzaz cardstock mat: 5 1/4" x 4"
Whisper White piece for inside of card:  5 1/4" x 4"
Scrap of Whisper White for punched greeting
Next:
1.  Fold card base in half.
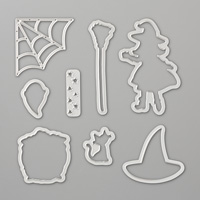
2.  Place your dies onto the Pear Pizzaz cardstock piece and run through the Big Shot.
3.  Glue the die cut leaf pieces onto the mat as shown in photo (or where ever you wish!)
4.  Glue your die cut mat to your card base.
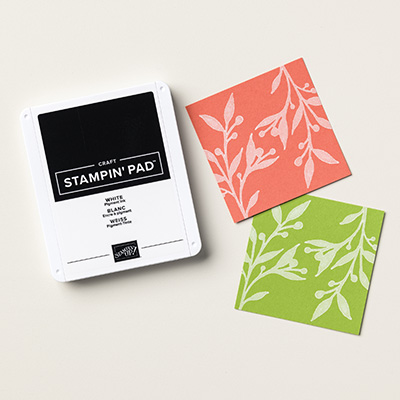
5.  Stamp your greeting onto whisper white cardstock scrap using Melon Mambo ink and punch out.
6.  Onto backside of your greeting place 2 strips of tear-n-tape.
7.  Take your roll of metallic thread and wrap around your hand 4 times - cut and apply on top of the tear-n-tape rearranging the thread loops as desired (check photo for ideas).
8.  Attach greeting to card using Stampin' Dimensionals (I used 3).
9.  Attach red rhinestones to your card front as desired.
10. Decorate your envelop using stamps from the set.
11.  Also, please feel free to use Wink Of Stella onto your card (I didn't have any left - waiting for my new one to come in).  I bet it will add just that bit of "sparkle" to finish off your wonderful creation!

Saturday, September 29, 2018

September Blog Hop Post - Autumn/Halloween - Pocket Card


Happy Fall fellow stampers! Welcome to September's Seashore Stampers Blog Hop!

This time round we have a wonderful sampling of Autumn, Thanksgiving and Halloween stamping projects to wet your crafting appetite. Enjoy the tour!

My project for your eye-candy pleasure is a Halloween card that is just perfect for treating someone with. I hope you want to give it a try. I used both the Cauldron Bubble and Spooky Sweets stamp sets from Stampin' Up! and the cutest designer series paper called Toil and Trouble!  I also thought that the Garden Trellis embossing folder worked wonderfully well for this card too!


Halloween Pocket Card - my swaps


Close-up of pocket card


Showing insert of pocket card


Close-up of card front


Close-up of card insert


Details of card front - LHS is showing how DSP is attached to the
 Pumpkin Pie cardstock piece (separated and shown on RHS with scored fold-line
and stamping) and then glued to card base


Details of pocket card insert - stamped first and then glued to
Pumpkin Pie cardstock mat
I hope the detailed pictures help you in recreating this card.  More written instructions noted below the product listing, in case you need them.


Now I invite you to carry on (or back) to the next stop on this hop:


Adrienne

Erica


Stampin' Up! Products Used:
Tips to recreate this card:
Cut:
Basic Black cardstock - base:  5 1/2" x 4 1/4"; 
Pumpkin Pie cardstock - 5 1/2" x 4" and scored on long side at 4"; Pocket base: 5" x 3 3/8"
Whisper White cardstock: pocket stamped piece: 4 3/4" x 3 1/8"; 
Scraps of Basic Black, Melon Mambo and Lemon Lime Twist for stamped and die cut broom, hat and frog
Toil and Trouble DSP: strip 6" x 4" and then cut a 2" piece of one long end
Next:
1.  Stamp the Pumpkin Pie cardstock pocket piece with the background stamp using Pumpkin Pie ink. Now glue the 2" strip of DSP on top of the Pumpkin Pie pocket base (about 1/2 down from top edge).
2.  Run this assembled piece through Big Shot with Garden Trellis Embossing folder (see photo for clarification).  Place the cardstock piece into the embossing folder only up the fold line as you don't want to emboss the 1 1/2" of flap that gets glued to backside of card base.
3.  Glue your embossed piece to the remaining 4" strip of DSP so that you have the DSP showing the right design up when glued to card base AND that your glued piece of both DSP and Pumpkin pie measure 5 1/4" long to the fold-line!
4.  Now glue your folded and glued together DPS/pumpkin pie card strip "pocket" to your Basic Black card base (whew, that's a lot of words!).
5.  Using Pumpkin Pie, Crushed Curry and Night of Navy inks, stamp the Whisper White pocket insert as shown in photo.
6.  Stamp: your broom onto black cardstock with Whisper White craft ink; your frog onto Lemon Lime Twist cardstock with Night of Navy ink; your hat onto Melon Mambo carstock with Night of Navy ink.
7.  Die cut your stamped broom, frog and hat.
8.  Using the Glittered Organdy Black Ribbon, wrap around the card base and pocket pieces as shown in photo and tie a bow.
9.  Glue your frog to the broom and then the broom to the hat (see photos)
10.  Place two mini Stampin' Dimensionals to the back of the hat brim and attach to card front as shown over the ribbon.
11. Apply Wink of Stella to any portion of your card pieces as desired!  I enhanced the stars on the hat.
Alrighty! You are done - Whoo-hoo!!!  Now you can remake as many of these cards as you want! Enjoy :)


Saturday, August 25, 2018

August 2018 Blog Hop - Holiday Theme - Pocket Card


Hello, and welcome to the Sea Shore Stampers blog hop for August 2018!  I am so glad you are joining us!

This month our theme is "Holiday" and I continued playing with my current favorite Stampin' Up!'s stamp set Rooted in Nature.  Not your typical "christmas" stamp set, but with a bit of tweaking, I think I made it "christmasy" - what do you think? 

My color combination is Old Olive and Shaded Spruce to co-ordinate with the DSP "Under the Mistletoe".  If you want to watch a very good video on how to put a pocket card together, please watch Rick Adkins's video here.  Watching someone make this card is easier than reading written instructions.  Have fun!


Card front


Close-up of trees on card front


Close-up of card front's bottom


Inside of pocket-card


Close-up of bottom of inside of pocket card


Now have fun on your next stop on this hop:


Adrienne

Erica


Stampin' Up! Products Used:


Tips to recreate this card:
Cut:
Old Olive Cardstock - base:  5 1/2" x 4 1/4"; and pocket base: 5" x 3 1/2"
Whisper White Cardstock: pocket stamped piece: 4 3/4" x 3 1/4"; scraps for stamped and punched trees
Under the Mistletoe DSP: 10 1/2" x 4"; strip 4" x 1/2"
Next:
1.  Fold you DPS in half and then fold down one top flap about 1 1/2" (I did that for mine);
2.  Glue the 1/2" wide strip of DSP onto the flap as shown in picture;
3.  Attach your white/silver Baker's Twine around the folded DSP over the front flap to secure it down.  I wrapped my twine 3 times around and then tied a knot.
4.  Now glue your folded DPS "pocket" to your Old Olive card base.
5.  Using Old Olive and Shaded Spruce inks, stamp your trees onto scrap whisper white cardstock and die cut out.
6.  Stamp your trees onto the bottom portion of the Whisper White card piece that goes into the pocket.  Stamp your greeting on the top left corner (see photos above).
7.  Attach your trees to the DSP pocket flap as shown.
8.  Attach the large Rhinestone Basic Jewels to the tips of your baker's twine.
9.  Stamp the trees and greeting onto your envelope.
You are done!  Whoo-hoo!!!  Now you can remake as many of these cards as you want! Enjoy :)