

Hello, and welcome to the Sea Shore Stampers blog hop for August 2018! I am so glad you are joining us!
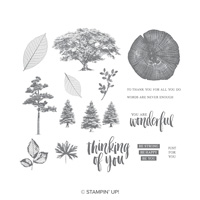
This month our theme is "Holiday" and I continued playing with my current favorite Stampin' Up!'s stamp set Rooted in Nature. Not your typical "christmas" stamp set, but with a bit of tweaking, I think I made it "christmasy" - what do you think?
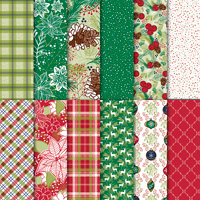
My color combination is Old Olive and Shaded Spruce to co-ordinate with the DSP "Under the Mistletoe". If you want to watch a very good video on how to put a pocket card together, please watch Rick Adkins's video here. Watching someone make this card is easier than reading written instructions. Have fun!
 |
| Card front |
 |
| Close-up of trees on card front |
 |
| Close-up of card front's bottom |
 |
| Inside of pocket-card |
 |
| Close-up of bottom of inside of pocket card |
Now have fun on your next stop on this hop:
 |
| Adrienne |
 |
| Erica |
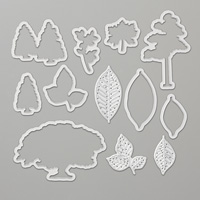
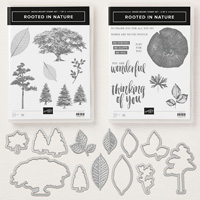
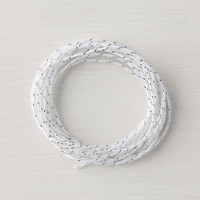
Stampin' Up! Products Used:


Tips to recreate this card:
Cut:
Old Olive Cardstock - base: 5 1/2" x 4 1/4"; and pocket base: 5" x 3 1/2"
Whisper White Cardstock: pocket stamped piece: 4 3/4" x 3 1/4"; scraps for stamped and punched trees
Under the Mistletoe DSP: 10 1/2" x 4"; strip 4" x 1/2"
Next:
1. Fold you DPS in half and then fold down one top flap about 1 1/2" (I did that for mine);
2. Glue the 1/2" wide strip of DSP onto the flap as shown in picture;
3. Attach your white/silver Baker's Twine around the folded DSP over the front flap to secure it down. I wrapped my twine 3 times around and then tied a knot.
4. Now glue your folded DPS "pocket" to your Old Olive card base.
5. Using Old Olive and Shaded Spruce inks, stamp your trees onto scrap whisper white cardstock and die cut out.
6. Stamp your trees onto the bottom portion of the Whisper White card piece that goes into the pocket. Stamp your greeting on the top left corner (see photos above).
7. Attach your trees to the DSP pocket flap as shown.
8. Attach the large Rhinestone Basic Jewels to the tips of your baker's twine.
9. Stamp the trees and greeting onto your envelope.
You are done! Whoo-hoo!!! Now you can remake as many of these cards as you want! Enjoy :)