Happy hello and welcome to the Seashore Stampers' June 2020 Blog hop!
This month's theme is Red and White (for upcoming Canada Day on July 1st).

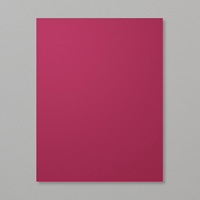
Card Front
I believe you will like this card as it is easy to make!
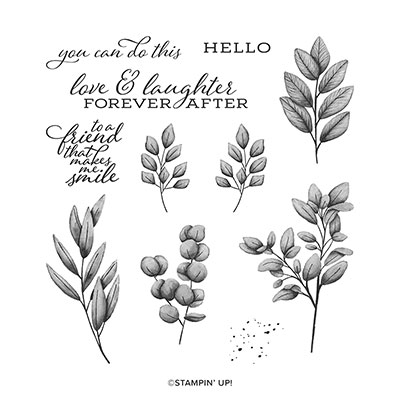
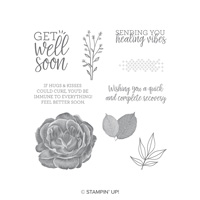
I am using the Healing Hugs stamp set from Stampin' Up! and, if you don't happen to have this stamp set, you can easily re-create it using what you have on hand. I know you will find something in your stash - go ahead - look! Then come back....

Inside of card

Card elements
This time I did not add any greeting as I will decide when I go to use this card.
I hope I was able to spark your creative juices - so please - go and play!
Also, you have to go and check out the other wonderful creations from the rest of the Seashore Stampers in this hop! Better grab a cup of tea, or your favorite cup of joy, and refuel too - you have to keep your creative strength up :)

Adrienne

Erica
Thank you so much for taking time in your day to stop by - see you next time!

P.S. If you reside in Canada and are looking for a Stampin' Up! demonstrator, I would be honored to be yours.
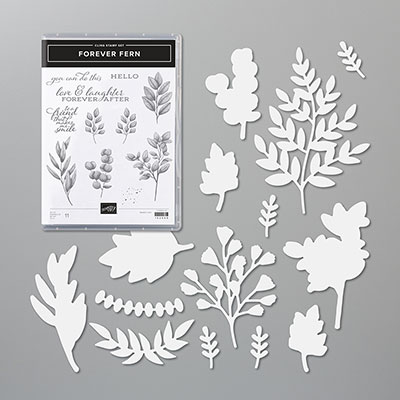
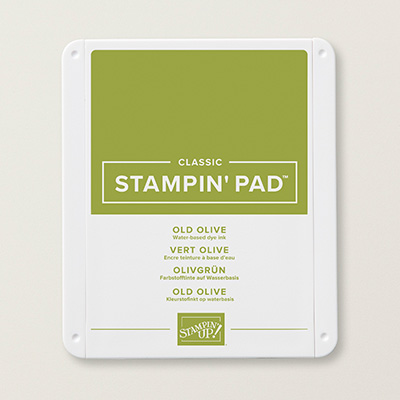
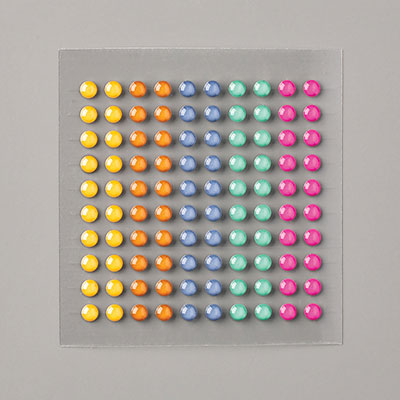
Stampin' Up! Supplies Used:
Recreate this card:
Cut:
Poppy Parade Card base: 8 1/2" x 5 1/2" and 5 1/8" x 3 7/8"
Whisper White Mat: 5 1/4" x 4" (x 2) and one piece 3 1/2" x 2 1/2"
Merry Merlot mat: 3 5/8"x 2 5/8"
Next:
1. Emboss the Poppy Parade cardstock piece using the Old World embossing folder.
2. Attach Whisper White Mat to card base and then attach the embossed Poppy Parade mat.
3. Stamp your elements as shown in picture above using Poppy Parade, Merry Merlot and Pumpkin Pie inks.
4. Cut out the rose and the leaves and then sponge the edges using matching ink.
5. Attach the leaves to stamped Whisper White piece over the stamped leaves.
6. Attach Stampin' Dimensionals to the backside of the stamped rose and attach over the leaves.
7. Add your bling! I used Pearl Basic Jewels.
8. Don't forget to stamp the second Whisper White piece for your inside as desired (see photo for inspiration).
You are done -whoo-hoo!

Happy hello and welcome to the Seashore Stampers' June 2020 Blog hop!
This month's theme is Red and White (for upcoming Canada Day on July 1st).
 |
| Card Front |
I believe you will like this card as it is easy to make!
I am using the Healing Hugs stamp set from Stampin' Up! and, if you don't happen to have this stamp set, you can easily re-create it using what you have on hand. I know you will find something in your stash - go ahead - look! Then come back....
 |
| Inside of card |
 |
| Card elements |
This time I did not add any greeting as I will decide when I go to use this card.
I hope I was able to spark your creative juices - so please - go and play!
Also, you have to go and check out the other wonderful creations from the rest of the Seashore Stampers in this hop! Better grab a cup of tea, or your favorite cup of joy, and refuel too - you have to keep your creative strength up :)
|
| Adrienne |
|
| Erica |
Thank you so much for taking time in your day to stop by - see you next time!
P.S. If you reside in Canada and are looking for a Stampin' Up! demonstrator, I would be honored to be yours.
Stampin' Up! Supplies Used:


Cut:
Poppy Parade Card base: 8 1/2" x 5 1/2" and 5 1/8" x 3 7/8"
Whisper White Mat: 5 1/4" x 4" (x 2) and one piece 3 1/2" x 2 1/2"
Merry Merlot mat: 3 5/8"x 2 5/8"
Next:
1. Emboss the Poppy Parade cardstock piece using the Old World embossing folder.
2. Attach Whisper White Mat to card base and then attach the embossed Poppy Parade mat.
3. Stamp your elements as shown in picture above using Poppy Parade, Merry Merlot and Pumpkin Pie inks.
4. Cut out the rose and the leaves and then sponge the edges using matching ink.
5. Attach the leaves to stamped Whisper White piece over the stamped leaves.
6. Attach Stampin' Dimensionals to the backside of the stamped rose and attach over the leaves.
7. Add your bling! I used Pearl Basic Jewels.
8. Don't forget to stamp the second Whisper White piece for your inside as desired (see photo for inspiration).
You are done -whoo-hoo!