Saturday, December 30, 2017

Sea Shore Stampers December 2017 Blog Hop


I don't know about you, but I feel 2017 went by way too fast! How about you?
It is time for the Sea Shore Stampers last blog hop for this year and I have to tell you, I found it extremely difficult to come up with a project this time.  

I resorted to searching the web and I came across this wonderful little gift box that is called the "impossible box".  The Paper Pixie does an absolutely wonderful job of showing you how to make this delightful little creation via video, and I have linked it for you here!  I have not yet figured out how to make a video for you, so I am very grateful to Paper Pixie for her delightful instructions!  As well, I will add pictures of my own attempts as soon as I have a new battery for the camera!

I hope you give this gift box a try (I suggest right now!) and use whatever scraps of paper you have lying around!  Let me know how you make out!

Have a very Happy New Year's Day and I look forward to your visits during 2018!
For now, head on to the next stop on the hop:


Erica's Blog
Adrienne's Blog


Saturday, November 25, 2017

Sea Shore Stampers November 2017 Blog Hop - Christmas Gift Box

Hello happy stampers and welcome to the Sea Shore Stampers blog hop.  


This month our theme is Christmas cards and packaging!  Enjoy your hop  and I hope you are inspired!
Reusable gift box

Front view of box
My crafting idea is a quick and easy gift box using Stampin' Up!'s designer series paper.  You only need one 12" x 12" sheet of DSP and one 12" x 12" sheet of cardstock.  I followed the easy video instructions from Stampin' Up! and, if you want to wach it too, here is the link.

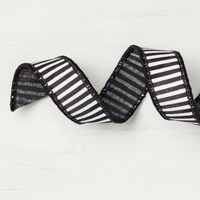
Once you have created your gift box, you can decorate it any way you wish:  I used my Stampin' Up! stamps, punch, ribbon and embellishments.  Thankfully, I still had enough of the black and white 7/8" striped ribbon to wrap around the box to create a sort of "belly band" to hold the gift box closed.  This way your recipient can reuse the box and pass it along to the next giftee :) 
Close-up of gift box topper
Enjoy the rest of the hop, and to our American stampers, wherever you are, I hope you have a wonderful Thanksgiving weekend!


Erica
Adrienne


Stampin' Up! Supplies Used:


Monday, November 20, 2017

Paper Pumpkin and Thanksgiving Idea

 Hello stampers and welcome!

Completed Paper Pumpkin projects from September 2017

I want to share with you the two projects from Stampin' Up!'s September Paper Pumpkin kit!  I am happy with the kit supplies and they create very cute 3" x 3" thank you cards and a mini gift box too!  I sent a set off to one my American friends who will be celebrating Thanksgiving later this week.

Close-up of the cute card in the kit

Close-up of pillow box in the kit

Have a wonderful week and see you next time.


Monday, November 6, 2017

Oh So Ecclectic Christmas Card

Hello Stamping Friends and thank you for stopping by for some inspiration!

Card front

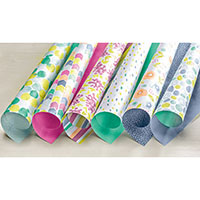
Today's card is a christmas card using the Oh So Ecclectic stamp set from Stampin' Up! along with Merry Little Labels and Teeny Tiny Wishes.  I used a small piece from a sheet of the designer series paper called Naturally Ecclectic.

Close-up of stamped embellishment

Another close-up of card so you can see some
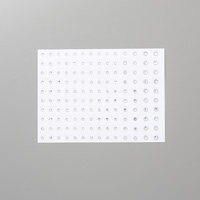
of the DSP and the placement of the Rhinestone Basic Jewels

Enjoy your crafting week and I look forward to seeing you next time!


Stampin' Up! Supplies Used:
Tips and Tricks to recreate this card:
Cut:
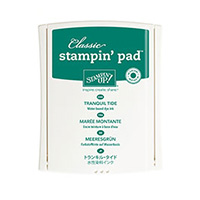
Tranquil Tide Cardstock cardbase:  8 1/2" x 5 1/2" and scrap piece for punched Everyday Label shape
Shimmery White cardstock:  5 1/4" x 4"
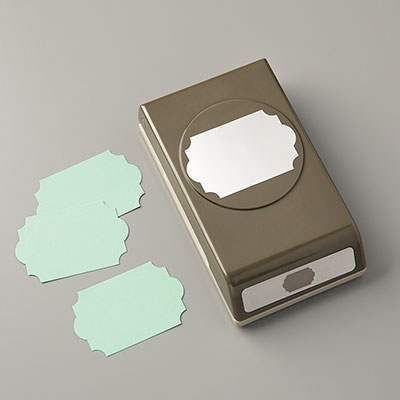
Whisper White cardstock for inside of card:  5 1/4" x 4" and scrap piece to stamp image and punch out using Every Label punch
Naturally Ecclectic DSP piece: 4" x 2 1/2"
Next:
1.  Fold cardbase in half and set aside
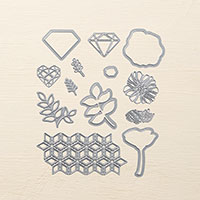
2.  Die cut ecclectic shape onto shimmery card stock as shown in photo.
3.  Using star stamp from Oh So Ecclectic stamp set and Pool Party ink, stamp stars diagonally across and over die cut image on shimmery white cardstock.
4.  Using Tranquil Tide ink, stamp greeting using Teeny Tiny Wishes stamp onto bottom right corner of shimmery white cardstock.
5.  Then stamp your "Let It Snow" image from the Merry Little Labels stamps onto your scrap of Whisper White cardstock.
6.  Using your Everyday Label punch, punch out the "Let It Snow" image and another "label" from your scrap piece of Tranquil Tide cardstock.
7.  Now attach your DSP piece to backside of diecut Shimmery White cardstock by placing Snail around the outside edge of the die cut (on the backside of cardstock), and then carefully placing and attaching your DSP over the Snail so you see your DSP peaking through on the front side of your Shimmery White cardstock.
8.  Now glue your "Let it Snow" punched shape to the Tranquil Tide punched shape with Snail.
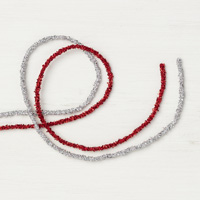
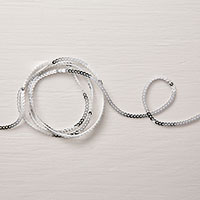
9.  Now take a 7 1/2" piece of mini silver sequin trim and attach to backside of punched shape with Snail.
10. Now glue your shimmery white card piece to your Tranquil Tide card base.
11.  Apply Stampin' Dimensionals to the backside and over top of the trim and attach to your die cut card piece as shown in photos.
12.  Don't forget to add some bling - the Rhinestone Basic Jewels make this card sparkle!
13.  Stamp the inside Whisper White cardstock piece as desired and glue to inside of your card.
13.  Make and decorate your envelope.
You are done!  whoo-hoo - now you are on your way to creating christmas cards!  Love it!

Monday, October 30, 2017

Marble Swirl Fall Leaves - Happy Halloween!

Hello stamping friends!
I hope you had a great weekend!


Marbled background with leaves

I sure did!  See what I made?
I spent some time with my Paper Pumpkin buddies yesterday afternoon and I adapted September 2017 Paper Pumpkin's project idea with the lovely background stamp called Marbled from Stampin' Up!, which I borrowed from one of my stamping buddies! I think this card turned out just beautiful!


Close-up of stamped, die-cut leaves and embellished with ribbon trims
What do you think?

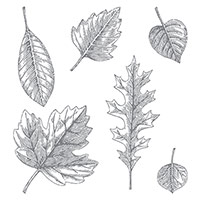
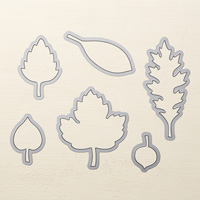
You can definitely change up the color by using any combination you wish!  The Vintage Leaves stamp set and the matching Leaflets Framelits dies (both from Stampin' Up!) make putting this card together really fun and easy!


I hope I have inspired you here today. Have a wonderful week and see you again next time.


Stampin' Up! Supplies Used:


Tips and Tricks to recreate this card:
Cut:
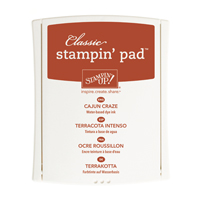
Cajun Craze cardstock cardbase: 8 1/2" x 5 1/2"
Whisper White cardstock 2 pieces 5 1/4" x 4" (one for stamping and the other for inside of card)
Scraps of:
Tranquil Tide, Crushed Curry, Lemon Lime Twist, Vellum
Next:
1. Fold card base in half and set aside.
2.  Ink up your Marbled background stamp with Lemon Lime Twist.  Then, taking your Tranquil Tide ink pad, swipe over areas you want colored with this ink (you can also tap ink onto the background stamp using your daubers - you choose!)  Now take one piece of the Whisper white cardstock and place over your inked background stamp, place a scrap piece of paper over top and then use your hands to "ink" up your cardstock piece.
3. Glue this onto your card base.
4.  Ink up your leaf image with Crushed Curry and then swipe over smaller areas of the leaf with Cajun Craze ink and then Tranquil Tide Ink.
5.  Die cut your stamped leaf image (or cut out with your paper snips).
6.  Now die cut two more matching leaves using your scraps of Lemon Lime Twist and Tranquil Tide cardstock pieces.
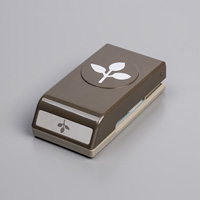
7.  Punch out a vellum leaf using your Leaf punch.
8.  Assemble your leaves by placing a strip of Snail onto backside of your stamped leaf image and placing this onto your Lemon Lime Twist leaf; then another strip of Snail and onto the Traquil Tide leaf.
9.  Place your vellum punched leaf over top using a glue dot.
10.  Tie a 12" piece of the baker's twine (I used what I had from my Paper Pumpkin kit, but alternatives are the Crushed Curry Bakers Twine or the Linen Thread) around your leaf stems (place a 2" strip of the mini sequin trim over the tied twine and tie a knot.  Now tie your bow.
11.  Attach your assembled leaf to your background stamped card base with Stampin' Dimensionals.
12.  Ink up your choice of greeting (I used Happy Halloween from Teeny Tiny Wishes) with Cajun Craze ink and stamp onto a scrap of Crushed Curry cardstock.  Now punch out with the Classic Label punch (or cut out freehand using your paper snips) (I also punched out a strip from Lemon Lime Twist cardstock which I placed glued right underneath my greeting).
13.  Attach your greeting using Stampin' Dimensionals.
14.  Stamp and attach your second piece of Whisper White cardstock to the inside of your card.
15.  Sign back of card. Make a matching envelope (yes, I still need to do this so don't feel bad if you haven't either by this point!)
Enjoy your stamped creation!