Showing posts with label Birds and Blooms Thinlits. Show all posts

Monday, August 21, 2017

Lift Me Up Greeting Card

Hello fellow stampers and welcome!

I had a wonderful weekend! I got to spend time with my Mom and a few of my stamping friends in Victoria.  What is better than spending time with Mom and friends?  Getting time to play with stamps, ink and paper too! Whoo-hoo!

The other reason I got so excited is because my mom wanted to make a card for each of our friends we would be spending crafting time with (you see my mom is a fibre artist, not a paper crafter - so this is a big thing for me! Yahoo Mom!) So, my mom actually made a set of cards and I want to share it with you today.  It is also a really fun and easy card to recreate, so I hope you give it a try!
Card front

Close-up of greeting banner

Close-up of bird detail

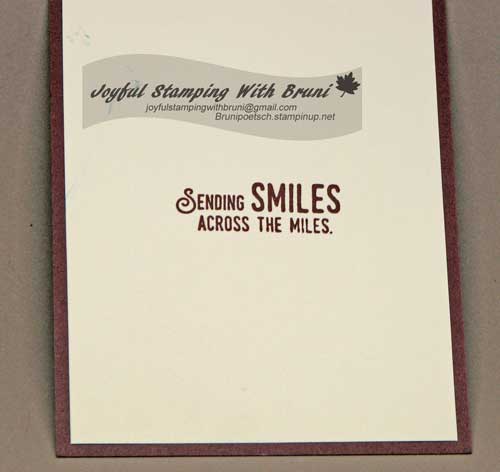
Inside of card
Have a wonderful week!


Stampin' Up! Supplies Used:
Tips and Tricks to recreate my mom's card:
Cut:
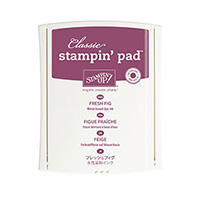
Fresh Fig cardstock for card base:  11" x 4 1/4"
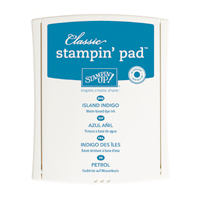
Island Indigo cardstock mat:  
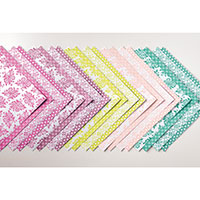
DSP card mat:
Lemon Lime Twist cardstock greeting strip:  1" x 4"
Scrap of Tangerine Tango
Next:
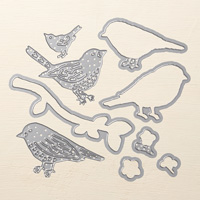
1. Die cut two small birds from the Birds and Blooms Thinlits die set from the centre of the Island Indigo cardstock mat.
2.  DIe cut one bird from the Tangerine Tango cardstock.
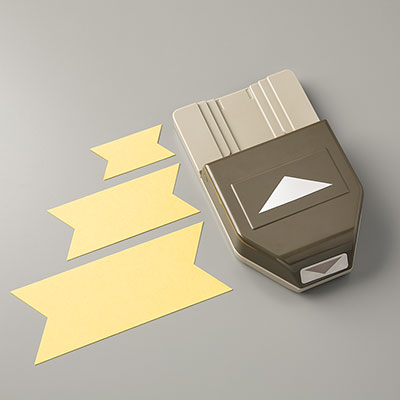
3.  Use your Banner Triple punch to put the tails out of one end of the Lemon Lime Twist cardstock.
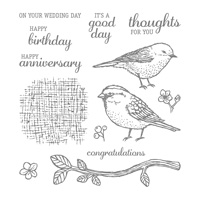
4.  Using Island Indigo ink, stamp your greeting onto the Lemon Lime Twist strip.
5.  Trim the stamped strip down to 3 1/4" from the straight side.
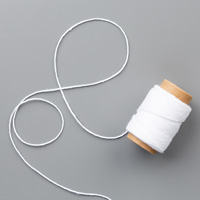
6.  Wrap the Whisper White bakers' twin around the end of the strip three (3) times as show in photo and tie a knot.  Trim ends.
7.  Glue the DSP to the Island Indigo cardstock mat.
8.  Glue your matted piece to your cardstock base.
9.  Attach your Lemon Lime Twist greeting strip to the card as shown in photo with Stampin' Dimensionals.
10.  Glue the Tangerine die cut bird to the Island Indigo die cut bird offsetting them a bit to create a shadow.
11.  Glue this bird down onto your card front as shown in photo.
12.  Stamp inside of card using either Island Indigo or Fresh Fig ink (your choice!).
13.  Glue the remaining Island Indigo bird to the inside card piece.
14.  Glue your inside card mat to the inside of your card.
15. Sign your card. Put into an envelope and send to someone you love!
Enjoy!!!!

Monday, August 14, 2017

Best Birds Happy Birthday Card

Hello stamping friends and welcome to another blog post.
This time round I pulled out my Best Birds Stampin' Up! stamp set and created a birthday card. I hope you like it :)

Card front

I love the Emerald Envy color which is such a rich and jewel toned hue.  I combined it with Night of Navy and stamped my pieces onto Very Vanilla cardstock.  I love coloring the birds in this stamp set and you can go all out with color combinations!  I think my friend will love this card, don't you?

Close-up of card front

Inside of card

Have a wonderful week and see you again!


Stampin' Up! Supplies Used:
Tips and Tricks to recreate this card:
Cut:
Emeral Envy card base:  11" x 4 1/4" and scored in half
Mat cut 5 1/4" x 4"
Night of Navy mat: 5 3/8" x 4 1/8"
Banner: 5" x 2" and one end punched with the Triple Banner punch
Pear Pizzaz scrap to die cut the tree limb
Very Vanilla scraps to stamp bird and flowers and greeting
Very Vanilla inside card mat: 5 1/4" x 4"
Next:
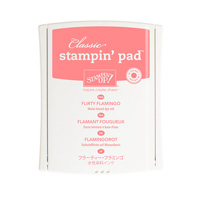
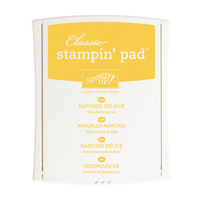
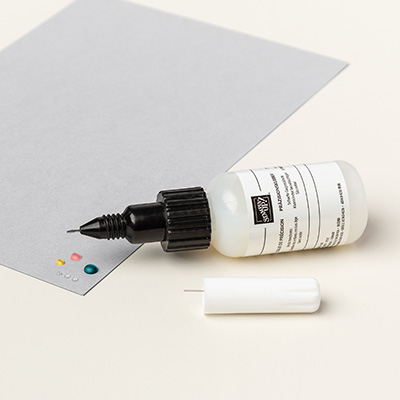
1. Stamp bird using Soft Suede ink and then color it in using soft suede, daffodil delight and Flirty flamingo inks.  I also then used my Basic Black marker to color in the bird's eye and then added a teeny dot for its pupil using the retired White Gel pen.  I then applied a small amount of the Fine Tip Glue over the eye to make it shine and pop a bit! (optional:  you can also apply the Fine Tip Glue to the beak).
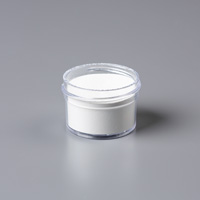
2.  Stamp four flowers using Versa Mark and then cover with White Embossing Powder and heat set.
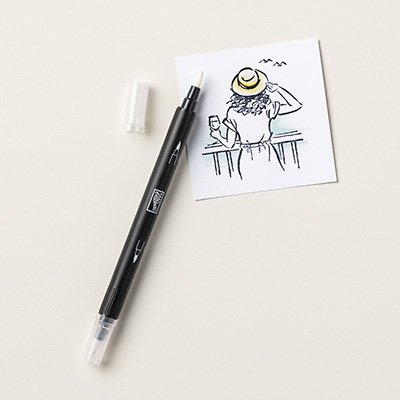
3.  Color the flower petals in using Daffodil Delight and Pumpkin Pie inks with a blender pen.
4.  Stamp your greeting of choice (I used Happy Birthday from the Teeny Tiny Wishes stamp set) using Night of Navy Ink and then punch out using the Classic Label punch.
5.  Die cut you tree limb from Pear Pizzaz cardstock using the Birds & Blooms Thinlets.
6.  Die cut the inked and colored bird and flowers using the matching dies from the same thinlets set.
7.  Use the Garden Trellis embossing folder to create the textured background for the Emeral Envy mat and the Night of Navy banner.
8.  Glue the Night of Navy cardstock mat to your card base.
9.  Glue the embossed Night of Navy banner to your embossed Emerald Envy and then glue this whole piece to your card base.
10.  Now assemble your card by first glueing on the tree limb as shown in photo using multipurpose glue.
11.  Then attach the flowers and the bird, also with glue.
12.  Attach the greeting using two mini Stampin' Dimensionals.
13.  Apply the Pearl Basic Jewels to the flower centers and to each end of your greeting.
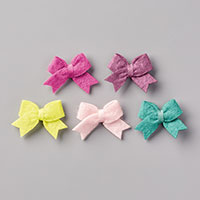
14.  Last, and as an option, apply one Bitty Bow centered over your greeting (you could also add another flower instead, or leave it blank).
15.  I die cut the mini bird out of a scap piece of the Night of Navy cardstock and glued it inside the card onto the Very Vanilla card mat.
Okay,  now all you need is an envelope and you are ready to send this beauty out.
Enjoy!