Showing posts with label Christmas Card. Show all posts

Saturday, October 27, 2018

October's Sea Shore Stampers' Blog Hop - CASE the Catty Christmas Card


Hello, and happy welcome to another Seashore Stampers Blog Hop for October 2018!  So happy you decided to stop by.

This month we are sharing our projects that are CASE(ed) (Copy And Share Everything) from Stampin' Up!'s 2018 Holiday Catalog.


CASED Christmas Card

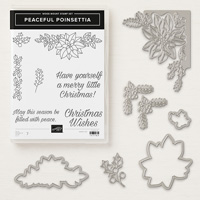
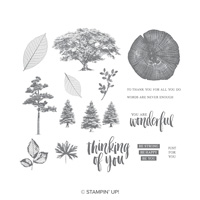
As I wanted to make a Christmas card, and I had the stamp and die set from page 22 of this catty (Peaceful Poinsettia), I CASed the card pictured on page 23 of the catty! 

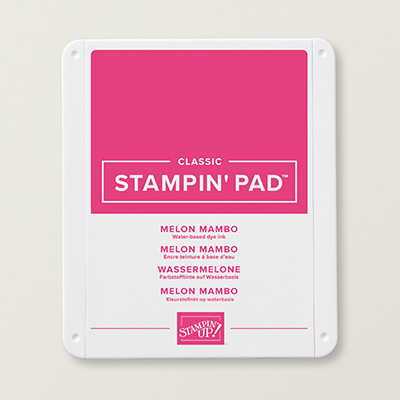
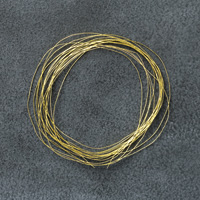
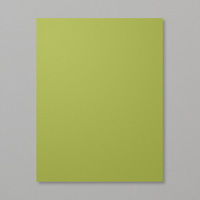
Boy, this set is really wonderful to work with!  I changed up the cardstock colors as I didn't have any Shaded Spruce left!   After some debate, I decided to go with Pear Pizzaz and Melon Mambo! I also changed out the ribbon (yup, didn't have any of that wonderful Black Glittered Organdy Ribbon in my stash) - used Gold Metallic Thread instead - what do you think? Bet you can come up with your own favorite color combination (and also bet you can't stop with just one combo either)!


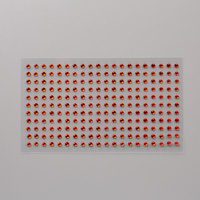
Close-up of cut die and red rhinestones


Close-up of greeting and gold thread

Have fun creating your own version!

Okay, now that you have seen my card, please enjoy the rest of the hop and I look forward to seeing you next time!


Adrienne

Erica


Stampin' Up! Supplies Used:


Cut:
Melon Mambo cardstock base:  11" x 4 1/4"
Pear Pizzaz cardstock mat: 5 1/4" x 4"
Whisper White piece for inside of card:  5 1/4" x 4"
Scrap of Whisper White for punched greeting
Next:
1.  Fold card base in half.
2.  Place your dies onto the Pear Pizzaz cardstock piece and run through the Big Shot.
3.  Glue the die cut leaf pieces onto the mat as shown in photo (or where ever you wish!)
4.  Glue your die cut mat to your card base.
5.  Stamp your greeting onto whisper white cardstock scrap using Melon Mambo ink and punch out.
6.  Onto backside of your greeting place 2 strips of tear-n-tape.
7.  Take your roll of metallic thread and wrap around your hand 4 times - cut and apply on top of the tear-n-tape rearranging the thread loops as desired (check photo for ideas).
8.  Attach greeting to card using Stampin' Dimensionals (I used 3).
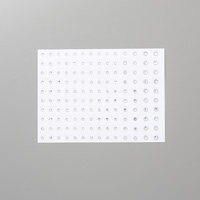
9.  Attach red rhinestones to your card front as desired.
10. Decorate your envelop using stamps from the set.
11.  Also, please feel free to use Wink Of Stella onto your card (I didn't have any left - waiting for my new one to come in).  I bet it will add just that bit of "sparkle" to finish off your wonderful creation!

Saturday, August 25, 2018

August 2018 Blog Hop - Holiday Theme - Pocket Card


Hello, and welcome to the Sea Shore Stampers blog hop for August 2018!  I am so glad you are joining us!

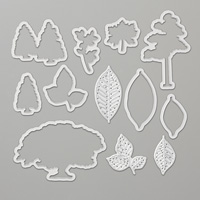
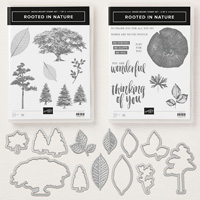
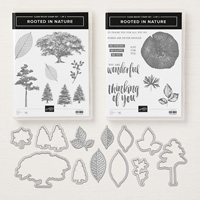
This month our theme is "Holiday" and I continued playing with my current favorite Stampin' Up!'s stamp set Rooted in Nature.  Not your typical "christmas" stamp set, but with a bit of tweaking, I think I made it "christmasy" - what do you think? 

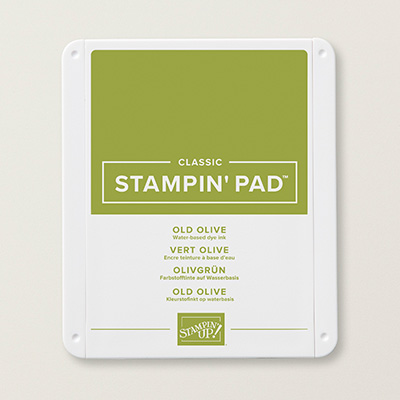
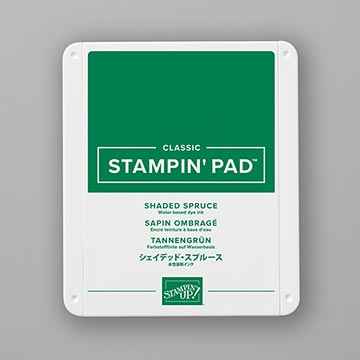
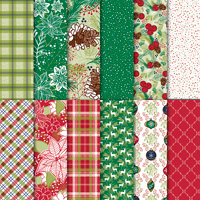
My color combination is Old Olive and Shaded Spruce to co-ordinate with the DSP "Under the Mistletoe".  If you want to watch a very good video on how to put a pocket card together, please watch Rick Adkins's video here.  Watching someone make this card is easier than reading written instructions.  Have fun!


Card front


Close-up of trees on card front


Close-up of card front's bottom


Inside of pocket-card


Close-up of bottom of inside of pocket card


Now have fun on your next stop on this hop:


Adrienne

Erica


Stampin' Up! Products Used:


Tips to recreate this card:
Cut:
Old Olive Cardstock - base:  5 1/2" x 4 1/4"; and pocket base: 5" x 3 1/2"
Whisper White Cardstock: pocket stamped piece: 4 3/4" x 3 1/4"; scraps for stamped and punched trees
Under the Mistletoe DSP: 10 1/2" x 4"; strip 4" x 1/2"
Next:
1.  Fold you DPS in half and then fold down one top flap about 1 1/2" (I did that for mine);
2.  Glue the 1/2" wide strip of DSP onto the flap as shown in picture;
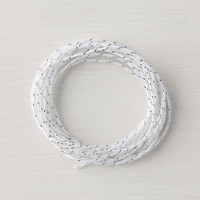
3.  Attach your white/silver Baker's Twine around the folded DSP over the front flap to secure it down.  I wrapped my twine 3 times around and then tied a knot.
4.  Now glue your folded DPS "pocket" to your Old Olive card base.
5.  Using Old Olive and Shaded Spruce inks, stamp your trees onto scrap whisper white cardstock and die cut out.
6.  Stamp your trees onto the bottom portion of the Whisper White card piece that goes into the pocket.  Stamp your greeting on the top left corner (see photos above).
7.  Attach your trees to the DSP pocket flap as shown.
8.  Attach the large Rhinestone Basic Jewels to the tips of your baker's twine.
9.  Stamp the trees and greeting onto your envelope.
You are done!  Whoo-hoo!!!  Now you can remake as many of these cards as you want! Enjoy :)


Monday, November 6, 2017

Oh So Ecclectic Christmas Card

Hello Stamping Friends and thank you for stopping by for some inspiration!
Card front

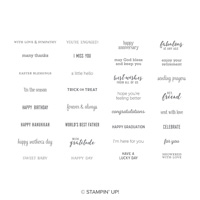
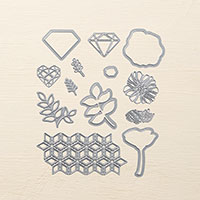
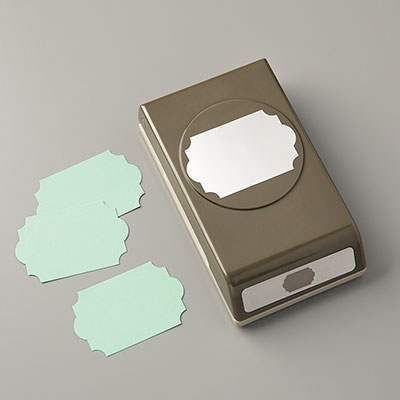
Today's card is a christmas card using the Oh So Ecclectic stamp set from Stampin' Up! along with Merry Little Labels and Teeny Tiny Wishes.  I used a small piece from a sheet of the designer series paper called Naturally Ecclectic.

Close-up of stamped embellishment

Another close-up of card so you can see some
of the DSP and the placement of the Rhinestone Basic Jewels

Enjoy your crafting week and I look forward to seeing you next time!


Stampin' Up! Supplies Used:
Tips and Tricks to recreate this card:
Cut:
Tranquil Tide Cardstock cardbase:  8 1/2" x 5 1/2" and scrap piece for punched Everyday Label shape
Shimmery White cardstock:  5 1/4" x 4"
Whisper White cardstock for inside of card:  5 1/4" x 4" and scrap piece to stamp image and punch out using Every Label punch
Naturally Ecclectic DSP piece: 4" x 2 1/2"
Next:
1.  Fold cardbase in half and set aside
2.  Die cut ecclectic shape onto shimmery card stock as shown in photo.
3.  Using star stamp from Oh So Ecclectic stamp set and Pool Party ink, stamp stars diagonally across and over die cut image on shimmery white cardstock.
4.  Using Tranquil Tide ink, stamp greeting using Teeny Tiny Wishes stamp onto bottom right corner of shimmery white cardstock.
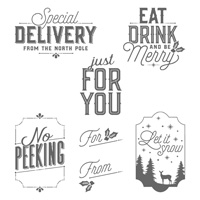
5.  Then stamp your "Let It Snow" image from the Merry Little Labels stamps onto your scrap of Whisper White cardstock.
6.  Using your Everyday Label punch, punch out the "Let It Snow" image and another "label" from your scrap piece of Tranquil Tide cardstock.
7.  Now attach your DSP piece to backside of diecut Shimmery White cardstock by placing Snail around the outside edge of the die cut (on the backside of cardstock), and then carefully placing and attaching your DSP over the Snail so you see your DSP peaking through on the front side of your Shimmery White cardstock.
8.  Now glue your "Let it Snow" punched shape to the Tranquil Tide punched shape with Snail.
9.  Now take a 7 1/2" piece of mini silver sequin trim and attach to backside of punched shape with Snail.
10. Now glue your shimmery white card piece to your Tranquil Tide card base.
11.  Apply Stampin' Dimensionals to the backside and over top of the trim and attach to your die cut card piece as shown in photos.
12.  Don't forget to add some bling - the Rhinestone Basic Jewels make this card sparkle!
13.  Stamp the inside Whisper White cardstock piece as desired and glue to inside of your card.
13.  Make and decorate your envelope.
You are done!  whoo-hoo - now you are on your way to creating christmas cards!  Love it!