Showing posts with label Stamp set - Itty Bitty Greetings. Show all posts

Monday, June 8, 2020

June 2020 International Highlights Blog Hop - Thank You!


Happy hello and welcome to the monthly International Highlights Blog Hop hosted by Kylie Bertucci out of Australia! Thank you Kylie!

The continuing theme is Thank You.


Thank You Card


This month I am sharing a card I created for my stamping group using a beautifully designed Stampin' Up! stamp set you will see in the newly released 2020-21 Annual Catalog. 

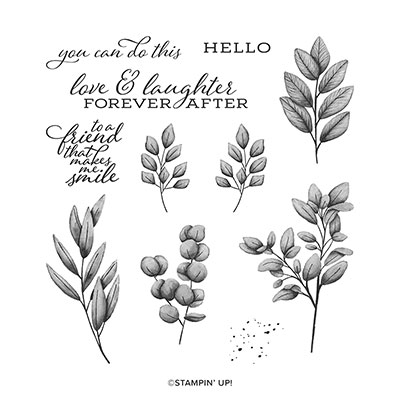
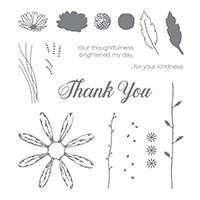
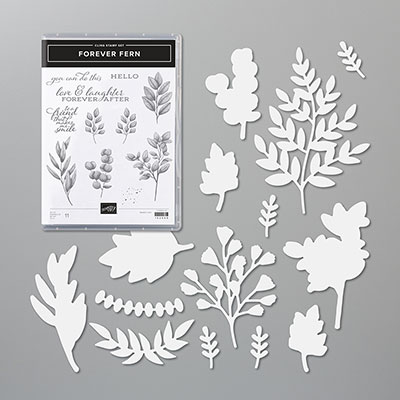
Introducing: Forever Fern!  What a gorgeous set and I bet you will love it too!


Inside of card

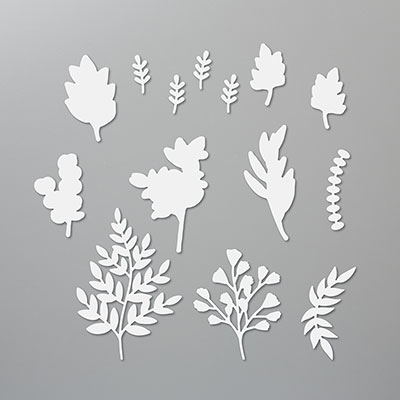
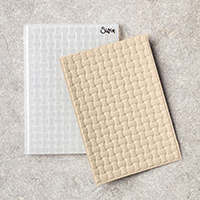
I used the stamp set images, two matching dies from the coordinating Forever Flourishing Dies and the really versatile embossing folder called Old World Paper 3D! 


Supplies Used

For now, please use what supplies you have on hand and, using the easy-to-follow instructions below, create a card of your own in thanks for someone special in your life! 😊😊😊

I hope this easy project sparked your creative mojo!

I also made a quick video if you prefer a visual aid (like I do).


Now for some more fun, you can go and look here at the other fabulous cards from the many other participants in this hop.  Enjoy!

Thank you so much for stopping by - see you next time!


P.S.  Directions to recreate this card are posted below.

P.P.S. If you reside in Canada and are looking for a Stampin' Up! demonstrator, I would be honored to be yours.


Stampin' Up! Supplies Used:

How to recreate this card:
Cut:
Old Olive Cardstock base:  8 1/2" 5 1/2" (or 11" x 4 1/4")
  • Score your card base in half 
  • Another piece 5 1/4" x 4" and run through embossing folder
Magenta Madness Cardstock scrap:  for punch and cut in half

Very Vanilla: 5 1/4" x 4" for inside of card and
  •  strip of 2 1/2" wide for greeting and stamped leaves
Cardstock Vellum: 4 1/4" x 3" for die cut leaves

Next:
1.  Run Old Olive mat piece through embossing folder.
2. Sponge edges with Old Olive ink.
3. Die cut your leaves with cardstock vellum and glue to embossed card front - making sure you only put glue to the parts of the vellum which will be hidden underneath the greeting.
2.  Stamp your leaves, greeting and inside of card with Old Olive ink onto the Very Vanilla cardstock pieces. Then punch or die cut out.
3.  Sponge all edges (optional if you prefer not to).
4. Apply the Magenta Madness punched shape to back of your greeting by first cutting shape in half and gluing each half to the backside of the greeting as shown in picture.
5. Glue on your stamped and die cut leaves to backside of greeting element.
6. Apply Stampin' Dimensionals to the back and attach to card base front over the glued down vellum leaves.
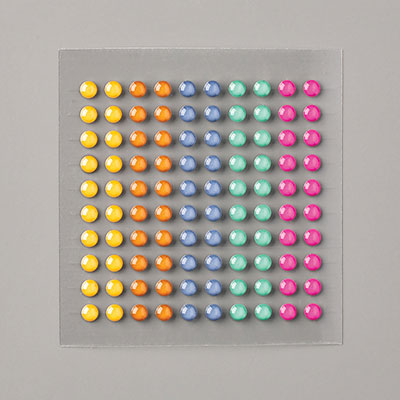
9.  Now add your bling - I used the 2020-2022 In Color Emamel Dots and the Metallic Pearls.

Whoo-hoo!  You made this card yourself!  Now go ahead and enjoy making a few more!

Saturday, June 23, 2018

June's Blog Hop - Theme - Red!


Happy Saturday Stampers!  I am wishing you all a happy June and welcome to SUMMER!!!! 

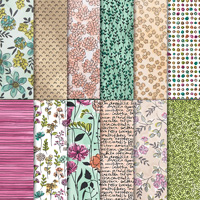
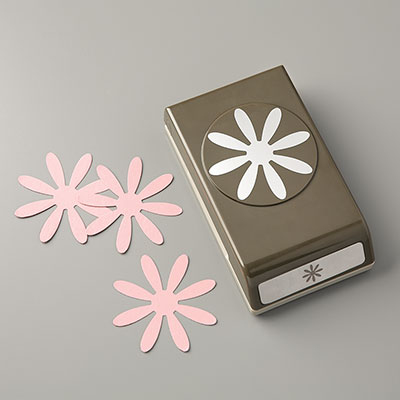
The weather is beautiful here on Vancouver Island and to celebrate, my blog hop share for the theme "red" is the birthday card I made for my mom.  I used Stampin' Up!'s Daisy Delight stamp set with matching punch and I incorporated cardstock colors Real Red and Cherry Cobbler.  I also used a bit of the Share What You Love specialty designer series paper for a bit of green accent.


Mom's birthday card
Card front


Inside of card


Close-up of red flower


Close-up of bottom corner flower

I hope you enjoyed my card today and that you find more creative inspiration from the others on this hop.
Have a wonderful week!

 
Adrienne

Erica


Stampin' Up! Products Used:
Tips and Tricks to recreate this card:
Cut:
Cherry Cobbler cardstock: 11" x 4 1/4" (use both pieces)
Real Red cardstock: 5 1/4" x 4" (cut from one corner down to the other)
DSP: 5 1/4" x 4" (also cut fron one corner down to the other)
Old Olive cardstock: 5 1/4" x 3 1/2" (inside mat)
Blushing Bride cardstock: 5" x 3 1/4" (inside stamping/greeting area)
Next:
1.  Fold both Cherry Cobbler pieces in half so you have two card bases 5 1/2" x 4 1/4"
2.  Open both up and do a dry fit whereby overlapping half of one piece over the other to create the center of your card.
3.  Now, from the fold on the top right, trim diagonally down to the bottom right outside corner, and on the second piece, from the fold on the top left, trim diagonally down to the bottom left outside corner. 
4 Now you can glue one rectangle onto the back of the second rectangle Cherry Cobbler piece so you have the "triangles" on either side.
5.  Now glue or use Tear-n-Tape on the bottom edge of the right triangle and glue down so it becomes the flap running from top right to bottom left of your card base.
6.  Now you take the Real Red cardstock triangle you put from above and lay over the triangle flap so it matches up.  Place this piece into your Basket Weave 3D embossing folder and run through the Big Shot.
7.  Glue your real red embossed triangle onto the glued down triangle flap on your card base.
8.  Now you glue the left hand side triangle on your cardbase down over top of the now glued down right hand triangle piece.
9.  I then glued my green DSP triangle piece onto this triangle.  Look at photos above to see what I am talking about because I know this can be "clear as mud"!
10.  You then ink the daisy from the Delightful Daisy stamp set with real red ink and stamp 5 daisies onto a scrap of Whisper White Cardstock and once onto a scrap piece of Real Red cardstock and punch out. 
11.  You then ink the daisy with Cherry Cobbler ink and stamp twice onto a scrap of Cherry Cobbler cardstock.
12.  Using photos for reference, assemble your daisies and attach to the card front and onto the inside mat.
13.  I stamped my greeting using Cherry Cobbler ink.
14. I attach a few Gold Facetted gems to the centers of the daisies.
You are done!!!  Admire your stamped creation and give yourself a happy pat on the back!
Enjoy.