

Happy hello and thank you for stopping by to check out the Seashore Stampers Blog Hop for September 2020! Time definitely appears to be running faster as the fall is underway.
I hope you are getting time to enjoy this time of year though - especially watching the colors change in nature!
For the card that I am sharing with you today, I created it with our theme of Halloween/ Fall/Thanksgiving in mind, but which you can adapt into whatever card you need it to be (even a birthday card).

I used three (3) stamp sets from Stampin'Up! which I found out really go well together. Whoo-hoo!
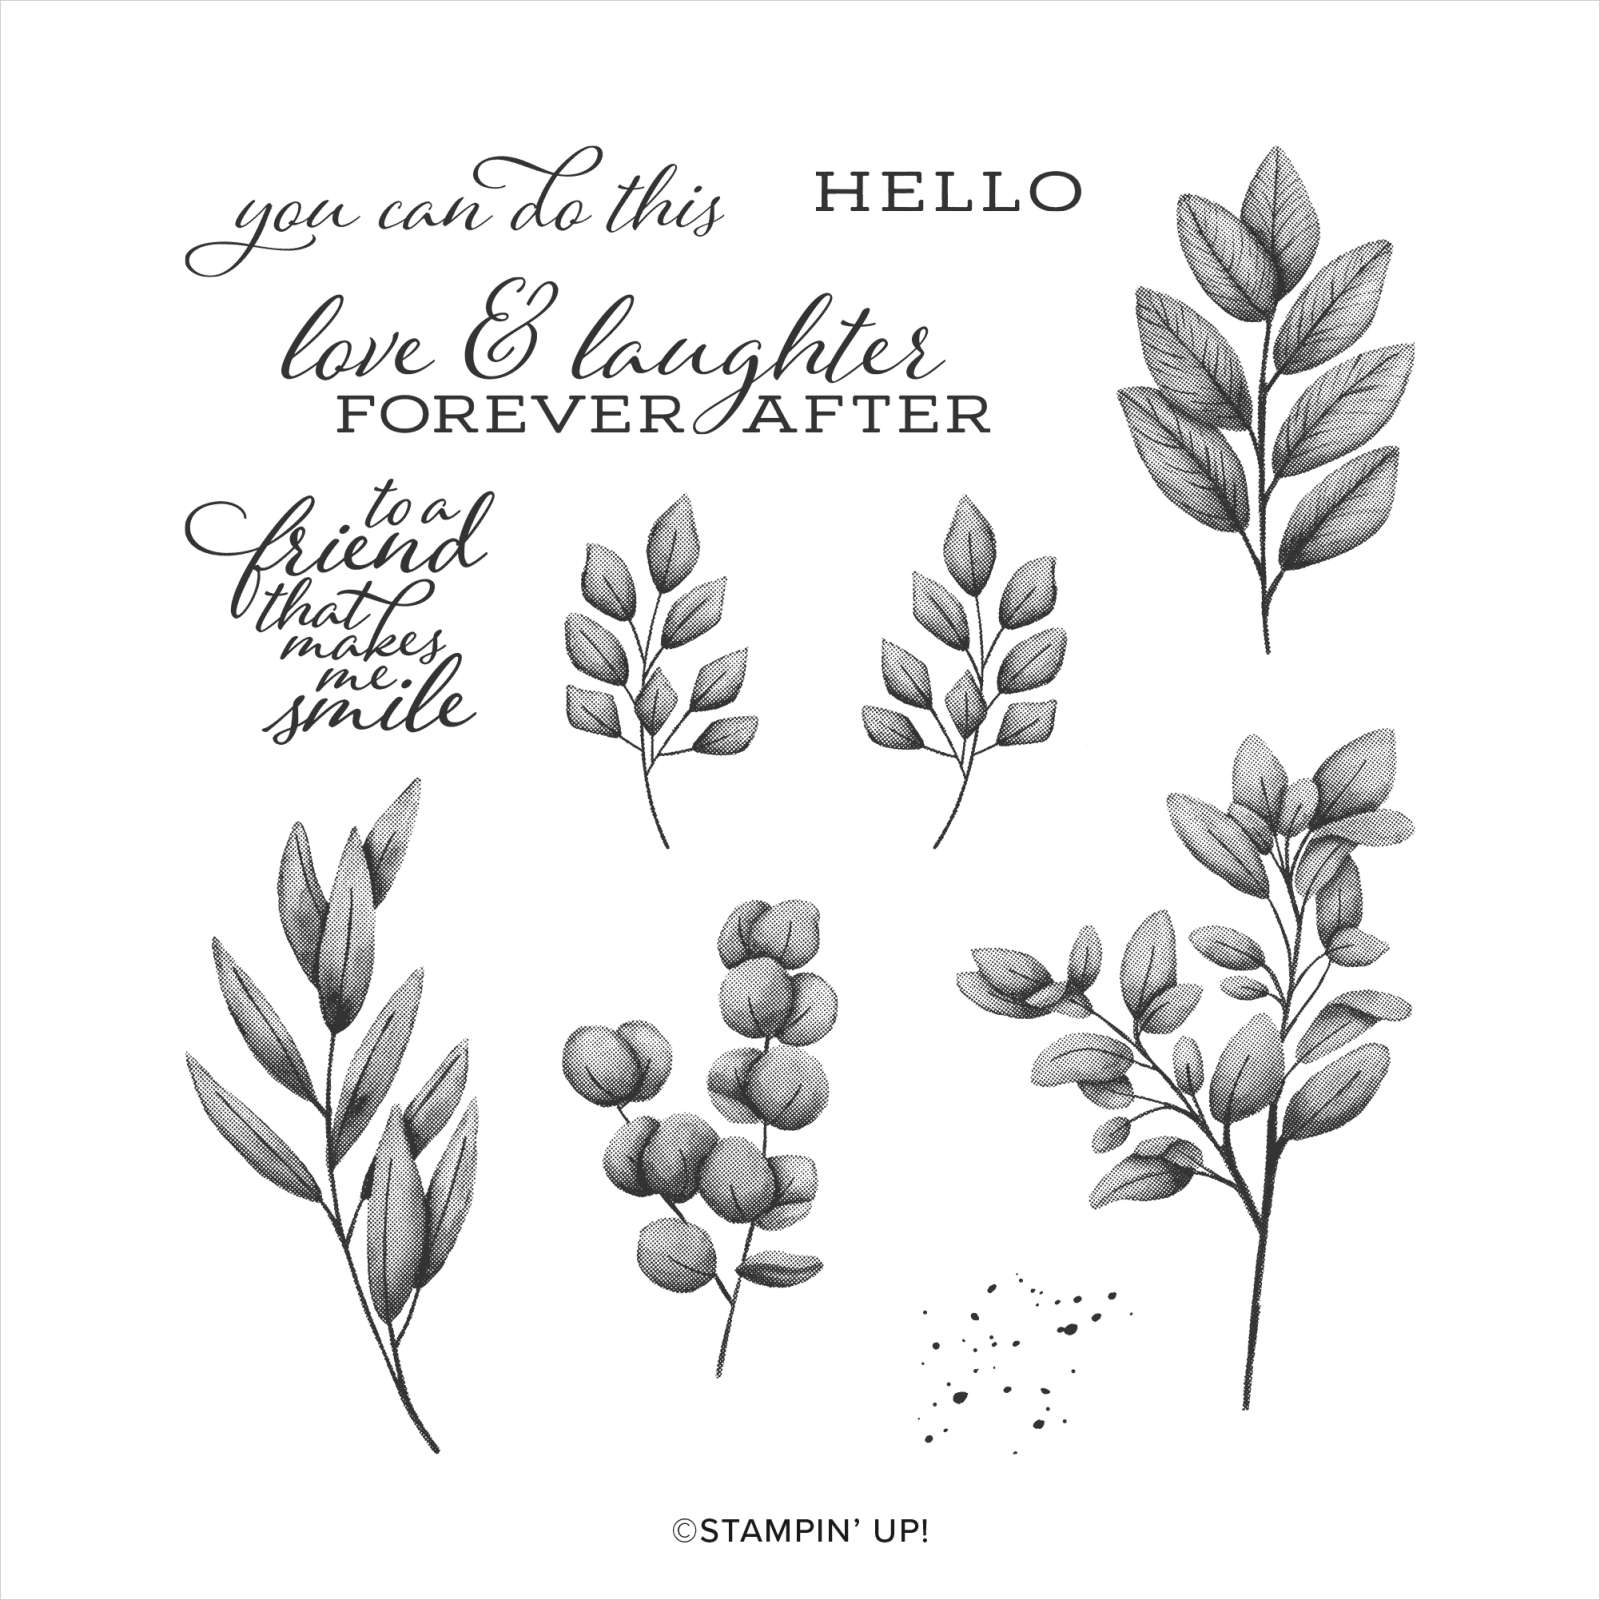
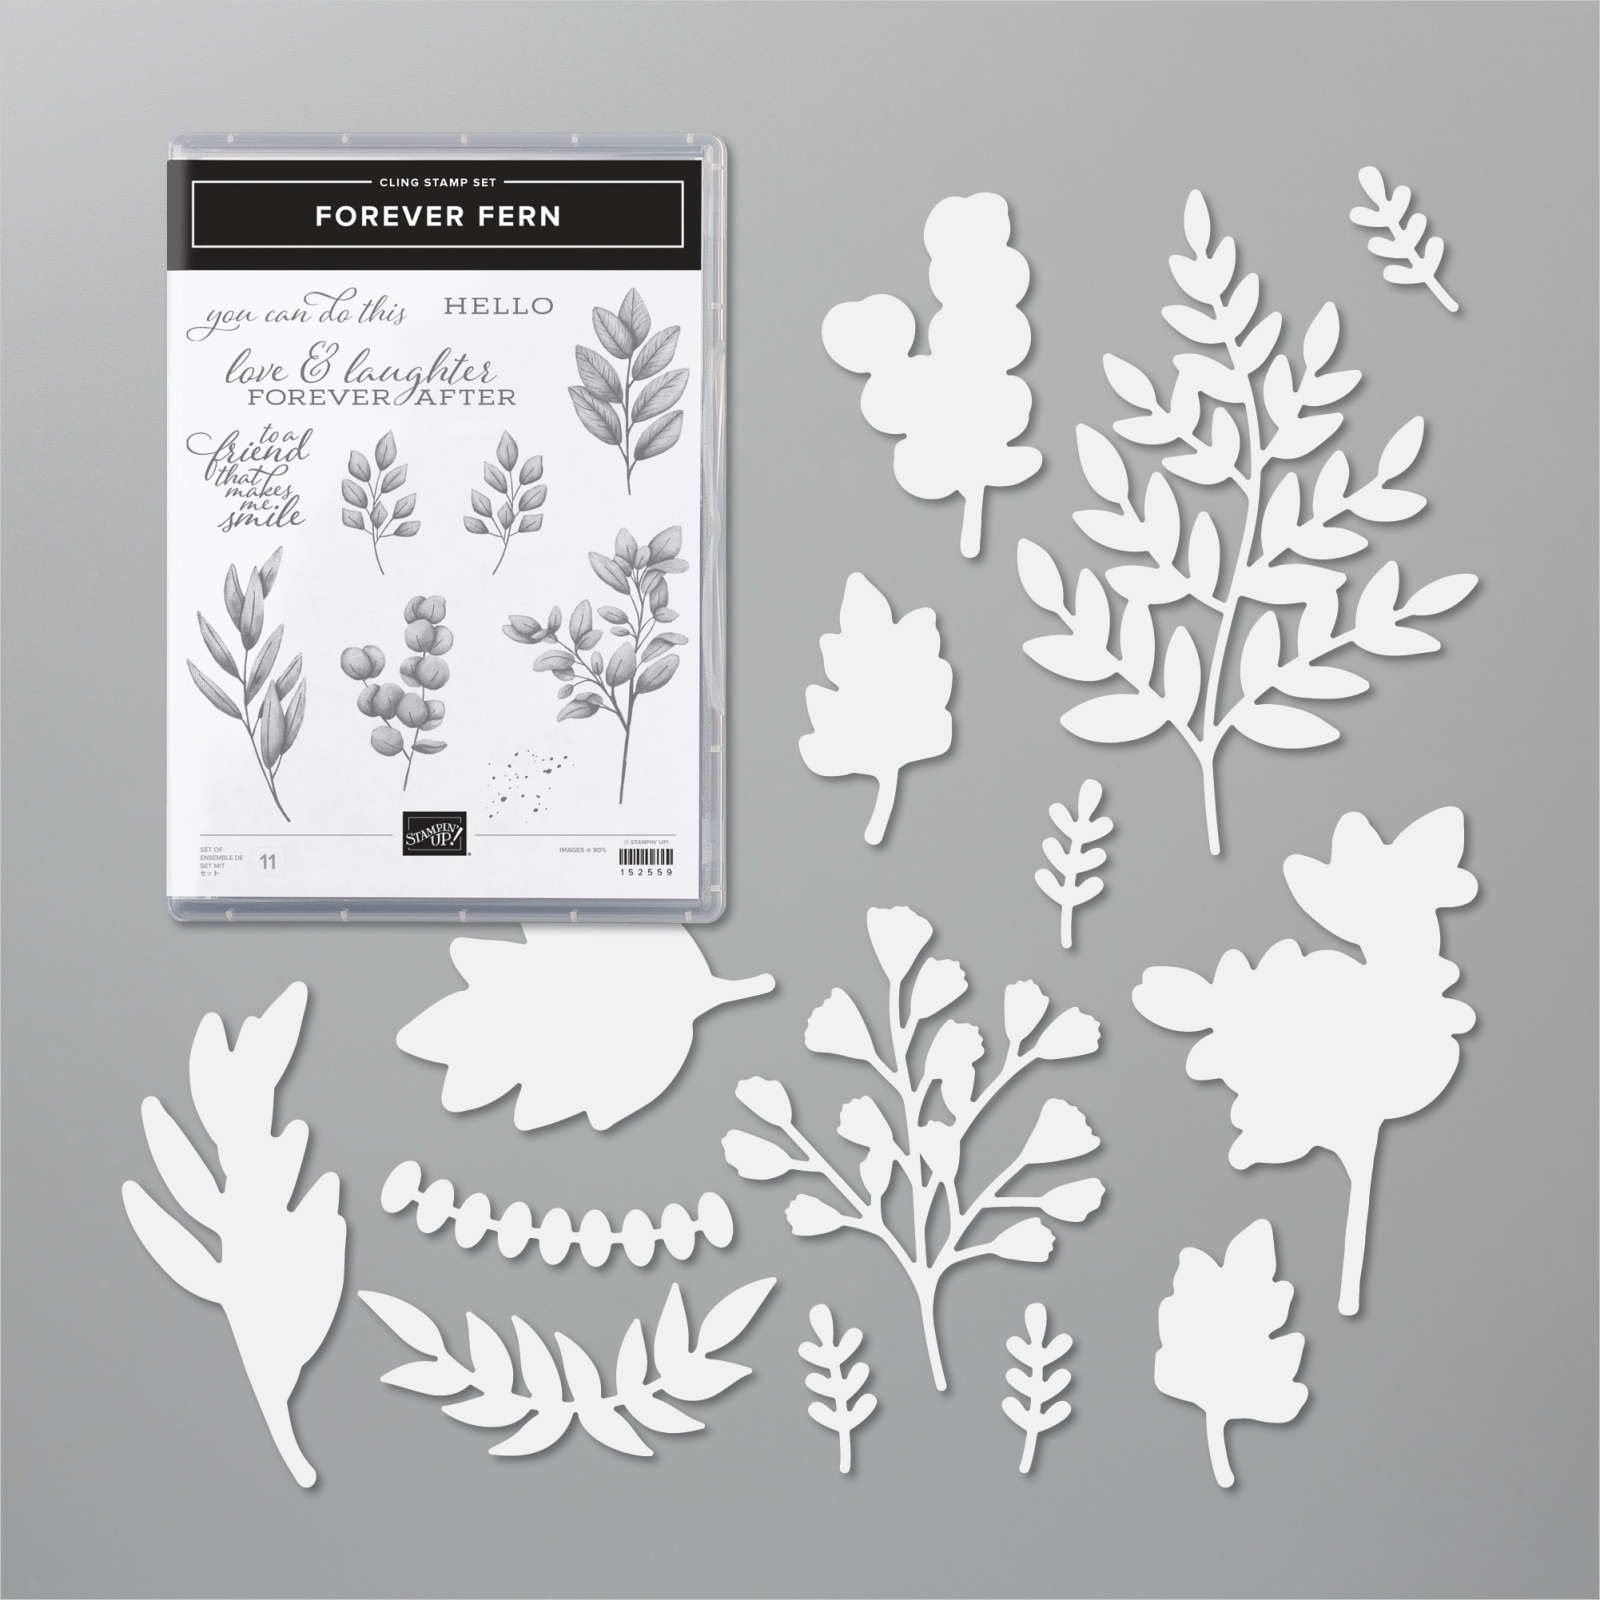
The stamp sets I used are Ornate Thanks, Zany Zebras and Forever Fern (the bundle in this case as I die cut two images of the leaf grouping).
Here is a close up of the card front:

Here is the inside of the card:

I also took a picture of the card elements so you have easy reference:

All right, this is it for me today - so please hop on over to the next stop and have fun letting your creative mojo loose!
 |
| Adrienne |
 |
| Laura |
Thank you so much for taking some time in your day to stop by - I look forward to seeing you next time!

P.S. If you reside in Canada and you are looking for a Stampin' Up! demonstrator, I would be honored to be yours.
Stampin' Up! Supplies Used:


Recreate this card:
Cut:
Merry Merlot Card base: 11" x 4 1/4"
Gilded Autumn Specialty DSP: 5 1/4" x 4" and contrasting strip of 4" x 1 1/2"
Very Vanilla inside mat: 5 1/4" x 4" and scrap piece large enough to stamp the zebra and two branches and greeting
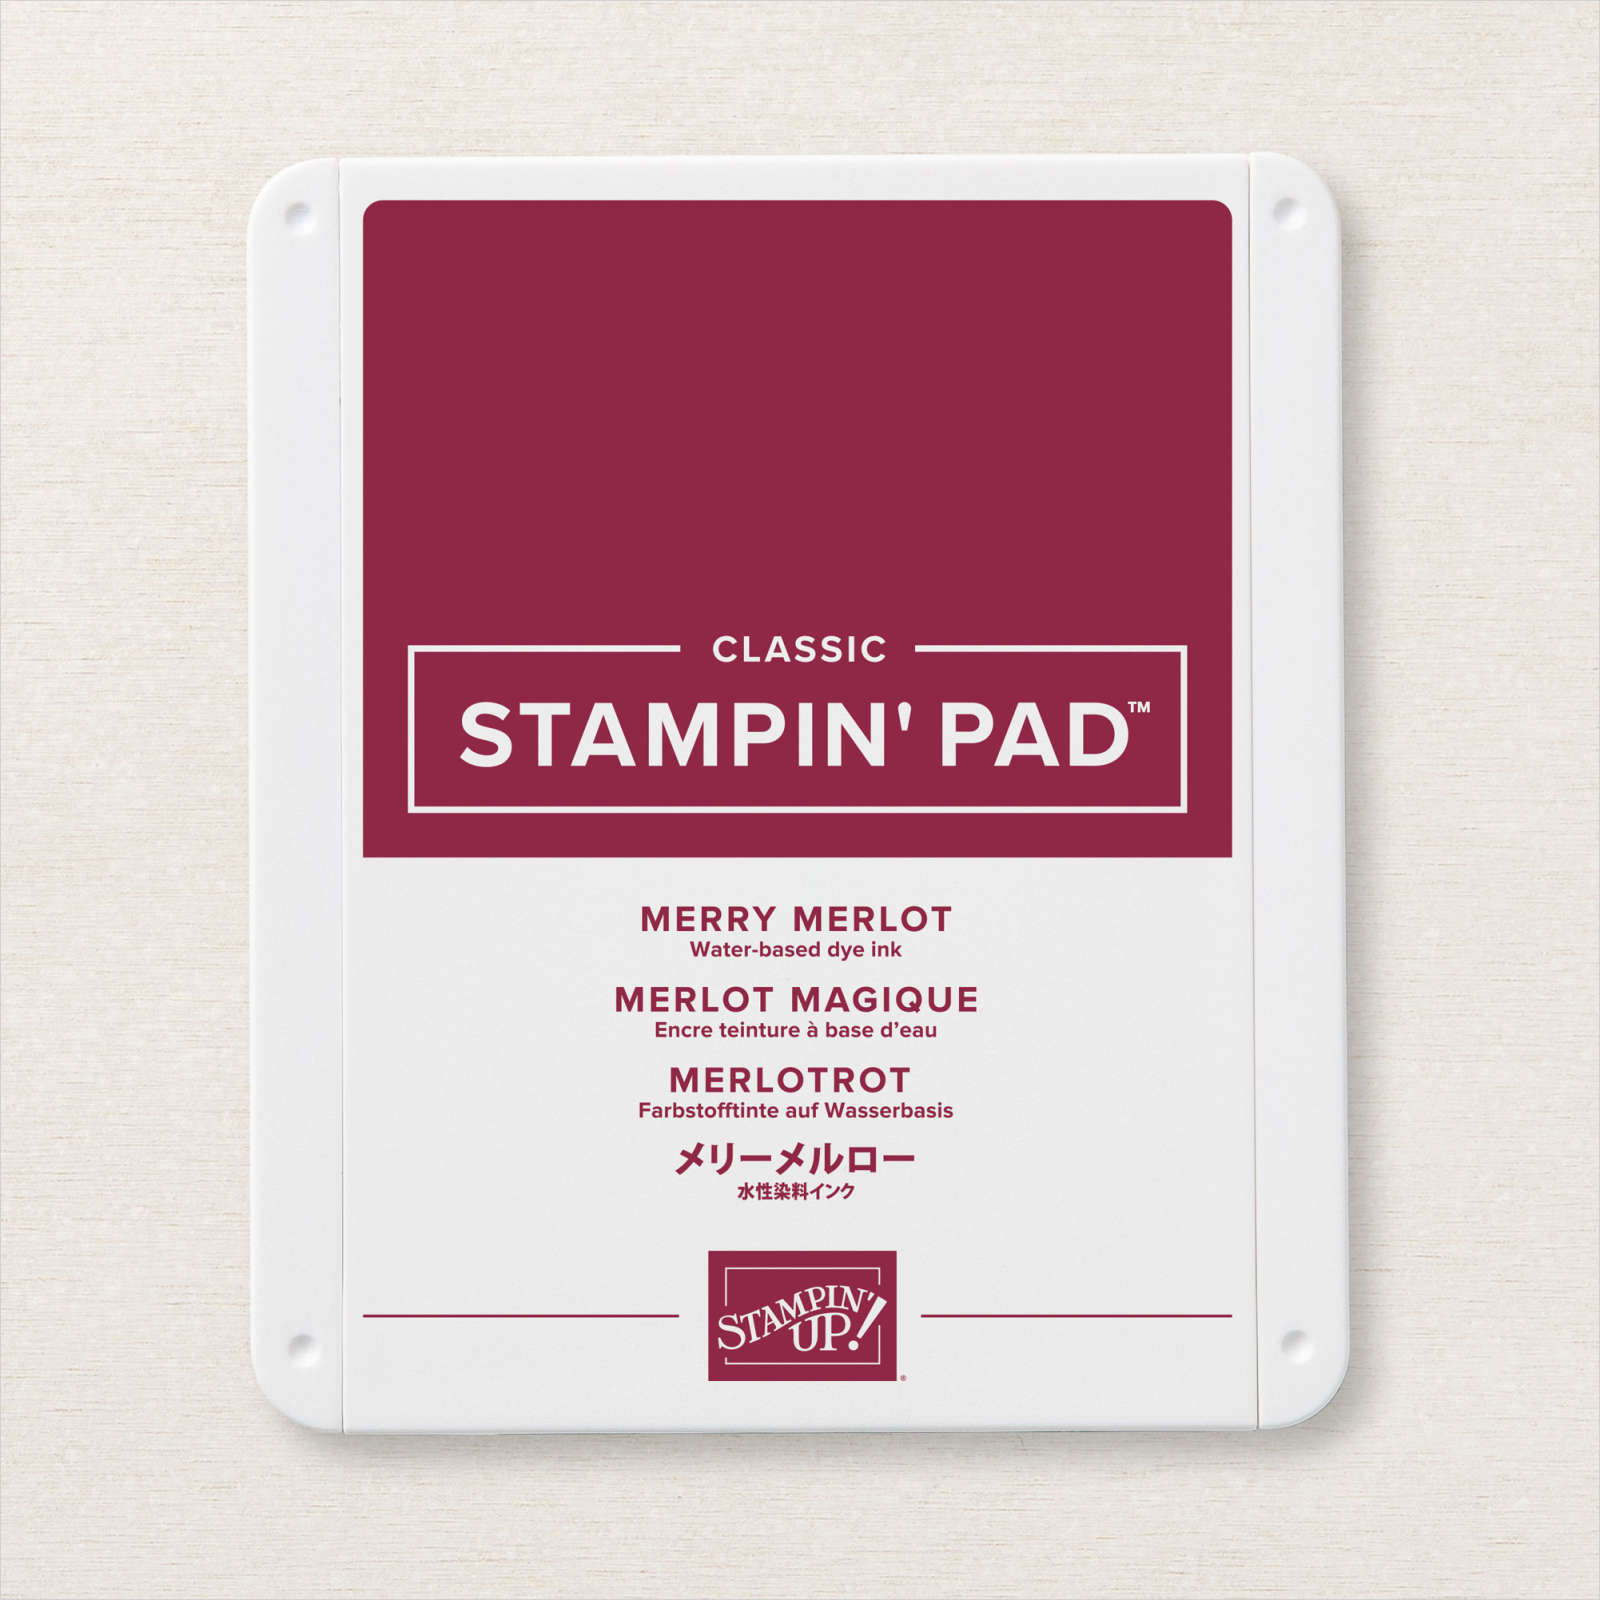
Scrap of Merry Merlot to back the fussy cut zebra
Next:
Note:
I sponged all edges of the mats, stamped and die cut/cut, greeting pieces with a sponge and Merry Merlot Ink. You can skip this step if you do not like sponging.
1. Attach DSP piece to front of card base.
2. Stamp your elements ie: branches, zebra and greeting onto scrap Very Vanilla - keeping in mind you are die cutting the images (or fussy cutting them). For the small "Seriously" greeting element, I needed enough room to stamp and punch the greeting out.
3. After having cut out the zebra, glue to scrap Merry Merlot and fussy cut around creating a thin border (see photo for clarification).
4. Wrap the gold cord around the greeting strip just to the left of the start of the greeting.
5. Now assemble your stamped elements:
a. Glue one die cut branch to the greeting strip as shown in photo;
b. Dry fit the second branch to the matted DSP on your card base
for placement and then glue it to the cardbase;
c. Place Stampin' Dimensionals to your strip greeting and attach
to your cardbase;
d. Attach Stampin' Dimensionals to the zebra and small punched
greeting and then attach to the greeting strip as shown.
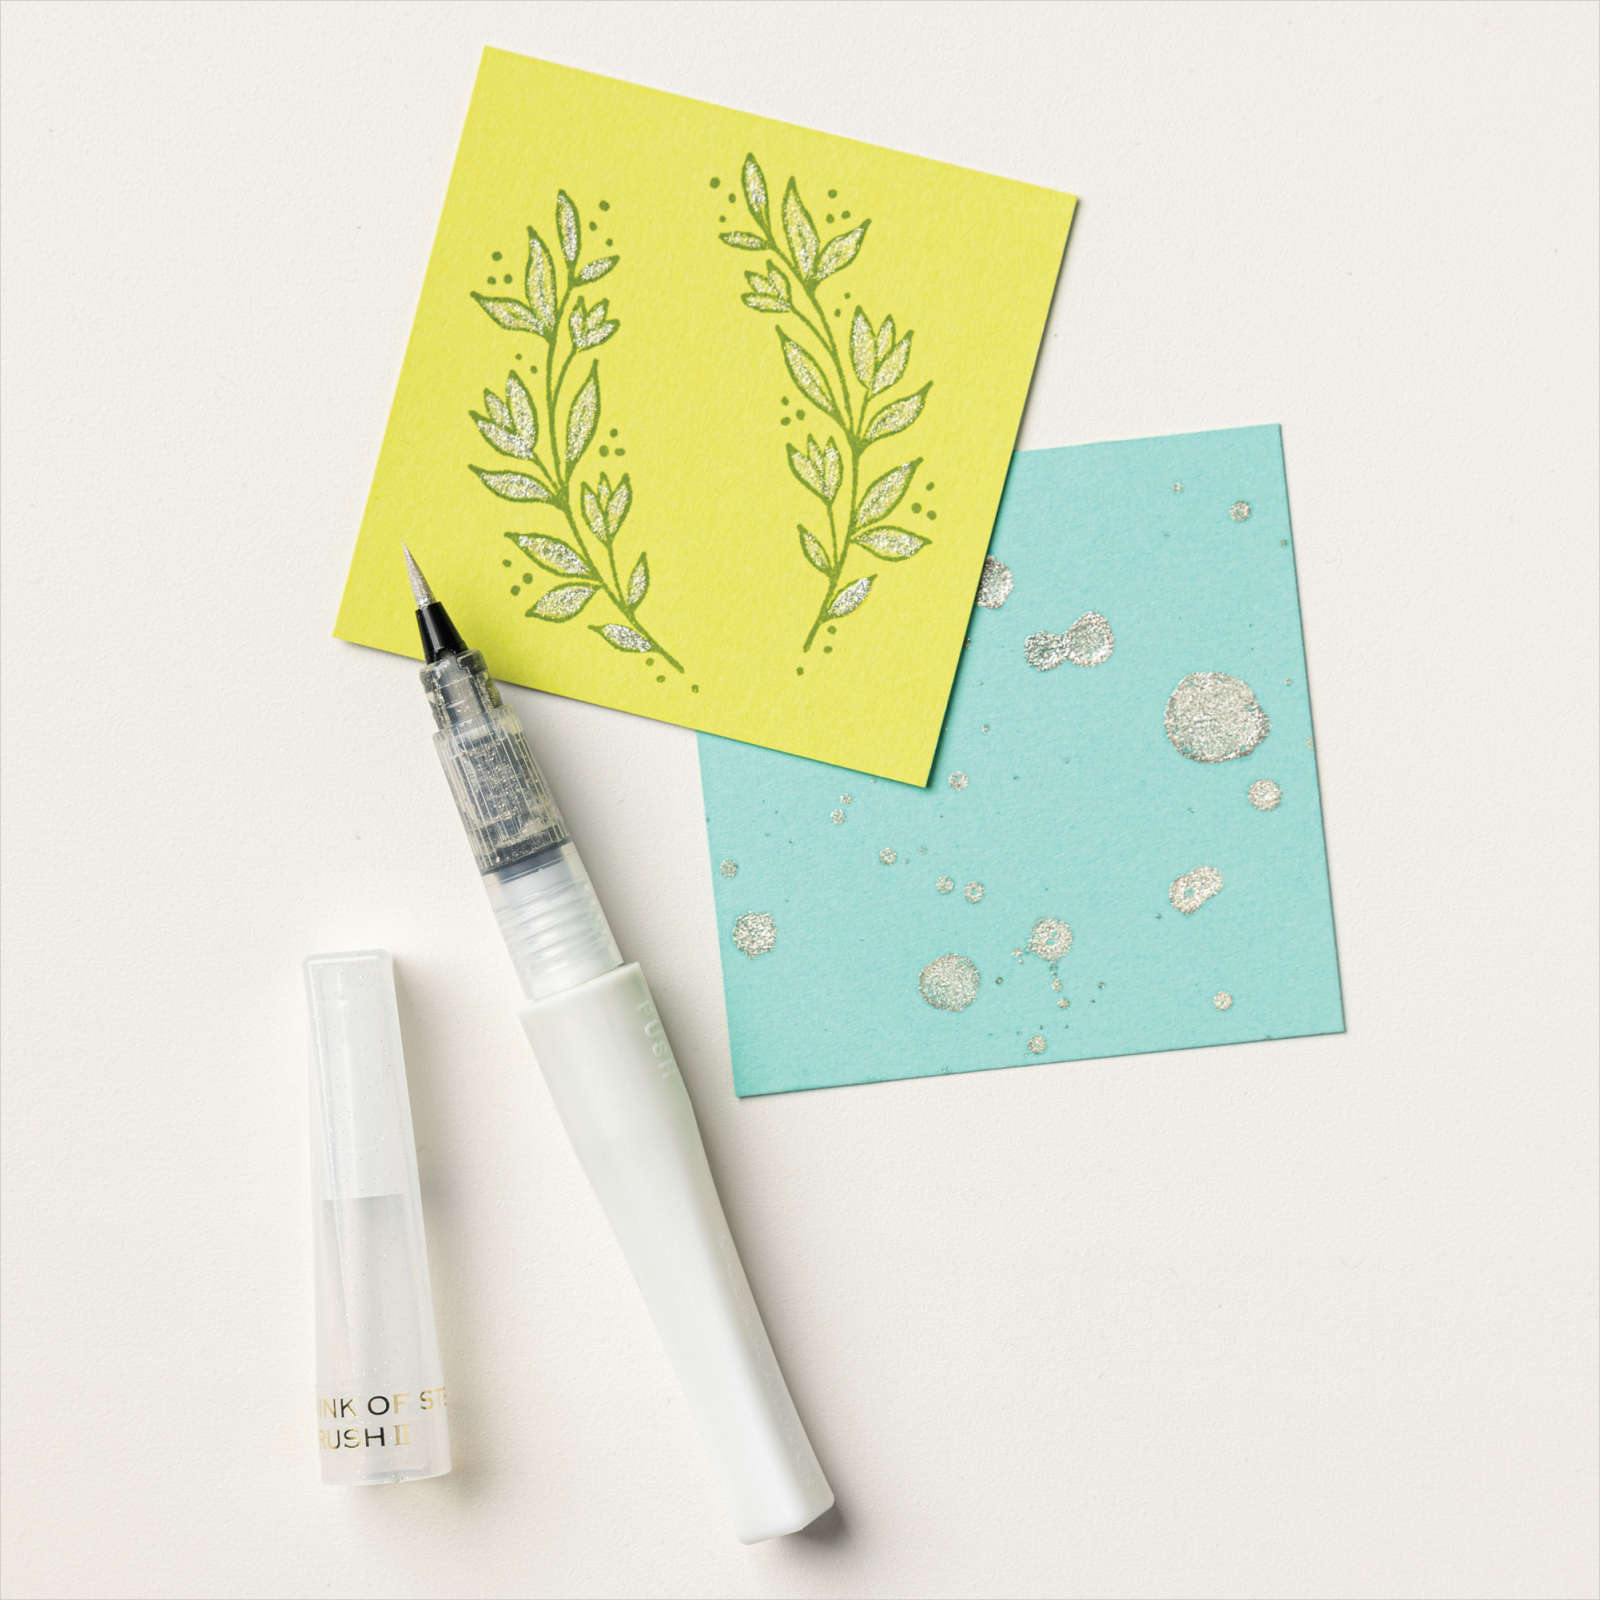
e. Now apply Wink of Stella whereever you wish to provide
some extra glitter!
f. Attach gilded gems (or any other bling of your choice) to
the card as shown.
8. Now stamp your inside Very Vanilla piece as shown, or as you desire.
Don't forget to stamp/decorate your envelope.
Yahoo - you are done! Happy dance!!! :)
Want to make another one? It will come together faster now that you completed the first one - go ahead!
This is adorable, Bruni!
ReplyDeleteThank you so much Adrienne!
ReplyDelete