I hope you had a great week and an even better weekend!
As promised, I am sharing a card with you today that I altered from the card I shared with you last week! I kept the basic layout but I added another two stamp sets, and some matching punches, to the mix! So, if you played along and made last week's card, you will have a very fun and easy time recreating this one!
 |
| Card front |
 |
| Inside of Card |
Now, please give this card a try and I hope to see you again next week!
Happy inky smiles!

Stampin' Up Supplies Used:



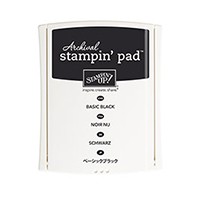
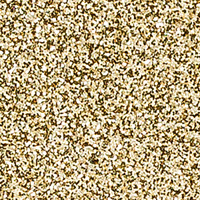
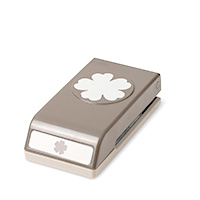
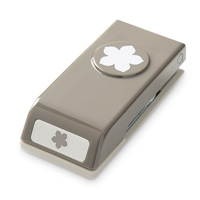




Cut:
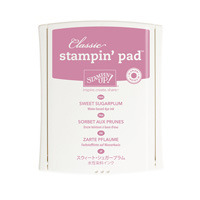
Sweet Sugarplum cardstock card base: 8 1/2" x 5 1/2"
Whisper White cardstock: 2 pieces 5 1/4" x 4" and a scrap that is large enough to stamp and punch out flower with Pansy punch and greeting with the Classic Label punch
Gold Glimmer Paper scrap: punched out using the Classic punch
Scrap of both Sugarplum and Cucumber Crush cardstock
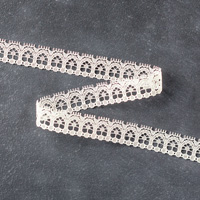
5" of Very Vanilla Lace Trim
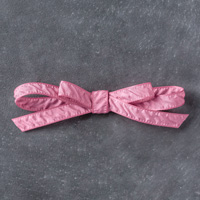
5" Sweet Sugarplum 3/8" Ruched Ribbon
Next:
1. Fold Sweet Sugarplum cardstock in half to create your card base and set aside.
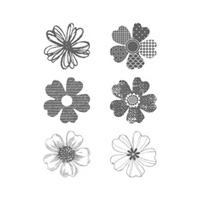
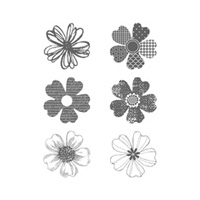
2. Chose one of the medium and one of the small flower stamps from the Love & Affection Stamp set and using your Sweet Sugarplum ink, stamp randomly onto one of the Whisper White pieces you are using for your card front. Then stamp some of the same flowers onto the inside piece of Whisper White cardstock. Look at photos for ideas.
4. Now take the Very Vanilla Lace trip and attach to your stamped piece about 2 1/2" up from the bottom.
5. Then take the Sweet Sugarplum ruched ribbon and cut a diagonal point at one end using your paper snips and then attach to stamped piece just overlapping the Very Vanilla Lace trim (see photo for placement).
6. Now choose one flower stamp from the Flower Shop stamp set and one flower from the Petite Petals stamp set and ink both up with Sweet Sugarplum ink.
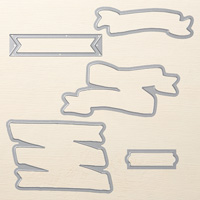
7. Ink the large flower onto the scrap of Whisper White cardstock and the small flower onto the scrap of Sweet Sugarplum cardstock. Using the matching punch, punch each flower out (or, if you don't have the punches, cut out using your paper snips).
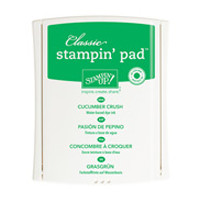
8. Now ink up one of the leaf shapes with Cucumber Crush Ink and stamp onto the scrap of Cucumber Crush cardstock 5 times. Cut all of the out using your paper snips.
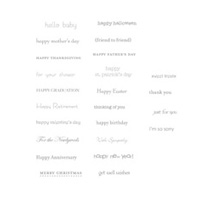
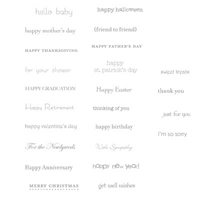
9. Choose a greeting from the Teeny Tiny Wishes stamp set and using the Basic Black Archival ink, stamp onto the scrap of Whisper White cardstock so that you can stamp it out using the Classic Label Punch.
10. While you have the Classic Label punch out, also punch out a piece from the Gold Glimmer paper.
11. Shape all your punched and cut flowers and leaves on your piercing mat to give dimension.
12. Using the Multipurpose Glue, attach shaped leaves to your two flowers (check photo for placement ideas) and then attach each follower to the card piece as shown.
13. Glue your greeting piece to the Gold Glimmer piece as shown in photo and then, once dry, glue in place under the large flower.
14. Glue your stamped art piece to your cardbase.
14. Attach your Pearl Basic Jewels as desired.
15. Stamp up your envelope, sign the back of your card and you are done!
Whoo-hoo!