Showing posts with label Thank you card. Show all posts

Monday, June 8, 2020

June 2020 International Highlights Blog Hop - Thank You!


Happy hello and welcome to the monthly International Highlights Blog Hop hosted by Kylie Bertucci out of Australia! Thank you Kylie!

The continuing theme is Thank You.


Thank You Card


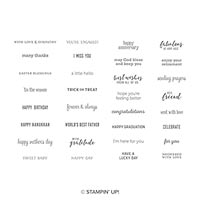
This month I am sharing a card I created for my stamping group using a beautifully designed Stampin' Up! stamp set you will see in the newly released 2020-21 Annual Catalog. 

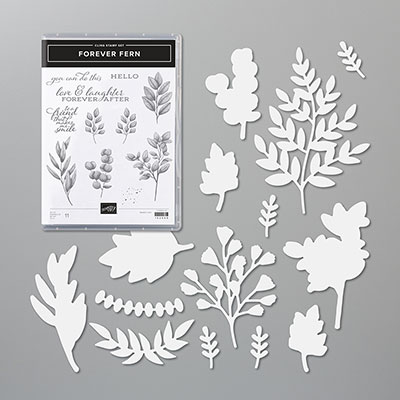
Introducing: Forever Fern!  What a gorgeous set and I bet you will love it too!


Inside of card

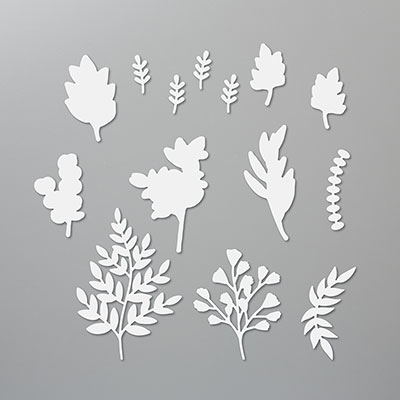
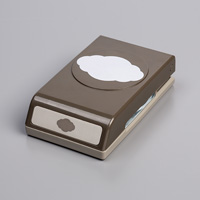
I used the stamp set images, two matching dies from the coordinating Forever Flourishing Dies and the really versatile embossing folder called Old World Paper 3D! 


Supplies Used

For now, please use what supplies you have on hand and, using the easy-to-follow instructions below, create a card of your own in thanks for someone special in your life! 😊😊😊

I hope this easy project sparked your creative mojo!

I also made a quick video if you prefer a visual aid (like I do).


Now for some more fun, you can go and look here at the other fabulous cards from the many other participants in this hop.  Enjoy!

Thank you so much for stopping by - see you next time!


P.S.  Directions to recreate this card are posted below.

P.P.S. If you reside in Canada and are looking for a Stampin' Up! demonstrator, I would be honored to be yours.


Stampin' Up! Supplies Used:

How to recreate this card:
Cut:
Old Olive Cardstock base:  8 1/2" 5 1/2" (or 11" x 4 1/4")
  • Score your card base in half 
  • Another piece 5 1/4" x 4" and run through embossing folder
Magenta Madness Cardstock scrap:  for punch and cut in half

Very Vanilla: 5 1/4" x 4" for inside of card and
  •  strip of 2 1/2" wide for greeting and stamped leaves
Cardstock Vellum: 4 1/4" x 3" for die cut leaves

Next:
1.  Run Old Olive mat piece through embossing folder.
2. Sponge edges with Old Olive ink.
3. Die cut your leaves with cardstock vellum and glue to embossed card front - making sure you only put glue to the parts of the vellum which will be hidden underneath the greeting.
2.  Stamp your leaves, greeting and inside of card with Old Olive ink onto the Very Vanilla cardstock pieces. Then punch or die cut out.
3.  Sponge all edges (optional if you prefer not to).
4. Apply the Magenta Madness punched shape to back of your greeting by first cutting shape in half and gluing each half to the backside of the greeting as shown in picture.
5. Glue on your stamped and die cut leaves to backside of greeting element.
6. Apply Stampin' Dimensionals to the back and attach to card base front over the glued down vellum leaves.
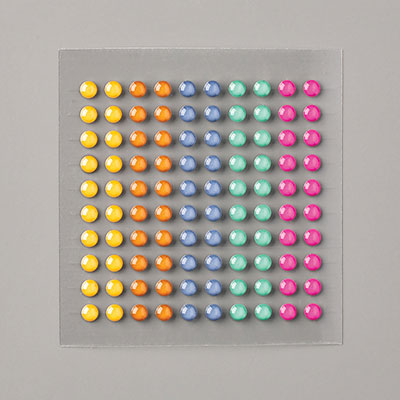
9.  Now add your bling - I used the 2020-2022 In Color Emamel Dots and the Metallic Pearls.

Whoo-hoo!  You made this card yourself!  Now go ahead and enjoy making a few more!

Monday, May 4, 2020

Thank You - Using So Sentimental

Happy hello and welcome to the monthly International Blog Hop Highlights hosted by Kylie Bertucci out of Australia!

The theme this month is Thank You.


How many thank you cards are on on your list to make?  I have oodles on mine!  Especially during this unique time in our world's history.


Easy Thank You Card

So, do you too need a quick and easy to do card? Then please, pull your own supplies and follow along!

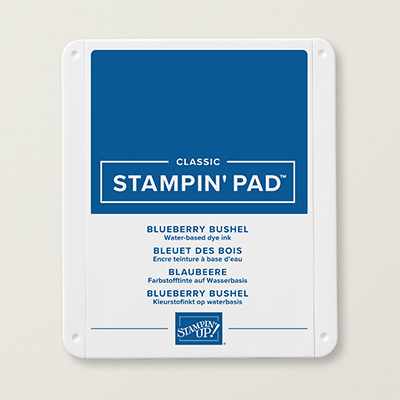
I created this easy card using the first cardstock base I put my fingers on:  Stampin' Up!'s Blueberry Bushel - love this color and it is retiring at the end of this month. Next, I found a bit of co-ordinating DPS, then I added some Whisper White cardstock, matching Blueberry Bushel ink,  a greeting stamp and a co-ordinating die (a punch works well here to!).  

Inside of card


Did you have fun? I hope so!


Thank you so much for stopping by - see you next time!


P.S.  Directions to recreate this card are posted below.

P.P.S. If you reside in Canada and are looking for a Stampin' Up! demonstrator, I would be honored to be yours.

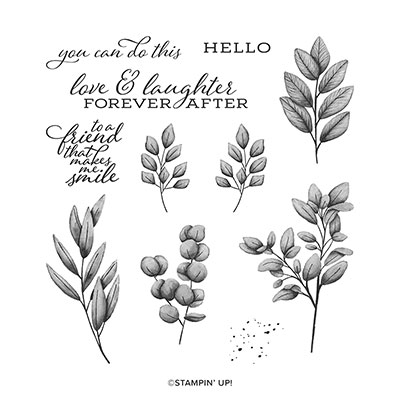
Stampin' Up! Supplies Used:


Cut:
Blueberry Bushel Cardstock base:  11" x 4 1/4"
  • Score your card base in half and then take the front piece of cardstock and cut off 4 1/2" so that you only have a 1" piece of the cardstock left on the front from the fold. 
  • cut a 3/4" piece off the scrap piece - you will glue this strip to the backside of your DSP
  • use the remaining cut off piece to die cut (or punch) your shape 
Co-ordinating DSP: 5 1/4" x 4"
  • if you are using a 6" x 6" piece of DSP (like I did), cut a 4" strip of DSP and then cut to length at 5 1/4" and use the remaining DSP strip to glue to your inside card piece (no waste - yippee!)
Whisper White piece for inside of card:  5 1/4" x 4"
Scrap of Whisper White for stamping and die cutting greeting

Next:
1.  Emboss your 1" fold of cardstock using a favorite embossing folder you have  on hand.
2.  Glue your DSP to the backside of the embossed cardstock base so that the DSP bottom edge lines up with the bottom back of your card base.
3.  Glue the 4" x 3/4" cardstock piece to the bottom backside of the DSP (this  will sturdy up your DSP.
4. If you have a left over DSP strip, glue this Whisper White inside card piece where-ever you feel it looks best. I glued mine to the bottom.
5. Using Blueberry Bushel ink, ink your greeting stamp and stamp onto your scrap piece of Whisper White.
6. Die cut your greeting and also die cut the same shape from the left over Blueberry Bushel cardstock.
7. Cut the die shape apart diagonally and attach to your die cut greeting piece as shown in picture above.
8.  Apply the greeting element to the front of your card with Stampin' Dimensionals. 
9.  Optional:  I used the matching Blueberry Bushel 1/8" grosgrain ribbon to make a double bow (I used a bow maker that one of my stamping buddy's hubby made but any method you use to make your bow will work! Even just a knot!
10.  Apply bling!!!! I used the basic rhinestones.

Whoo-hoo!  You made this card yourself!  Now go ahead and enjoy making a few more!

Monday, October 9, 2017

September Thank You cards (and Happy Thanksgiving)

Happy Thanksgiving everyone!
Thank you for taking time out of your busy weekend with family and friends to stop by here.

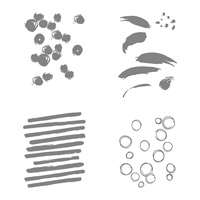
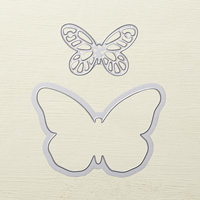
Today I wish to share with you my thank you cards for my customers in September.  I used one of my favorite butterfly die sets from Stampin' Up! called Bold Butterfly Framelits.  I also used a very versitile background stamp called Playful Backgrounds. 


A trio of the Thank you cards for my September customers


Close-up of card
Inside of card

I hope your creative juices are sparked today and that you too go make a thank you card for someone special.  Now go and enjoy the rest of your Thanksgiving Monday.

Have a wonderful week and see you again next time.


Stampin' Up! Supplies Used:
Tips and Tricks to recreate this card:
Cut:
Island Indigo cardstock card base: 6" x 3" folded in half to create your 3" x 3" cardbase
Whisper White cardstock: 1 piece 2 3/4" x 2 3/4" for outside and  one piece 2 1/2" x 2 1/2" for inside of card.
Pool Party scrap to die cut your butterfly
One page from one of your old catalogues to create your envelope (follow your envelope maker instructions to create)
Next:
1.  Stamp your background onto the larger piece of Whisper White cardstock as desired using Pool Party Ink.  Then stamp greeting of your choice into upper right corner using Island Indigo ink.
2.  Stamp dragonfly image onto upper left corner of the smaller Whisper White cardstock piece using Pool Party ink.
3.  Glue/adhere your outside and inside stamped pieces to your card base.
4.  Die cut your butterfly from the Pool Party cardstock and attach your butterfly to the card front as shown.
5.  Attach a large pearl to the center of the butterfly.
6.  Create your envelope.
You are done!

Monday, September 4, 2017

You're Priceless Thank You Cards

Hello stamping friends and welcome to another blog post!
Today I am sharing the thank you cards I made for my customers this past week.

My Thank you cards to my loyal stamping buddies!

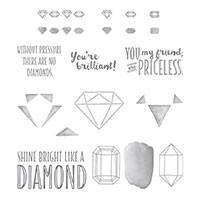
I used Stampin' Up!'s You're Priceless stamp set and the Pretty Lable punch - some of the very same supplies used in last week's stamp class -  bonus!

Now that Stampin' Up! has returned the 3x3 envelopes (whoo-hoo), I am back to making my mini cards!
I hope this week's card share gets your creative juices flowing as we head into September.

Have a wonderful week and I look forward to seeing you again!


Stampin' Up! Supplies Used:
Tips and Tricks to recreate this card:
Cut:
Soft Sky cardstock: 6" x 3" and then scored along long edge at 3" to create 3x3 cardbase
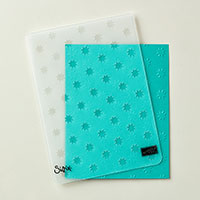
Lemon Lime Twist cardstock strip: 3" x 1" - embossed with the Oh My Stars embossing folder
Whisper White: 2 3/4" x 2 3/4" square for inside of card and a scrap to stamp and punch greeting
Next:
1. Using Soft Sky ink and the diamond outline stamp, stamp the front of the card front as shown.
2. Use the Banner Triple punch to punch out the banner tail in your embossed Lemon Lime Twist cardstock strip.
3.  Glue to the left edge of the card base as shown (you will be trimming off a small amount of the Lemon Lime Twist that will be sticking up at the top of your card base).
4.  Ink and stamp your diamond focal piece using blue ink colors of your choice (I used Tempting Turquoise, Pacific Point and Island Indigo and then I outlined the whole in Lemon Lime Twist) .
5.  Stamp your greeting onto scrap of Whisper White cardstock using Basic Black ink and then, one the ink has dried, punch out the greeing using the Pretty Label punch.
6.  Attach your greeting to the cardbase using the multipurpose glue.
7.  Attach your stamped diamond using stampin' dimensionals.
8.  Glue on a sequin in color of your choice (I used retired brights sequins) to the bottom right of your card (or add more if you so desire!)
9.  Stamp the tiny row of diamonds to the Whisper White square piece using Soft Sky ink. At the same time, stamp your matching envelope!
10.  Now don't forget to sign the back of your card and then send off to someone special!