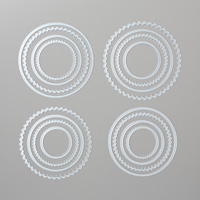
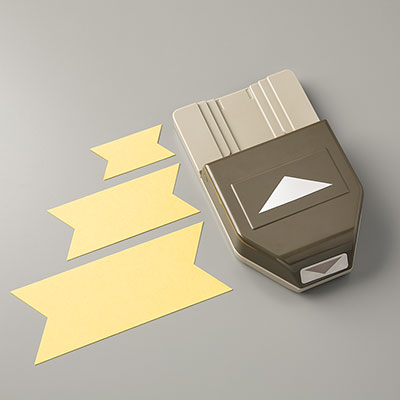
Hello fellow stampers - thank you stopping by this summer day! I hope the summer is treating you well and that you are in a creative mood!
This time of year, weddings and celebrations are too numerous to count. Enjoy the hop and find some stamping/crafting inspiration here (especially if you need a wedding card!).
I CASED a wedding card design I found online (will post link here once I find it) because this card is perfect for a friend of mine. I also used this card for my swap with my group this month - bonus!
For my card, I used Very Vanilla cardstock for my base and I used my friend's favorite color, purple, as my accent. You can most certainly change it up to match the color theme you need. I also used the Shimmery White cardstock for the greeting. I took some progress photos so you can see the process to recreate this card.
 |
| Card front |
 |
| Close-up details of card front |
 |
| The embossed mat and the cut circle greeting |
 |
| The full unaltered diecut on the left and the modified diecut on the right - you will notice I cut one of the swirly leaves off so the diecut didn't cover the greeting. |
Okay, that's it for me. Enjoy your time hopping through this celebratory blog hop:
 |
| Adrienne |
 |
| Erica |

Stampin' Up! Supplies Used:
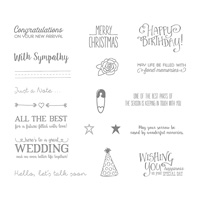

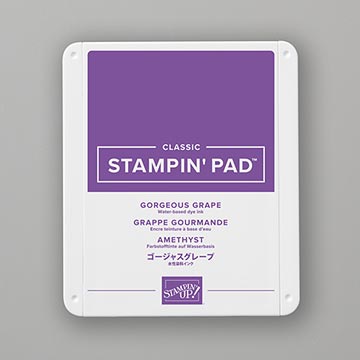

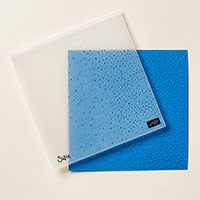
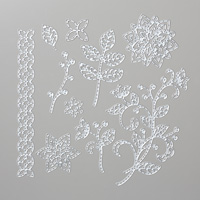
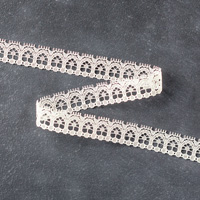

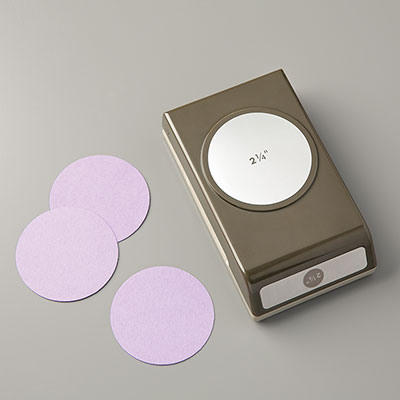
Cut: Very Vanilla cardstock: 11" x 4 1/4" for base and 5 1/4" x 4" mat
one strip of Shimmery White for stamping and punching out a 2 1/4" circle
Next:
1. Emboss your very vanilla white with the Softly Falling embossing folder (or folder of your choice).
2. Punch out circle using your 2 1/4" punch.
3. Glue mat to card base.
4. Ink up your greeting with VersaMark ink and then with Gorgeous Grape ink. Stamp onto Shimmery White cardstock and then cover with clear embossing powder. Heat set.
5. Glue your circle into the punched out mat (see photos above).
6. Die cut your flourish from Very Vanilla and then carefully cut away the one leaf as shown in photo.
7. Glue to card front as shown (but leave the base stem free of glue as you will tie the ribbon to this spot.
8. Using some sewing thread right from the spool, knot the lace trim where you like and then, while thread is still attached to ribbon and spool, tie onto stems with another knot.
9. Now glue a large basic pearl over the knotted ribbon.
10. Now you get to apply basic pearls wherever you like (see photos where I placed mine) I believe they add just that bit of luxuriousness!
11. You are now ready to decorate your envelope and give your card to the lucky couple!
Whoo-hoo!