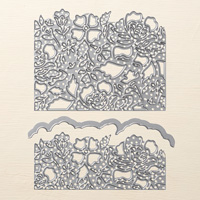
Just like a favorite candy, I can't stay away from creating the mini purses using Stampin' Up!'s Detailed Floral Thinlits! This time I used Black cardstock for my purse base and I randomly sponged Whisper White cardstock with a variety of inks. I also created a note card to match in case I don't use it as a treat bag (I agree it might be a bit small for those who enjoy a huge candy haul.... but it is perfect for those decedent treats!).
So please excuse my current obsession, and have a wonderful and safe Halloween!

 |
| Close-up of mini purse |
 |
| Close-up of Rhinestone detail on purse handle (sorry for blur - couldn't get a sharper image this time round) |
 |
| Notecard (I used Designer Tin of Cards Stamp set for the saying) |

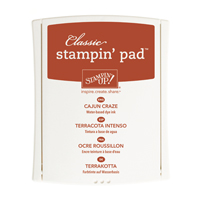
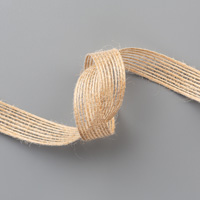
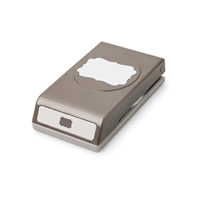
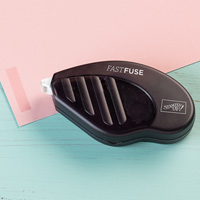
Stampin' Up! products used:




Tips to help you recreate this project:
- Refer to my Saturday post for details on cutting and scoring your mini purse/treat bag.
- The changes this time round: I used Basic Black cardstock and Whisper White Cardstock.
- I cut my Whisper White cardstock by starting with a 11" x 5" strip. From this I cut two pieces at 5" x 3 1/4" and used the remaining piece to use for the flap and the notecard.
- Note card measurements: 4 1/2" x 3" (so you need a piece cut 6" x 4 1/2" and then scored in half to create the card base)
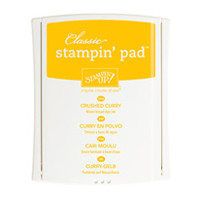
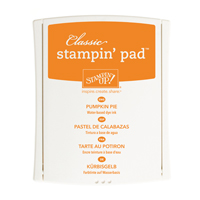
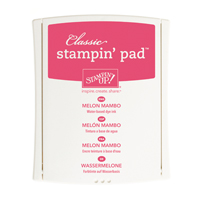
- I used the following ink colors to randomly sponge my whisper white pieces:
- Crushed Curry
- Pumpkin Pie
- Melon Mambo
- Wild Wasabi
- The largest whisper white piece I used to first glue onto the flap of the purse and die cut the edge. Then I used the remaining piece to cut a piece to fit inside the note card. I had a small 1/2" strip left over that I used for my say "Just a note to you". I ended up with hardly any scrap!
- For the handle use a 11" x 1 1/4" strip of cardstock and score down each end on the long side at 3/8". Fold the edges in and use bone folder to gently bend and mold your handle. Then add glue to each flap piece. Again use bone folder to "shape" your handle. You now should have a handle that is 11" x 1/2". Glue each end of the handle to the inside portion of the purse ridge (I glued about a 3/4" to 1" handle end). Then to change this handle up I also bent and glued the handle on the outside ridge about 1/2".
- Last I used Basic Rhinestones to bling up my project
- Options: Use Wink of Stella to sparkle up the roses/flowers; use Shimmery White Cardstock, use ribbon for purse handle....okay time for ME to make another one of these!