Showing posts with label Note card. Show all posts

Monday, August 7, 2017

Falling Flowers - A Little Thanks Note card

Happy Monday stamping friends!
This past week flew by for me - how about you?!

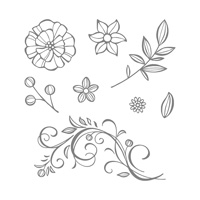
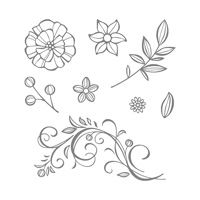
I didn't have much time to play with my stamping supplies so, as I still had my Stampin' Up! Falling Flowers stamp set out, and I really liked the color combination I used for my card in last week's post, I decided to keep with the theme and created another note card.

Note card front


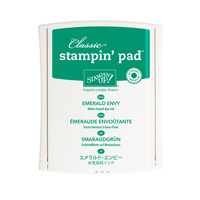
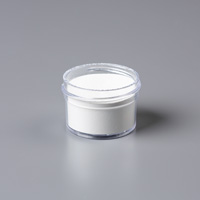
You will notice I stamped the swirl with Emeral Envy ink onto Very Vanilla cardstock and then I reinked the same stamp with Versa Mark and stamped it again over the already stamped image but slightly offset to the bottom right.  Then I covered my versa marked image with White Embossing powder and heat set it.

Close-up of card front

Inside of card (also used same layout for envelope).

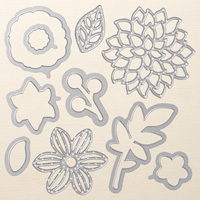
The rest of the card was easy by just stamping as shown in photos and die cutting the flowers using Stampin' Up!'s May Flowers Fraemlits dies (of course you could easily cut out the flowers without the dies but it sure made it quicker for me.

Have a wonderful week and see you next time!


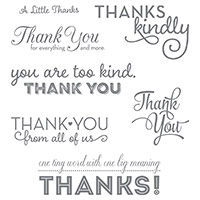
Stampin' Up! Supplies Used:
Tips and Tricks to recreate this card:
Cut:
Pear Pizzaz cardstock: 7" x 5" scored in half to create your note card base of 5" x 3 1/2"
Emerald Envy carstock mat: 4 3/4" x 3 1/4"
Very Vanilla cardstock stamping pieces:  1 cut 4 5/8" x 3 1/8" and the inside mat is cut 4 3/4" x 3 1/4"
Scrap of Whisper White cardstock: 2"x 3 1/2" or enough to stamp and cut out the flowers shown
Next:
1.  Use Emerald Envy ink to stamp your design as shown in photo using the stamps from the Falling Flowers stamp set.
2.  Use Pear Pizzaz ink to stamp the Very Vanilla cardstock piece for the inside of your card.
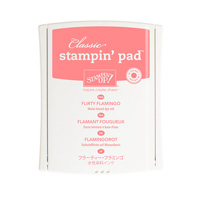
3.  I colored the large flower using Flirty Flamingo ink and a blender pen.
4.  I colored the two small flowers using my Daffodil Delight and Flirty Flamingo markers.
5.  I attached my two small flowers using a mini stampin' dimensional under each and I glued my large flower in place using my multipurse glue.
6.  I added Basic Pearls to my card as shown (place them where you desire!) I also added one of the gold faceted rhinestones to the centre of the large flower.
7. Stamp your envelope as desired too (I used same layout and color as i did for inside of card).
Enjoy your stamped creation!

Monday, July 31, 2017

Falling Flowers - Just for You Note Card

Happy Monday stamping friends!
The summer is progressing and I am enjoying the sunshine with my family.

I am also enjoying playing with my stamps and inks and paper!  So I created a lovely little notecard today to share with you.  My inspiration was the card I made for the bloghop this past Saturday. I used the same color combination too!

Note card front

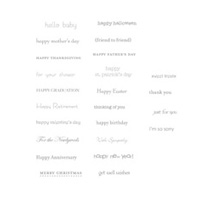
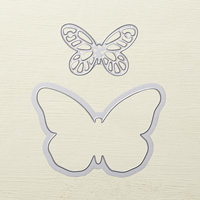
There are so many ways to use the stamps in the Stampin' Up! set, Falling Flowers (which, by the way, also has a matching die set - way cool!).  Today I only made use of one stamp in the set and then I complimented it with a greeting from my favourite Teeny Tiny Wishes stamp set (I love my wood mount stamps, I can't deny it - but luckily you can also get this set in the clear mount version  The butterfly was die cut from the Bold Butterflies framelit set and attached with my multipurpose glue.

Close-up

Inside of note card

Another view if inside of note card

Note card with matching envelope
Enjoy your week and see you again next week!


Stampin' Up! Products Used:
Tips and Tricks to recreate this card:
Cut:
Pear Pizzaz cardstock notecard base: 7" x 5 1/2" - scored in half along long side and then folded to create card base)
Emerald Envy cardstock mats: 2 x 5 1/4" x 3 1/4"  (die cut two butterflies from one, or each, of these mats)
Very Vanilla cardstock (or a very vanilla note card): 2 x 5 1/8" x 3 1/8"
Next:
1.  Stamp your very vanilla pieces with pear pizzaz ink as desired (see photos)
2.  Stamp greeting with Emerald Envy ink.
3.  Die cut butterfly from centre of one of the Emeral Envy cardstock mats.
4.  Glue your Emeral Envy mat pieces to the front and inside of your card base.
5.  Glue your stamped Very Vanilla cardstock pieces on top of your Emerald Envy pieces.
6.  Attach one die cut butterfly to the front of your card with multipurpose glue (only glue down the center of the butterfly body so the wings are free) and glue the other butterfly to the inside of the notecard.
7.  Color flower buds with blender pen and Flirty Flamingo ink.
8.  Apply rhinestones to front of card.
9.  Stamp the front of your envelope.
You are done!  So how do you like your card?  Send out to someone you care about.