The summer is progressing and I am enjoying the sunshine with my family.
I am also enjoying playing with my stamps and inks and paper! So I created a lovely little notecard today to share with you. My inspiration was the card I made for the bloghop this past Saturday. I used the same color combination too!
 |
| Note card front |
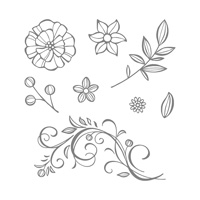
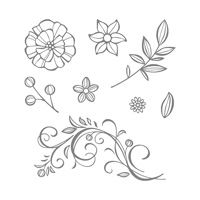
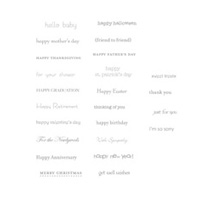
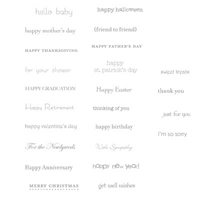
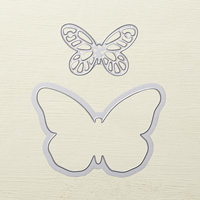
There are so many ways to use the stamps in the Stampin' Up! set, Falling Flowers (which, by the way, also has a matching die set - way cool!). Today I only made use of one stamp in the set and then I complimented it with a greeting from my favourite Teeny Tiny Wishes stamp set (I love my wood mount stamps, I can't deny it - but luckily you can also get this set in the clear mount version The butterfly was die cut from the Bold Butterflies framelit set and attached with my multipurpose glue.
 |
| Close-up |
 |
| Inside of note card |
 |
| Another view if inside of note card |
 |
| Note card with matching envelope |
Stampin' Up! Products Used:
Cut:
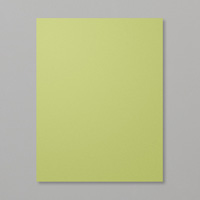
Pear Pizzaz cardstock notecard base: 7" x 5 1/2" - scored in half along long side and then folded to create card base)
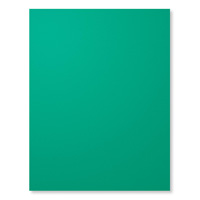
Emerald Envy cardstock mats: 2 x 5 1/4" x 3 1/4" (die cut two butterflies from one, or each, of these mats)
Very Vanilla cardstock (or a very vanilla note card): 2 x 5 1/8" x 3 1/8"
Next:
1. Stamp your very vanilla pieces with pear pizzaz ink as desired (see photos)
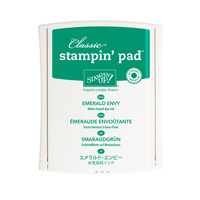
2. Stamp greeting with Emerald Envy ink.
3. Die cut butterfly from centre of one of the Emeral Envy cardstock mats.
4. Glue your Emeral Envy mat pieces to the front and inside of your card base.
5. Glue your stamped Very Vanilla cardstock pieces on top of your Emerald Envy pieces.
6. Attach one die cut butterfly to the front of your card with multipurpose glue (only glue down the center of the butterfly body so the wings are free) and glue the other butterfly to the inside of the notecard.
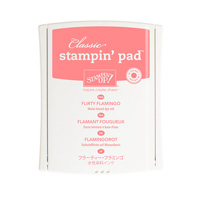
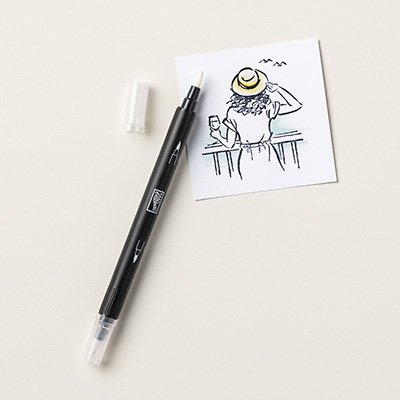
7. Color flower buds with blender pen and Flirty Flamingo ink.
8. Apply rhinestones to front of card.
9. Stamp the front of your envelope.
You are done! So how do you like your card? Send out to someone you care about.





No comments:
Post a Comment