Showing posts with label Blog Hop. Show all posts

Saturday, June 27, 2020

June 2020 Seashore Stampers Blog Hop (Something Red)


Happy hello and welcome to the Seashore Stampers' June 2020 Blog hop!

This month's theme is Red and White (for upcoming Canada Day on July 1st).

Card Front

I believe you will like this card as it is easy to make!

I am using the Healing Hugs stamp set from Stampin' Up! and, if you don't happen to have this stamp set, you can easily re-create it using what you have on hand. I know you will find something in your stash - go ahead - look! Then come back....

Inside of card

Card elements

This time I did not add any greeting as I will decide when I go to use this card.

I hope I was able to spark your creative juices - so please - go and play! 

Also, you have to go and check out the other wonderful creations from the rest of the Seashore Stampers in this hop!  Better grab a cup of tea, or your favorite cup of joy, and refuel too - you have to keep your creative strength up :)


Adrienne
Erica


Thank you so much for taking time in your day to stop by - see you next time!


P.S.  If you reside in Canada and are looking for a Stampin' Up! demonstrator, I would be honored to be yours.

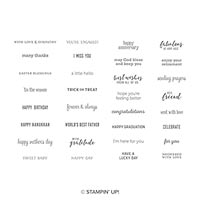
Stampin' Up! Supplies Used:


Recreate this card:
Cut:
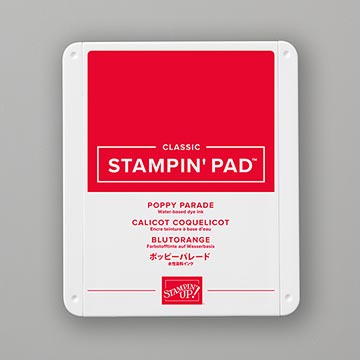
Poppy Parade Card base: 8 1/2" x 5 1/2" and 5 1/8" x 3 7/8"
Whisper White Mat: 5 1/4" x 4" (x 2) and one piece 3 1/2" x 2 1/2"
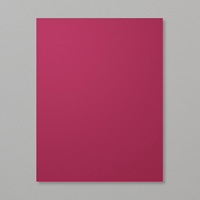
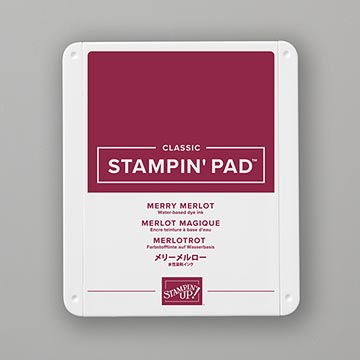
Merry Merlot mat: 3 5/8"x 2 5/8"
Next:
1.  Emboss the Poppy Parade cardstock piece using the Old World embossing folder.
2.  Attach Whisper White Mat to card base and then attach the embossed Poppy Parade mat.
3.  Stamp your elements as shown in picture above using Poppy Parade, Merry Merlot and Pumpkin Pie inks.
4. Cut out the rose and the leaves and then sponge the edges using matching ink.
5.  Attach the leaves to stamped Whisper White piece over the stamped leaves.
6.  Attach Stampin' Dimensionals to the backside of the stamped rose and attach over the leaves.
7.  Add your bling! I used Pearl Basic Jewels.
8.  Don't forget to stamp the second Whisper White piece for your inside as desired (see photo for inspiration).
You are done -whoo-hoo!  

Monday, June 8, 2020

June 2020 International Highlights Blog Hop - Thank You!


Happy hello and welcome to the monthly International Highlights Blog Hop hosted by Kylie Bertucci out of Australia! Thank you Kylie!

The continuing theme is Thank You.


Thank You Card


This month I am sharing a card I created for my stamping group using a beautifully designed Stampin' Up! stamp set you will see in the newly released 2020-21 Annual Catalog. 

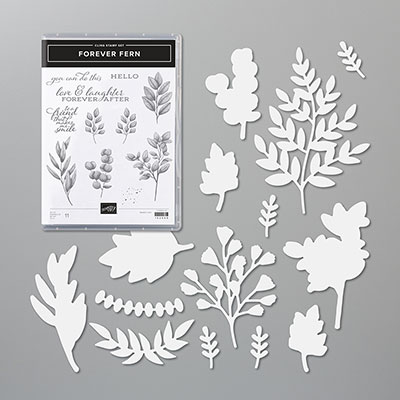
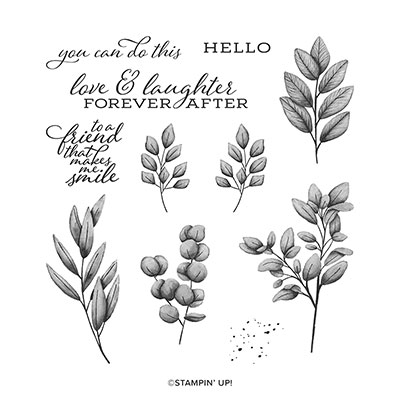
Introducing: Forever Fern!  What a gorgeous set and I bet you will love it too!


Inside of card

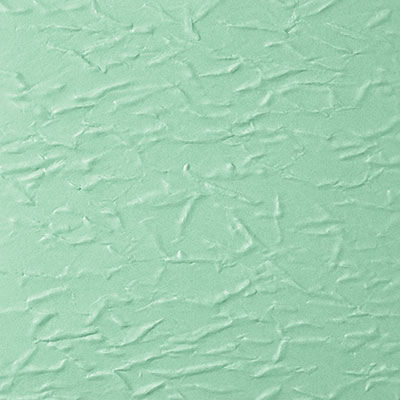
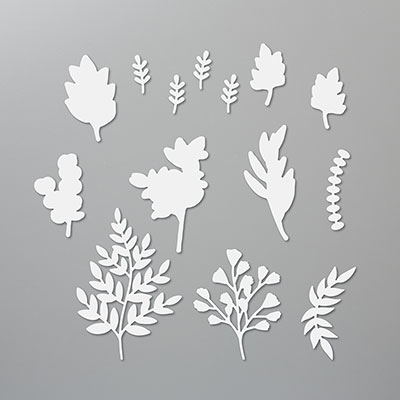
I used the stamp set images, two matching dies from the coordinating Forever Flourishing Dies and the really versatile embossing folder called Old World Paper 3D! 


Supplies Used

For now, please use what supplies you have on hand and, using the easy-to-follow instructions below, create a card of your own in thanks for someone special in your life! 😊😊😊

I hope this easy project sparked your creative mojo!

I also made a quick video if you prefer a visual aid (like I do).


Now for some more fun, you can go and look here at the other fabulous cards from the many other participants in this hop.  Enjoy!

Thank you so much for stopping by - see you next time!


P.S.  Directions to recreate this card are posted below.

P.P.S. If you reside in Canada and are looking for a Stampin' Up! demonstrator, I would be honored to be yours.


Stampin' Up! Supplies Used:

How to recreate this card:
Cut:
Old Olive Cardstock base:  8 1/2" 5 1/2" (or 11" x 4 1/4")
  • Score your card base in half 
  • Another piece 5 1/4" x 4" and run through embossing folder
Magenta Madness Cardstock scrap:  for punch and cut in half

Very Vanilla: 5 1/4" x 4" for inside of card and
  •  strip of 2 1/2" wide for greeting and stamped leaves
Cardstock Vellum: 4 1/4" x 3" for die cut leaves

Next:
1.  Run Old Olive mat piece through embossing folder.
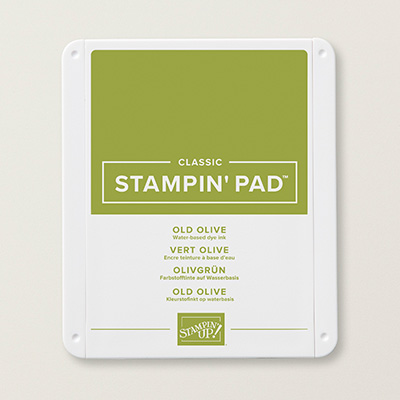
2. Sponge edges with Old Olive ink.
3. Die cut your leaves with cardstock vellum and glue to embossed card front - making sure you only put glue to the parts of the vellum which will be hidden underneath the greeting.
2.  Stamp your leaves, greeting and inside of card with Old Olive ink onto the Very Vanilla cardstock pieces. Then punch or die cut out.
3.  Sponge all edges (optional if you prefer not to).
4. Apply the Magenta Madness punched shape to back of your greeting by first cutting shape in half and gluing each half to the backside of the greeting as shown in picture.
5. Glue on your stamped and die cut leaves to backside of greeting element.
6. Apply Stampin' Dimensionals to the back and attach to card base front over the glued down vellum leaves.
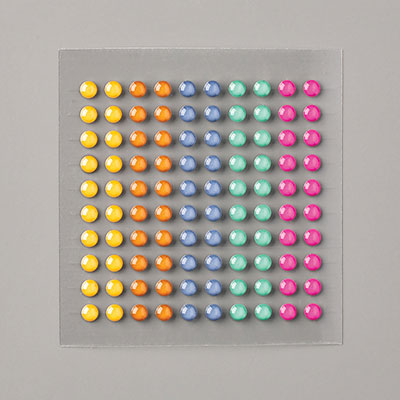
9.  Now add your bling - I used the 2020-2022 In Color Emamel Dots and the Metallic Pearls.

Whoo-hoo!  You made this card yourself!  Now go ahead and enjoy making a few more!

Saturday, April 25, 2020

Mother's Day Gift Box - Ms. Ladybug - Seashore Stampers Blog Hop


Hello and welcome to the monthly Seashore Stamper's Blog Hop for April.  

It has been a while since I posted a blog post but, with a bit of encouragement from my stamping friends, I made it this month! Happy Dance!

I am thrilled to share with you the project I made with my friends earlier this month and since it is Mother's Day in a few short weeks, I thought you might like this project too.


Two styles of the gift box

Isn't Ms. Ladybug uplifting? 

Little Ladybug was a Sale-A-Bration stamp set available to all hosts during this time period.  Therefore, if you missed out and you really like this stamp set, you will have to source out an avid Stampin' Up! host and see if you can persuade them to let you borrow this set for your project. Be prepared for resistence!  If you are unsuccessful, please check your stamping stash and see what pulls at your heartstrings and use that stamp for your own creative gem!

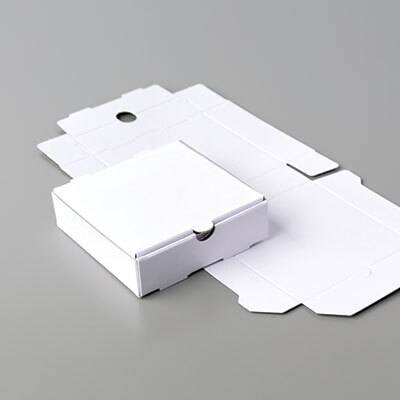
Next, if you don't have any of the mini pizza boxes from Stampin' Up! on hand, don't dispare, I will show you how to make your own mini box from one sheet of cardstock in my next blog post, so stay tuned! 


Inside of the box

Is your heart smiling yet? Go, ahead, actually pull out your supplies and make one (...or a few...they are so fun to make - instructions at end of post) and Ms. Ladybug will love you for pulling her out to become part of a lovely gift for someone special in your life.

Now, here is a first for me: I actually am learning to do videos and this is one of my first ones that my customers have already viewed. So, if you are a visual learner instead of a reader, here you go!


So, now, please hop or fly on (or back) to the next blog for additional "blog eye-candy"!


Adrienne
Erica


Thank you so much for stopping by - see you next time!


P.S.  If you reside in Canada and are looking for a Stampin' Up! demonstrator, I would be honored to be yours.

Stampin' Up! Supplies Used:
How to recreate this mini gift box:
SUPPLIES NEEDED:
Stamp Sets:
Little Ladybug
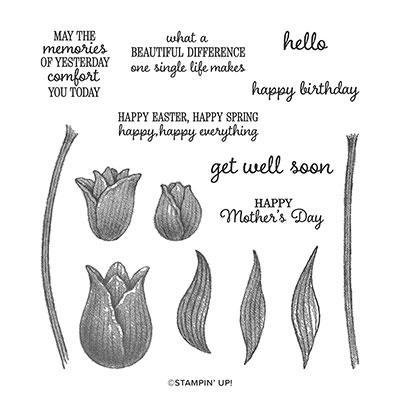
Timeless Tulips
Paper:
Mini Pizza Box
Rich Razzelberry C/S - 3 7/16” x 3 7/16”square
o   11” x 1 1/8”strip
DSP of choice - 3 ¼” x 3 ¼”
o   3 1/4” x ¾”
Whisper White C/S – 5 ½” x 4 ¼” – for stamping elements
o   3 ¼” x 3 ¼”
Scrap of green C/S to match your DSP – for 2 punched sprigs
Scrap Petal Pink C/S for scalloped square
Ink:
Memento Black, Rich Razzelberry, Melon Mambo and Petal Pink
Miscellaneous:
Sprig Punch, Label Squares Dies, Stitched So Sweetly Dies
Stampin’ Dimensionals, Multipurpose Liquid Glue, Wink of Stella,
***Irridescent Stickles (non-Stampin’ Up!) - my mom loves bright bling!


Directions:

1.       Fold together your mini pizza box.
2.       Using the Rich Razzelberry C/S square, die cut your plain square piece and your rectangle scalloped die piece.
3.       Using Petal Pink scrap C/S, die cut a scallop square a teeny bit larger than your plain Rich Razzelberry Square.
4.      Glue your cut out Rich Razzelberry C/S piece to top of pizza box.
5.      Then glue DSP on top of Rich Razzelberry C/S.
6.      Take 11” strip of Rich Razzelberry C/S and wraparound your closed pizza box and then score. Trim the strip to fit and glue the strip together (but not to the box!)
7.    Place Stampin’ Dimensionals onto strip and glue on your Petal Pink scalloped square.
 8.      Place one green punched sprig onto square glue in place.
 9.      Glue your plain Rich Razzelberry square on top.
10.     Glue remaining sprig onto top of  Rich Razzelberry C/S square.
11.     Stamp all your ladybug images with Black Memento Ink onto larger Whisper White C/S piece.
12.    Color in images using the ink colors and a blender pen (you can always use blends).
13.    Fussy cut or use matching Ladybug dies to cut out your images.
14.    Use your favourite ladybug and add dimensionals to the back and place her on top of the Rich Razzelberry square and punched sprig.
15.    Stamp greeting using Memento Black Ink onto Whisper White C/S.
16.    Punch out using the Classic Label Punch.
17.    Glue greeting to scalloped rectangle.
18.    Glue greeting to front of pizza box.
19.    Glue remaining DSP strip to remaining Whisper White C/S piece.
20.    Stamp greeting of choice and then glue this element to the inside box cover of your mini pizza box.
21.   Add glitter to your ladybug and anywhere else you desire.
22 .  Your gift box is now ready to fill and gift to your mom or some other very special person in your life!

Whoo-hoo! 
So glad you made this with me today!