

Hello, and welcome to the Seashore Stampers May 2018 Blog Hop! So happy you dropped by!
Because Father's Day is coming up in June, we want to inspire you to create something wonderful for those special men in your life. Here is mine, which says Happy Birthday instead of Happy Father's Day:
 |
| Two versions using both pieces of DSP |
You will be amazed how quickly and easily this card comes together using wonderful products from Stampin' Up! By changing out the colors and the greeting you have choices to make all sorts of different cards!
 |
| Close-up of Card #1 |
2 |
| Close-up of card #2 |
 |
| Close-up of Card #1 Here I used only two Rhinestones as decoration |
 |
| Close-up of Card #2 Here I used four Rhinestones as decoration |
Please have a go at this card and enjoy the creative process. Your recipients will love it too! Products I used, and tips to re-create this card, are at the end of this post.
Enjoy the next stop on this hop:
 |
| Adrienne's |
 |
| Erica's |
Until next time, I'm off to play outside in the sunshine - whoo-hoo!

Stampin' Up! Supplies Used:


Cut:
Tranquil Tide cardstock: 11" x 4 1/4" for card base
Whisper White cardstock: 5 1/4" x 4" (twice: one piece for mat and the other for the inside of your card)
Scrap if Whisper White to stamp and punch out greeting
Scrap of Tranquil Tide to punch out decorative element
DSP: 4" x 4" square which is then cut at diagonal - which gives you another piece to use for a second card! (I used the Naturally Eclectic DSP - which at the time of posting may, or may not be available as it is on the retiring list). If you don't have this DSP, just use another piece you do have in your stash and co-ordinate your card base cardstock color. Easy!
Next:
1. Fold your cardstock base in half to create you card base.
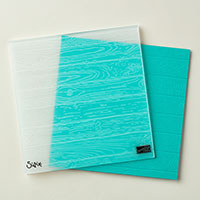
2. Using one of the Whisper White pieces, run it through your Big Shot with the Pinewood Planks Dynamic Textured Impressions Embossing Folder. ***Make sure you place your cardstock into the embossing folder the right way so the "planks" run vertically on your cardstock piece!
3. Punch a strip of Lemon Lime Twist cardstock using the Decorative Ribbon Border punch.
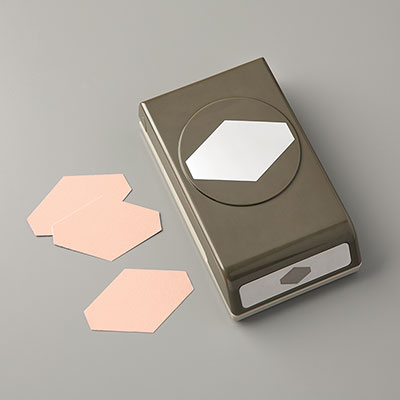
4. Using Tranquil Tide ink, stamp your greeting and then punch out with the Tailored Tag punch.
5. Punch another piece using your scrap of Tranquil Tide cardstock.
6. Using your Multipurpose glue, run a small amount of the glue along the diagonal backside of one piece of the cut DSP and attach the punched ribbon strip to it as you like (I glued it so the small scallop shows).
7. Glue your Whisper White embossed piece to the front of your card and then glue your DSP piece on top (see photo for placement).
8. Glue your punched greeting to the punched cardstock piece so that the Tranquil Tide shows at the top half of your greeting (look at photos for guide).
8. Apply dimensionals to the back of your assembled greeting ( I used 4) and then place it onto your card front wherever you like it (it doesn't have to be in the same place as mine).
9. Attach the second Whisper White piece to the inside of your card (stamped as desired, of course!)
10. Enjoy your stamped creation!