Hello stamping friends and welcome!
Today I wish to share with you the little gift boxes I made for my Demo swap that was held on September 30th. Unfortunately I could not attend due to conflict of events! I sure missed seeing all of my stamping demo buddies, but I wasn't going to miss my retreat with my other crafting friends, which had been planned over a year ago!
So, onto my project share for you all!
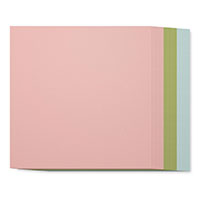
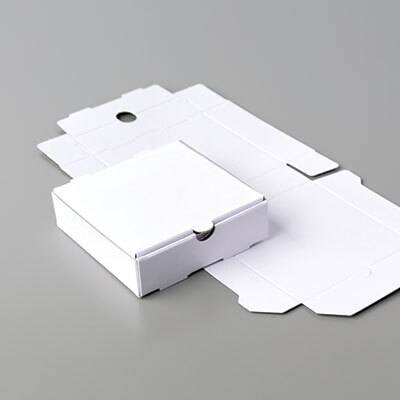
If you are getting a head start on your Christmas gifts, these wonderful mini pizza boxes from Stampin' Up! are ideal! See what I mean?...
 |
| Group photo of eight completed boxes |
 |
| Closer view of the boxes |
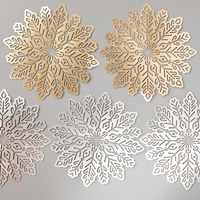
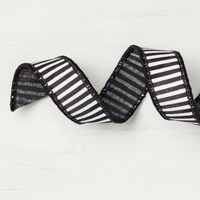
...and the new foil snowflakes and black and white wired ribbon really adds pizzaz! One package of the foil snowflakes and three (3) packages of the mini pizza boxes will make 24 boxes!!!
I know you will have just as much fun creating these as I did!
 |
| Close-up of one box to show details |
Now, have a wonderful week and see you again next time.
Stampin' Up! Supplies Used:
Tips and Tricks to recreate this card:
Cut:
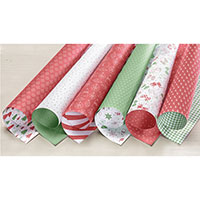
Cherry Cobbler cardstock (or a piece of DSP of your choice) 3" x 3" square
Crushed Curry Cardstock - 2" strip to stamp and punch out greeting label
Scrap of Basic Black or other cardstock you have on hand to punch out two 1 1/2" circles
Next:
1. Assemble your mini pizza box.
2. Apply your Cherry Cobbler cardstock square to the lid of your mini pizza box using Multipurpose Glue.
3. Wrap the Black and White 7/8" ribbon around the mini pizza box and cut so you have approximately 3/4" overlap.
4. Staple your wrapped ribbon together with one staple through both layers of ribbon. Then take one of your punched circles and staple to underside of ribbon to hide the cut overlap. Then take second punched circle and staple over top of first circle. Now slide onto your mini pizza box.
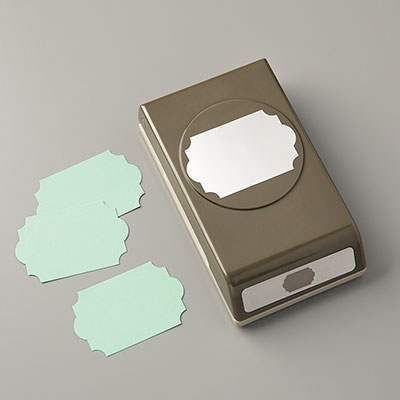
5. Stamp your greeting onto the strip of Crushed Curry cardstock using black Memento ink and punch out using the Everyday Label punch.
6. Now attach one gold/silver foil snowflake to the top circle attached to the ribbon (it is best to use either Fast Fuse or Tear & Tape here!)
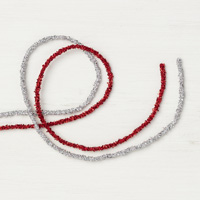
7. Now cut 6 1/2" of the red Tinsel Trim and tie a know near each cut end.
8. Loop the tinsel trim as shown in picture and attach to the back of the stamped Crushed Curry greeting piece using a strip of Tear & Tape
9. Attach this piece to the center of the foil snowflake using two more strips of Tear & Tape covering the tinsel trim to hold it in place and then some Stampin' Dimensionals to raise your greeting piece up.
You are done! How cool is that?! Now you can go and recreate these wonderfull mini gift boxes using supplies from your stash!