Showing posts with label Stamp set - You're Delightful. Show all posts

Monday, July 3, 2017

Happy Bumble Bee Trio

Hello and welcome stamping friend!

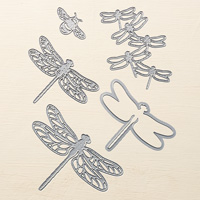
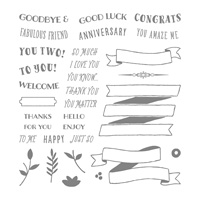
Today I wish to share a trio of cards I made this past week using Stampin' Up!'s Detailed Dragonfly Thinlits and the You're Delightful hostess stamp set.  I also used the Designer Series Paper pack called Delightful Daisy.

May your creative juices flow too!

The Trio

Card #1

Card #2

Card #3

Card #1 closeup

Card #3 closeup

See you again next week!
Stampin' Up! Supplies Used:

Tips and Tricks to Recreate these cards:
Cut:
For Card #1:
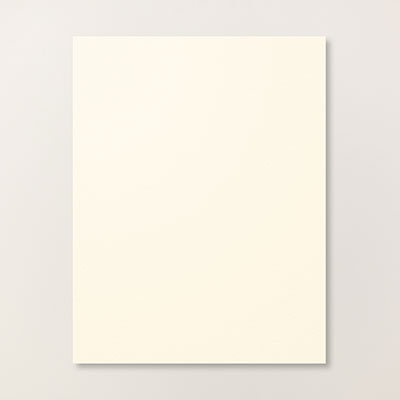
Whisper White Thick cardstock:  8 1/2" x 5 1/2"
Whisper White cardstock for mat: 5 1/4" x 4"
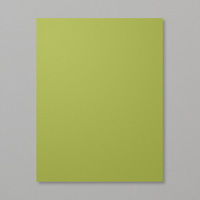
Old Olive cardstock scrap: 3 1/2" square and a 2" x 3" strip for the die cut honey bees and the punched classic label strip
Delightful Daisy DSP: 2 5/8" square
Basic Black cardstock scrap: 2" x 3" for black die cut honey bees
Whisper White scrap for stamped and classic label punched greeting
Gold Glimmer paper scrap for punched classic label piece
For Card #2:
Old Olive cardstock: 11" x 4 1/4"
Whisper White cardstock mat: 5 1/4" x 4"
Old Olive cardstock scrap: 3 1/2" square for die cut scalloped square and a 2" x 3" strip for the die cut honey bees and the punched classic label strip
Delightful Daisy DSP: 2 5/8" square
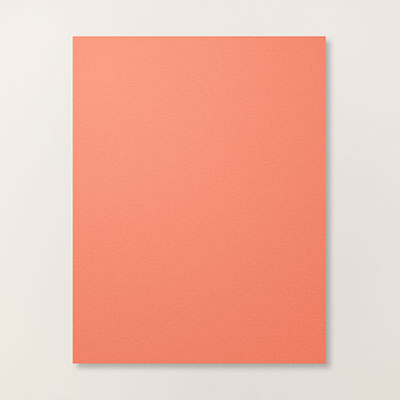
Calypso Coral carststock scrap for die cut honey bees one classic label punch strip
Gold Glimmer paper scrap: 3" x 1/2" for banner strip and another strip for classic label punched strip
For Card #3:
Whisper White Thick cardstock base:  8 1/2" x 4 1/4"
Old Olive cardstock scrap: 3 1/2" square for die cut scalloped square
Delightful Daisy DSP: 2 5/8" square
Daffodil Delightful cardstock scrap: 2" x 3" for die cut honey bees
Basis Black cardstock scrap: 2" x 3" for die cut honey bees
Whisper White scrap for stamped images
Next:
1. Using photos above cut, stamp and assemble cards as shown
2. I embossed my card front mats first.
3. Then cut and assembled the Old Olive scalloped square with the Delightful Daisy DSP.
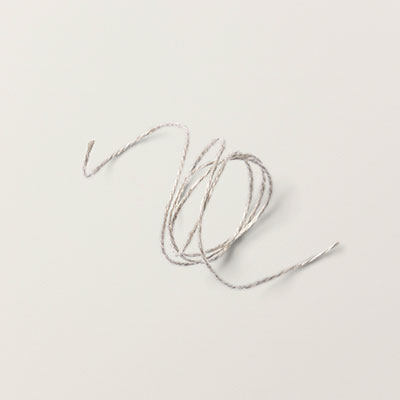
4. I wrapped the assembled scalloped square with the ribbon/linen thread
5. I then attached the square to my card front/mat with stampin' dimensionals.
6. Then I die cut all my honey bees and glued them to the card as shown in photos.
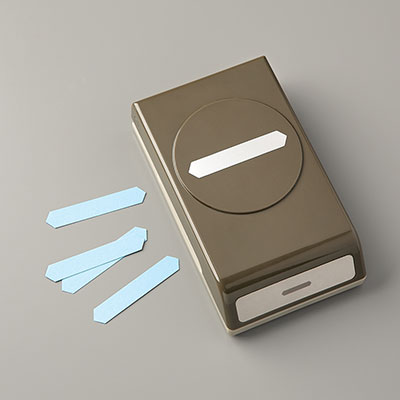
7. I then inked and stamped my greetings as shown onto scrap and punched out with the classic label punch (and for Card #3, I stamped greeting directly onto bottom of card front).
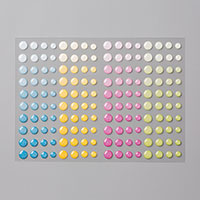
8.  Last, I used the Glitter Emamel Dots to decorate as desired (use photos for ideas).
Enjoy your creations (can you imagine the may different color combinations and other DSP you can try out? whoo-hoo - this will keep us all busy for quite some time to come!)


Monday, June 26, 2017

Floral Die Cut Trio of Cards

Hello and welcome back to my blog!

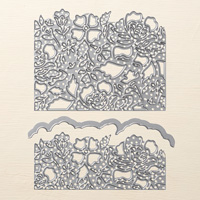
Today I am sharing a trio of cards using the Designer Floral Thinlits dies from Stampin' Up!  I love using this die set and, after creating the wedding card for last Saturday's Seashore Stampers Blog Hop, I carried on creating some more cards.  I added greetings from the Banners for You, You're Delightful and Floral Phrases stamp sets from Stampin' Up!  Enjoy!


Die cut card trio


Card #1

Inside of card #1

Card #2

Close-up of card #2


Inside card #2

Card #3

Close-up of card #3

Inside of card #3

Have a wonderful week and see you next time!
Happy Inky Smiles!


Stampin' Up! Supplies Used:
Tips & Tricks to recreat the cards:
Cut:
Wild Wasabi cardstock: 2 pieces 11" x 4 1/4" (so one sheet cut in half)
Pear Pizzaz cardstock: 1 piece 8 1/2" x 5 1/2"
Berry Burst cardstock: 11" x 4 1/4" (for all three card front die cuts)
Very Vanilla: 3 pieces 5 1/4" x 4" (die cut edges of two pieces along the short 4" side)
Scrap of Gold Glimmer paper (3" x 3/4" or 1/2")
Scrap of cardstock vellum (3" x 3/4" or 1/2" (CUT THIS DOWN AFTER YOU HAVE STAMPED YOUR IMAGE!)
Long scrap of Very Vanilla cardstoc 1/4" wide (for greeting on two of the cards)
Next:
1.  Fold all three card bases in half.
2.  Taking the Berry Burst cardstock piece, die cut the three pieces by using the short and long dies at each end of the cardstock and the recutting the dies with the left over piece of cardstock.  You will have to watch so you don't run out of cardstock! Do a dry run first!
3.  Dry emboss the two Wild Wasabi pieces using embossing folder of your choice.  I used the new Layered Leaves on one and Petal Burst on the other.
4.  Now glue your die cut pieces to the fronts of your card bases as shown in photo.
5.  For the Pear Pizzaz card you will cut notches into the ends of the Gold Glimmer strip and then, after you have stamped your greeting onto the scrap of vellum with the Berry Burst Ink, you will heat set with the clear embossing powder and heat gun.
6.  Cut the vellum strip down to size and notch each end.
7.  Glue down the notched Gold Glimmer strip onto card and then the vellum strip on top with Multipurpose glue.
8.  Embellish the card front using Rhinestone Basic Jewels.
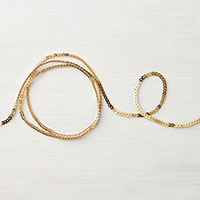
9.  For the remaining two cards, take a 15" strip of Lace Trim and tie around the card.  Before you tie each final knot, take a strip of 4" or 3 1/2" strip of Mini Gold Sequin Trim and trap inside the final knot.
10.  Attach either Pearl Basic Jewels or Gold Faceted Gems to the ends of the Gold Mini Sequin Trim to finish off the ends.
11.  Stamp mini birthday greeting twice onto scrap 1/4" strip of Very Vanilla Cardstock. Cut apart and attach one piece to each of the two cards as shown in photo.
12.  Now all you have left to do is stamp the insides of your card pieces and die cut just the ends of two Very Vanilla pieces.  See photos for details.
13.  Don't forget to stamp your envelopes.
You are done all three cards and they are ready for giving!