Showing posts with label SAB. Show all posts

Saturday, March 25, 2017

Blog Hop - Happy Easter Card Using Hey, Chick!


Happy Saturday Stampers!
I hope you had a great week!


Today is the Seashore Stampers Bloghop and the theme is Easter!

I made a card after I was inspired by a really great video by Beth Rush from Beth's Paper Cuts! 
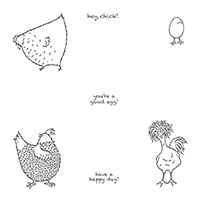
If you decide you want to make a similar card for your Easter Bunnies, please check out Beth's post and video  - she provides really super instructions!  I loved using the same Hey, Chick! stamp set from Stampin' Up! This chick has real character and she makes me giggle.  I know exactly who will be getting a couple of these cards from me :) 

Closed card
Opened card with insert
Close-up of Insert


Have a wonderful week and I hope you stop by again soon!
Now , please hop on to the next blog on the hop:


Adrienne's Blog

Erica's Blog


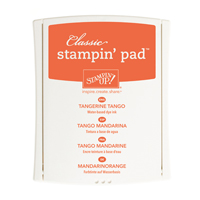
Stampin' Up Supplies Used:
Tips and Tricks to recreate this card:
Cut:
Cardbase in Tempting Turquoise:  8 1/2" x 5 1/2"
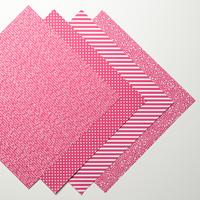
Brights Designer Series Paper Stack: 5 1/4" x 2 1/4" and 5 1/4" x 1 1/2"
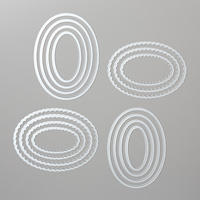
Tangerine Tango strip to die cut larges oval from Layering Ovals die set
Whisper White for inside of card: 5" x 3 3/4"
Scrap of Whisper White to punch out smallest flower from the Blossom Punch.
I used the Festive Textured Impression Embossing Folder on the die cut egg shape and I glued the top portion of the egg to the top opening of the card front.
I used a velcro closure to keep the card closed.
I added rhinestone bling as desired.
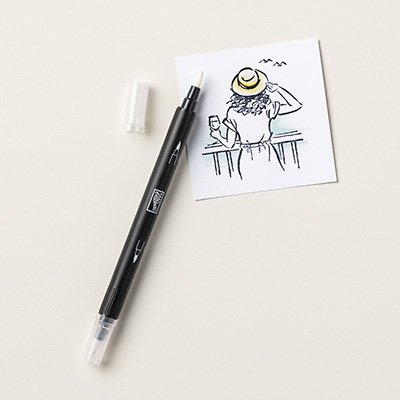
I used blender pens and ink from the in pad lids to color in my chick.
I used a smaller oval to create the "pull" on the top of the insert.
I used a left over strip of the designer series paper stack along the bottom of the card insert and I glued on a left over curved strip of Tangerine Tango for the chick's "ground".

Monday, March 20, 2017

Monday's Card - Sympathy with Avant Garden

Happy Monday stamping friends!
I hope your week was enjoyable and that this week will be as well - we are heading into Spring and I sure am looking forward to sunnier weather!

This week I am sharing with you a special sympathy card someone in my circle of friends asked me to make. This type of card is not always easy to create but lately it has been needed far too many times.

Please enjoy your week, enjoy the start of Spring, and see you again soon.

Until next week,


Stampin' Up Supplies Used:
Monday, February 13, 2017

Avant Garden - Is it Spring Yet?

Happy Monday stamping friends!
I hope you had a lovely weekend and for those of us in British Columbia, we get to enjoy Family Day today! Whoo-hoo!

Now, we have been having quite the winter weather lately and it appears we are slowly getting back to normal.  We usually do not get the amount of snow we have had lately: it's usually rain!  But, the sunshine has been a wonderful bonus! I also got more of a workout than ususal this last week getting my muscles to work in sync shovelling snow away from the driveway :)

So, is it Spring yet?!

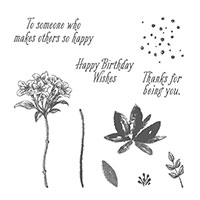
I have made a cheerful birthday card with Spring in mind!  I hope you like it and want to give it a try.  I really love the Avant Garden stamp set and one can earn it free when you spend $60.00 Cdn.  of Stampin' Up! product. Bonus!


Card with envelope

Closeup of card front

Inside of card
Close-up of envelope

I am wishing you a fun and creative week - along with a Happy Valentine's Day! Until next week....


Stampin' Up Products Used:
Tips to recreate this card:
Cut:
Whisper White Thick cardstock (card base): 11" x 4 1/4"
Cucumber Crush mat:  5 3/8" x 4 1/8"
Whisper White stamp piece:  5 1/4" x 4"
Next:
1.  Fold your card base in half to create your card ( 5 1/2" by 4 1/4"
2.  Ink up your flower image with Daffodil Delight and then sponge a bit of Tangerine Tango wherever you wish (I inked the bottom center portion of the flower image).
3.  Stamp your inked flower image onto your Whisper White card piece once and then once again without reinking (you will also get a third image that is very light, so this option is up to you).
4.  Once you are happy with your stamped flowers, change to the leaf image and ink up with Cucumber Crush.
5.  Stamp the leaf image two or three times before reinking (see photo for placement ideas).
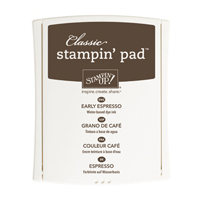
6.  Ink up the flower center image with Early Expresso and stamp over your flowers.
7.  Ink up your greeting of choice and stamp onto your stamped piece.
8.  Attach your beautiful stamped piece to the Cucumber Crush mat using either snail or multipurpose liquid glue.
9.  Now attach your matted stamped piece to your card base.
10.  Attach Rhinestone Basic Jewels randomly to your stamped piece (see photo for placement ideas).
11.  Apply Clear Wink of Stella to the flower centers.
12.  I also stamped the flower image to the inside of my card and then I also stamped the flower and leaf images (and my greeting) onto an envelope.
13.  Sign your card and you are done!  Admire and send off to someone you know (if you can :) You might need to make another one  - I did!)