Today I want to share with you the alternate color combinations I used to recreate the card from my last week's post. This time round I used Sweet Sugarplum as the main color and used this color alone in one card; then with Mint Macaron in another card; and my last card I used Cucumber Crush as my second ink color. I also added the Basic Pearls to two of the cards and added sponging (again different variations) to all three cards. Take a look at the pictures to see what I mean (it's a lot of info to absorb and can be confusing without seeing it):
 |
| All three cards with inking variations |
 |
| Here I only used Sweet Sugarplum Ink and I only sponged the edges of the card mat |
 |
| For my second card I added Mint Macaron to the mix. I sponged the greeting with Mint Macaron making it pop and I sponged the mat edging with Sweet Sugarplum |
 |
| For my third card I used Cucumber Crush Ink and sponged the greeting and the matting edges withSweet Sugarplum ink |
See? Once you get going the variations are endless! I hope you like these variations and give at least one of these cards a try - they are all really easy to recreate. Have some fun!

Stampin'Up Supplies Used:



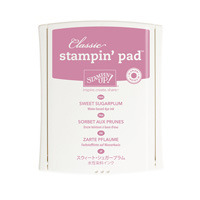
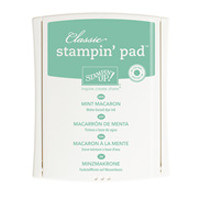
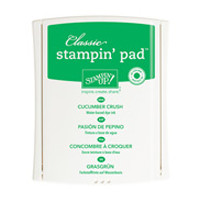





Tips to recreate these cards:
Cut:
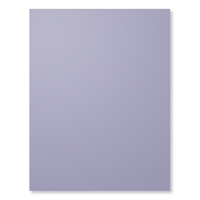
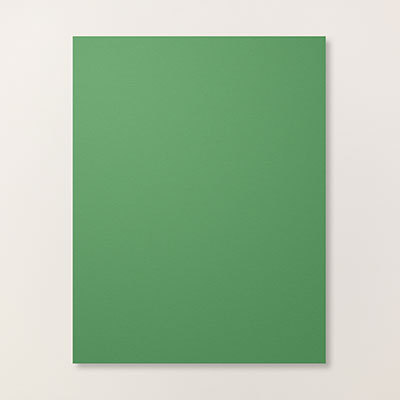
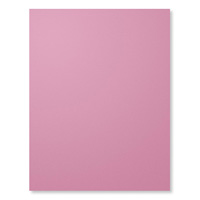
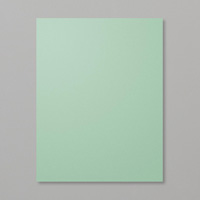
Cardbase in either Sweet Sugarplum, Mint Macaron or Cucumber Crush: 8 1/2" x 5 1/2" and folded in half to create card base :)
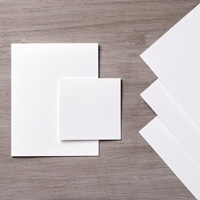
Mat pieces in Whisper White (for whichever card you decide to make): 5 1/4" x 4" and 4 1/8" x 2 5/8"
Stamp piece in Wisper White (again for whichever card you decide to make): 4" x 2 1/2"
Now:
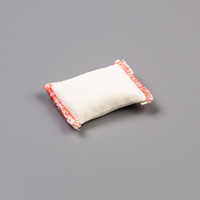
1. Use embossing buddy to rub over stamp piece.
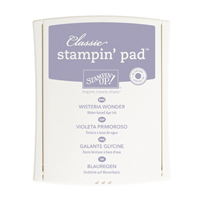
2. Ink up saying by first using VersaMark Ink and then using ink color of your choice (either Sweet Sugarplum, Mint Macaron or Cucumber Crush) and then stamp onto center of your stamp piece (use your Stamp-a-ma-jig if necessary). Dip stamped greeting into clear embossing powder and heat set.
Mat pieces in Whisper White (for whichever card you decide to make): 5 1/4" x 4" and 4 1/8" x 2 5/8"
Stamp piece in Wisper White (again for whichever card you decide to make): 4" x 2 1/2"
Now:
1. Use embossing buddy to rub over stamp piece.
2. Ink up saying by first using VersaMark Ink and then using ink color of your choice (either Sweet Sugarplum, Mint Macaron or Cucumber Crush) and then stamp onto center of your stamp piece (use your Stamp-a-ma-jig if necessary). Dip stamped greeting into clear embossing powder and heat set.
3. Take your stamp piece and temporarily stick to the center of the large background mat.
4. Using ink color of choice (either Sweet Sugarplum or Cucumber Crush), stamp the snowflakes randomly around the stamp piece and the background matting. (***For the Cucumber Crush snowflakes, I first lightly stamped the inked snowflake onto scrap paper and then onto my card piece - this gave me a lighter shade of the Cucumber Crush. You don't have to do this if you don't want to, but it is what I did).
4. Using ink color of choice (either Sweet Sugarplum or Cucumber Crush), stamp the snowflakes randomly around the stamp piece and the background matting. (***For the Cucumber Crush snowflakes, I first lightly stamped the inked snowflake onto scrap paper and then onto my card piece - this gave me a lighter shade of the Cucumber Crush. You don't have to do this if you don't want to, but it is what I did).
5. Remove the stamp piece from the large background that now has partial stamped images of snowflakes.
6. Next, before attaching your small mat piece to the stamp piece decide if you wish to also sponge the edges. If you do, do it now and then attach your stamp piece to your mat piece.
6. Next, before attaching your small mat piece to the stamp piece decide if you wish to also sponge the edges. If you do, do it now and then attach your stamp piece to your mat piece.
7. If you also decide to sponge over your greeting, once you are done, take a piece of tissue and rub over the embossed greeting so you remove any remaining ink. This makes the greeting "pop".
8. I attached my matted stamp piece to the stamped white matting piece with multipurpose glue but you can also attach using Stampin' Dimensionals which will make the stamped piece stand out a bit more.
9. Now you attach the whole matted "sandwich" to your cardbase.
10. Decide if you would like to add either Basic Pearls or Basic Rhinestones (or not) to your card (see picutres for placement ideas.
11. Because we used a colored cardstock for the cardbase, I put a piece of Whisper White cardstock (cut 5 1/4" x 4" to the inside of my card. I stamped another greeting of my choice in matching cardstock ink.
12. Don't forget to sign the back of your card creation - we all like to know who made the card we receive :)
9. Now you attach the whole matted "sandwich" to your cardbase.
10. Decide if you would like to add either Basic Pearls or Basic Rhinestones (or not) to your card (see picutres for placement ideas.
11. Because we used a colored cardstock for the cardbase, I put a piece of Whisper White cardstock (cut 5 1/4" x 4" to the inside of my card. I stamped another greeting of my choice in matching cardstock ink.
12. Don't forget to sign the back of your card creation - we all like to know who made the card we receive :)
13. Also remember to stamp your envelope. :)
That's it! Now pat yourself on the back for being such a great card elf and send to someone you love.
That's it! Now pat yourself on the back for being such a great card elf and send to someone you love.