Showing posts with label Confetti TIEF. Show all posts

Saturday, April 29, 2017

Seashore Stampers Bloghop - Mother's Day Card


Happy Saturday everyone, and welcome to the Seashore Stampers' Blog Hop!
I believe you will find wonderful eye-candy ideas for your next stamping project as you hop through each blog - enjoy!

This card was a delight to make and I had my Mom in mind when I was making it, so it is filled with happy love.  If you need an idea for your own Mother's Day card, I hope you give this card a try.


Card front


Close-up of card front


Closer view of card to show flower details

Now hop on over, or back, to the next blog and get some more creative eye-candy!

Adrienne's Blog
Erica's Blog
                                                                
I look forrward to seeing again soon!
Happy Inky Smiling Hugs.


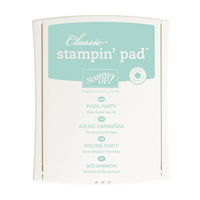
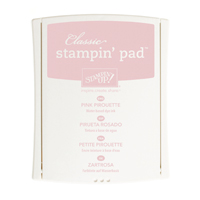
Stampin' Up! Products Used:


Tips and Tricks to Recreate this card:
Cut:
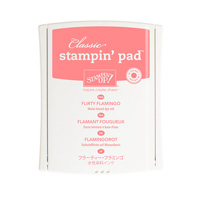
Flirty Flamingo Cardstock for cardbase: 11" x 4 1/4"
Whisper White cardstock: 5 1/4" x 4" (twice: one piece for embossing and the other one for inside of card)
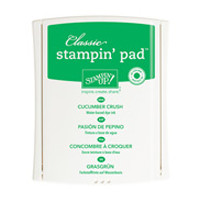
Scraps of cardstock in colors Flirty Flamingo, Cucumber Crush, Whisper White (for flower, leaves and greeting)
Strip of Gold Glimmer paper for flag strip: 5/8" x 3 1/2"
Next:
1. Fold Flirty Flamingo cardstock in half to create your card base.
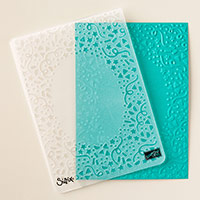
2. Take one of the Whisper White cardstock pieces and dry emboss it with the Confetti TIEF.
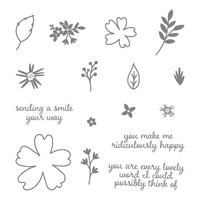
3. Take one of the medium size flower stamps from the Love & Affection stamp set, ink up with Flirty Flamingo ink, and stamp onto the scrap Flirty Flamingo cardstock and cut out with your paper snips.
4. Take the same flower and stamp 3 times onto your white embossed piece of cardstock with the Flirty Flamingo ink - see photo for ideas.  
5.  Then take one of the smallest flower stamps in the set and using Flirty Flamingo ink stamp randomly onto the embossed whisper white card.  Again look at photo for ideas.
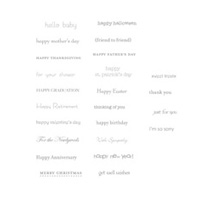
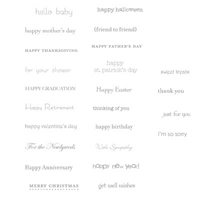
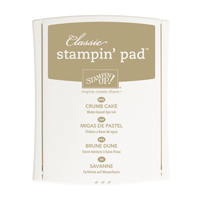
6.  Ink up and stamp the "Happy Mother's Day" greeting onto a strip of Whisper White cardstock using Crumb Cake ink.
7.  Cut out a flag shape on left had side of stamped greeting (the right end will be underneath your stamped and cut out flower. (I added a tiny strip of Flirty Flamingo cardstock just underneath the top of the stamped greeting strip to give it a bit more color).
8.  Cut out flag shapes at each end of the Gold Glimmer Paper.
9.  Using the Multipurse Glue, glue your glimmer strip over the stamped flowers as shown in photo.
10. Now glue the greeting strip over top of the glimmer strip and let dry.
11.  Stamp three leaves onto the piece of Cucumber Crush cardstock using Cucumber Crush ink.
12. Fussy cut out leaves using your paper snips.
13.  Shape the flower and leaves on your piercing mat and then glue the leaves to the back of the flower and then the flower onto your card using the Multipurse Glue.
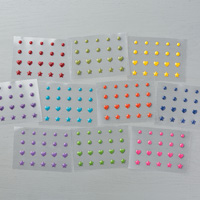
14.  Last, attach some Pearl Basic Jewels to your card as desired! (See photos for ideas).
Now all you have to do is stamp the inside of your card as desired and you are all ready to send it out your Mother's Day Card! Whoo-hoo!
Oh, right, don't forget your envelope - stamp as desired too!
I hope you had creative inky fun!


Monday, January 2, 2017

Happy New Year and a New Card Using Thankful Life Stamp Set

Happy Monday everyone!

I had fun playing with one of my new Stampin' Up! stamp sets in the 2017 Occasions Catalogue which goes live January 4, 2017 (only 2 more sleeps), the Hostess set, Thankful Life.  I hope it cheers up your day.  


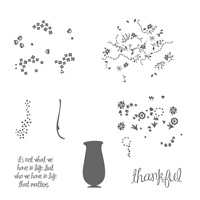
I used Thankful Life Stampin' Up stamp set
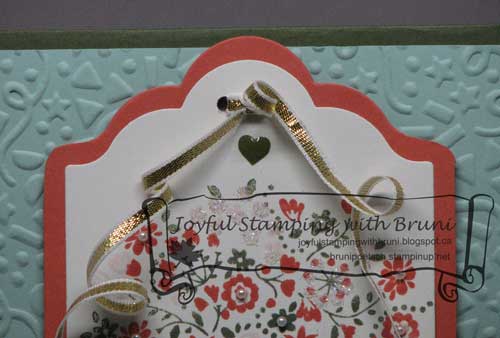
Closeup of top part of the card
Closeup of left-hand-side of card

I didn't stamp a greeting on the front or the inside of the card as I am giving this to someone who requested a "bouquet" card with nothing on it, but you most certainly can if you wish. The Thankful Life Stamp set has an inside and an outside greeting - "Thankful" for the outside and "It's not what we have in life, but who we have in life that matters" for the inside.

Have a wonderful week and I hope you drop by again.


Happy Inky Smiles


Stampin' Up! Products Used:


Tips so you can recreate this card:
Cut:
Cardbase in Always Artichoke: 11" x 4 1/4" and then folded in half to create your card base
Mat in Pool Party: 5 1/4" x 4"
Mat in Calypso Coral: 5 1/2" x 4 1/4"
Stamping piece in Whisper White: 5 1/2" x 4 1/4"
Inside mat in Pool Party: 5 1/4" x 4"
Inside stamp piece: 5" x 3 3/4"
Next:
1.  Stamp the vase using Pool Party ink and then stamp the "shadow" also using Pool Party - yes it shows up :)
2.  Ink up the background leaf/stem image with Always Artichoke, stamp lightly onto scrap paper and then onto your stamping piece just above the vase (make sure the arrow on the rubber is facing towards the top - this is your placement guide so the other two stampings line up).
3.   Ink up the bold floral image using Calpyso Coral ink and stamp onto your stamping piece, again, lining up the arrow towards the top of the stamp piece - it really does make it easy to line up!
4.  Ink up the last floral "fluf" image with Pink Pirouette Ink and stamp onto your image - admire your artwork!
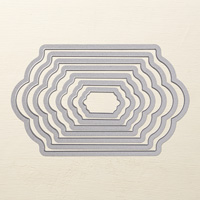
5.  Using the largest dies from the labels die set, cut out your stamped image.
6.  Using the Calypso Coral cardstock mat, you now get to fussy cut the mat around your stamped and die-cut piece (see photos).  
     a.   Alternatively, if you know who to partial cut using the die, first die cut out the top decorative 
           section of the labels die, align the die again at the other end of the Calypso Coral mat piece 
           and do another partial die cut of the decorate top.
     b.  Next, glue your stamped art piece to the partially die cut mat lining up the decorative top 
          and bottom cut edges.
     c.  Now all you do is cut the straight side edges of the coral cardstock matching up the sides 
          of the stamped  art piece.
     Note:  this way of cutting your dies can seem a bit fiddly and time-consuming at first, 
                but if you give it a try, it does make cutting the curved edges of the die shape 
                much easier.  There are quite a few videos out on the internet regarding partial 
                cutting dies, so if you are interested just search the internet and see what 
                appeals to you for learning this technique.  I will be teaching this technique to my
                customers in one of my upcoming classes in January.

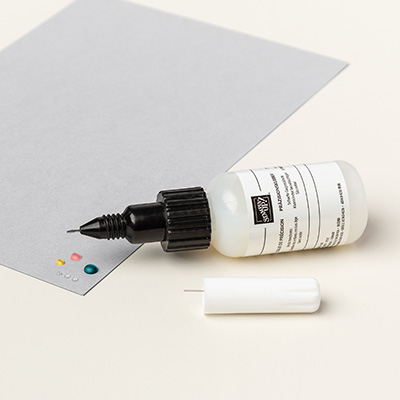
7. Add tiny drops of glue (I used the Fine Tip Glue Pen) and dab glue onto all the flowery parts on your stamped image where you want glitter to go.
8.  Apply Dazzling Diamonds over the glue and tap off.
9.  Attach tiny Pearl Basic Jewels to some of the larger flower centers (any anywhere else you wish!).
10.  Now you get to use the Celebration Textured Impressions Embossing Folder and emboss your Pool Party mat piece and then glue it down onto your Always Artichoke cardbase.
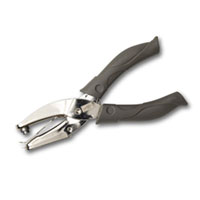
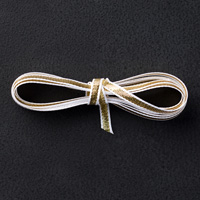
11.  Using your 1/8" hold punch, punch two holes near the top of your assembed art piece (see photos above) and thread a 20" length of the gold ribbon through the holes.  I first take each end of the ribbon and thread each through one of the holes from front to back and keep an eye out I have the ribbon flat against my art piece.  Next I take one end of ribbon and thread through from back to front through the adjacent hole and I then do the same with the remaining second ribbon end that is at the back bringing it to the front through the other adjacent hole.
12.  Now tie a knot and using one ribbon end at a time, I twist it about 5 or 6 times to create random loops - and I mean random - the ribbon does it's own thing so each time you try this it will turn out differently, so don't tie yourself up in knots if the ribbon end does what it wants - let it!
13.  I take a small glue dot with my tweezers and apply to the backside of the ribbon and attach to the side of the stamped and matted art piece. (now repeat this step (10) for the other ribbon end).
14.  Now gently attach Stampin' Dimensionals to the backside of your stamped and ribboned art piece (check to make sure the glittered glue is dry first) and attach to your card front over the Pool Party embossed piece.
15.  Stamp the inside Whisper White piece if you wish, and then glue to the Pool Party cardstock mat and then to the inside of your card. 
16. Last, stamp your envelope and you are done!
P.S.  Don't forget to sign and date the back of your card - you want your recepient to know who made it!
Now admire your stamped creation (and I'm giving you a happy inky hug), and have a wonderful week!