Showing posts with label Father's Day card. Show all posts

Sunday, June 21, 2020

Happy Father's Day Card - Best Year Bundle

Happy Father's Day everyone!


Card Share 

This was my swap card for the Van Isle Demonstrators' virtual meeting held yesterday. 

I had so much fun creating this card that I had to at least post some pictures for you today!  Wait till you see the inside:


Inside of card

If you are at all familiar with Angelina at Intatwyne Designs in the UK, you might recognize the inside construction.  Guess?  It is from her birthday week star card!  Please check out her blog site and video, and especially if you are outside North America - because you will be able to follow her measurements and instructions without having to make any changes!

I also added a pocket to my card so that you can place a message inside:

Detail of tag inside card

If you need to reconfigure the measurements (you reside in Canada or the USA), to our cardstock size of 8 1/2" by 11", it is really quite easy to do. If you need some help, I will be doing another post later this coming week along with a video.  

For today, it has to wait: it is my mom's birthday today and I am spending time with her.


But I will leave you with another set of photos taken of an alternate card I made at the request of a friend for her father:

Alternate color scheme

Inside of card 2
Inside tag for card 2

Until then, have a wonderful day and see you soon!


P.S. If you reside in Canada and are looking for a Stampin' Up! demonstrator, I would be honored to be yours.


Stampin' Up! Supplies Used:


Coming shortly! :)

Saturday, May 23, 2020

May 2020 Seashore Stampers' Blog Hop - Father's Day or Male Card


Happy hello and welcome to the Seashore Stampers' May 2020 Blog hop!

This month's theme is Father's Day or a male card/project and I am going to share with you my card that comes together really quite quickly.  

Front of Card

Also, by using whatever greeting you wish to use, you create your own special project for the special male in your life.

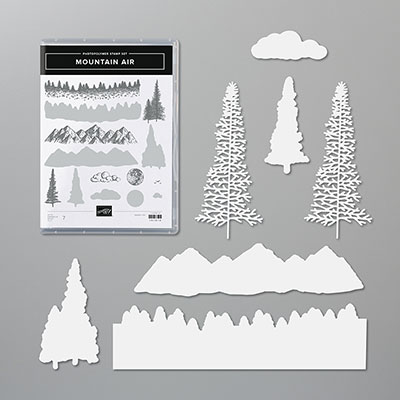
I used the Mountain Air stamp and die bundle from Stampin' Up! to make this card.

The inside was super easy to stamp too!


Inside of Card


There you go!  Super simple and fun to make!

Supplies and instructions are noted below for you, and if you prefer, a video too - grab a cup of joy and watch:


Now that you have your creative juices flowing, enjoy the other wonderful creations from the rest of the Seashore Stampers!


Adrienne
Erica


Thank you so much for taking time in your day to stop by - see you next time!


P.S.  If you reside in Canada and are looking for a Stampin' Up! demonstrator, I would be honored to be yours.


Stampin' Up! Supplies Used:


Stamp Sets:
Mountain Air Bundle
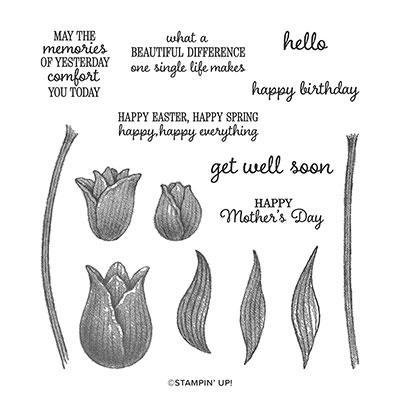
Timeless Tulips (for greeting - use what you have on hand!)
Paper:
Granny Apple Green: 11" x 4 1/4" (or 8 1/2" x 5 1/2")
Basic Gray C/S: 3 1/4" x 3 1/4" square
                        and a scrap strip for die cutting two trees
Shaded Spruce C/S:  3" x 3" square
                               and a scrap strip for die cutting one tree
Whisper White C/S – 2 7/8" x 2 7/8" square – for your stamped scene
                        and another piece: 5 1/4" x 4" - for inside of card
Strip of Whisper White for greeting - I needed 1/2" x 2 1/2" but you might need a different sized strip for your own greeting
Ink:
Granny Apple Green, Shaded Spruce, Basic Gray, Daffodil Delight and Mango Melody
Miscellaneous:
Multipurpose Liquid Glue and optional: Wink of Stella for bit of glimmer!

Next:
1.  Fold card base in half.
2.  Using Granny Apple Green Ink with the tree border stamp, stamp the bottom of your card base and the bottom of your Whisper White inside piece.
3.  Now stamp your scene onto the Whisper White square following the picture as a guide.
4.  Die cut 2 trees from Basic Gray scrap and one tree from Shaded Spruce scrap.
5.  Now, following picture, glue down one Basic Gray tree, then glue down your Basic Gray mat which will be centered on the top three (3) edges of your card base.
6.  Now glue down the Shaded Spruce mat on top of the Basic Gray but edged more narrowly on the bottom and right side edge.
7.  Now you can glue your stamped scene onto the Shaded Spruce mat, this time centered over the Shaded Spruce mat.
8.  Glue the second Basic Gray tree onto the completed glued matting scene as shown in picture and then glue down your Shaded Spruce tree.
9.  Stamp your greeting onto your scrap Whisper White using Basic Gray (or Shaded Spruce ink).
10.Sponge the greeting edges with Granny Apple Green and Shaded Spruce inks.
11. Place greeting onto your card front either as shown or however you desire. 
11. Glue your inside Whisper White stamped card piece to the inside of your card.
12. Stamp/decorate your envelope.
Whoo-hoo!  You are done!