Today I am sharing the thank you cards I made for my customers this past week.
 |
| My Thank you cards to my loyal stamping buddies! |
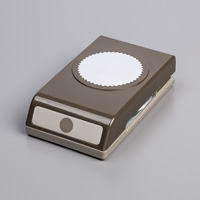
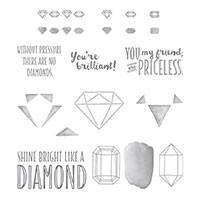
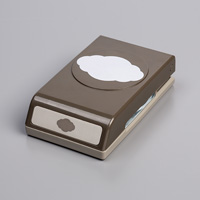
I used Stampin' Up!'s You're Priceless stamp set and the Pretty Lable punch - some of the very same supplies used in last week's stamp class - bonus!
Now that Stampin' Up! has returned the 3x3 envelopes (whoo-hoo), I am back to making my mini cards!
I hope this week's card share gets your creative juices flowing as we head into September.
Have a wonderful week and I look forward to seeing you again!

Stampin' Up! Supplies Used:

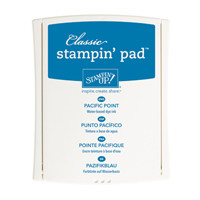
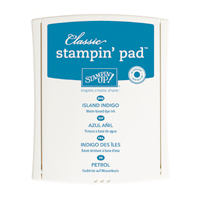
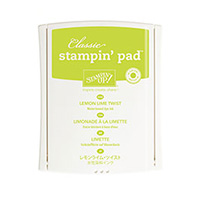
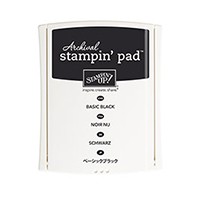


Cut:
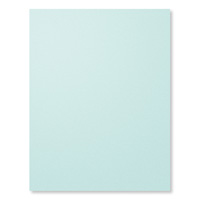
Soft Sky cardstock: 6" x 3" and then scored along long edge at 3" to create 3x3 cardbase
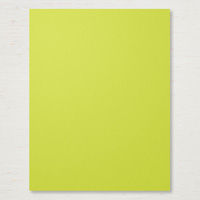
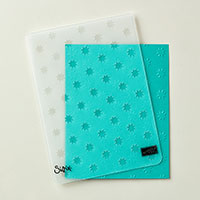
Lemon Lime Twist cardstock strip: 3" x 1" - embossed with the Oh My Stars embossing folder
Whisper White: 2 3/4" x 2 3/4" square for inside of card and a scrap to stamp and punch greeting
Next:
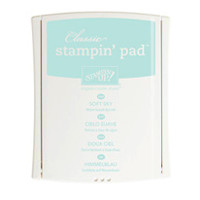
1. Using Soft Sky ink and the diamond outline stamp, stamp the front of the card front as shown.
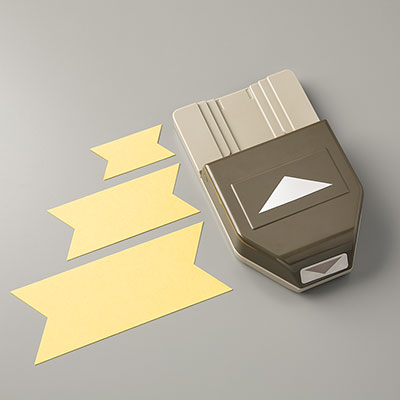
2. Use the Banner Triple punch to punch out the banner tail in your embossed Lemon Lime Twist cardstock strip.
3. Glue to the left edge of the card base as shown (you will be trimming off a small amount of the Lemon Lime Twist that will be sticking up at the top of your card base).
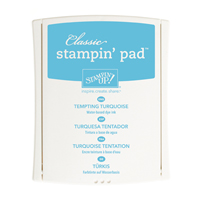
4. Ink and stamp your diamond focal piece using blue ink colors of your choice (I used Tempting Turquoise, Pacific Point and Island Indigo and then I outlined the whole in Lemon Lime Twist) .
5. Stamp your greeting onto scrap of Whisper White cardstock using Basic Black ink and then, one the ink has dried, punch out the greeing using the Pretty Label punch.
6. Attach your greeting to the cardbase using the multipurpose glue.
7. Attach your stamped diamond using stampin' dimensionals.
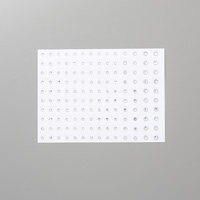
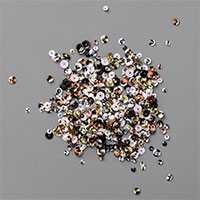
8. Glue on a sequin in color of your choice (I used retired brights sequins) to the bottom right of your card (or add more if you so desire!)
9. Stamp the tiny row of diamonds to the Whisper White square piece using Soft Sky ink. At the same time, stamp your matching envelope!
10. Now don't forget to sign the back of your card and then send off to someone special!