Showing posts with label DSP. Show all posts

Saturday, August 25, 2018

August 2018 Blog Hop - Holiday Theme - Pocket Card


Hello, and welcome to the Sea Shore Stampers blog hop for August 2018!  I am so glad you are joining us!

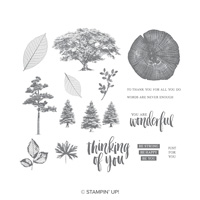
This month our theme is "Holiday" and I continued playing with my current favorite Stampin' Up!'s stamp set Rooted in Nature.  Not your typical "christmas" stamp set, but with a bit of tweaking, I think I made it "christmasy" - what do you think? 

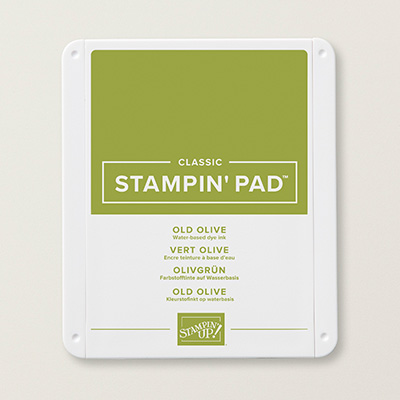
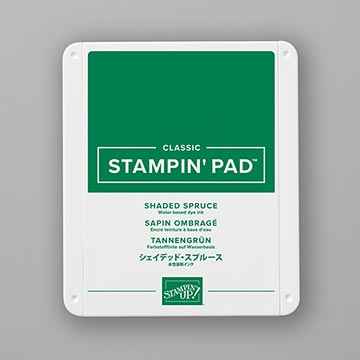
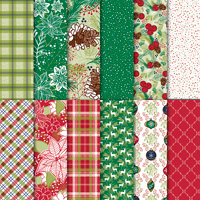
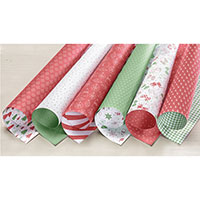
My color combination is Old Olive and Shaded Spruce to co-ordinate with the DSP "Under the Mistletoe".  If you want to watch a very good video on how to put a pocket card together, please watch Rick Adkins's video here.  Watching someone make this card is easier than reading written instructions.  Have fun!


Card front


Close-up of trees on card front


Close-up of card front's bottom


Inside of pocket-card


Close-up of bottom of inside of pocket card


Now have fun on your next stop on this hop:


Adrienne

Erica


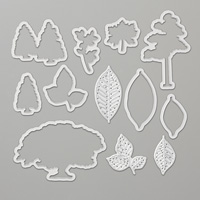
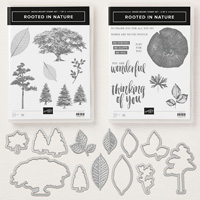
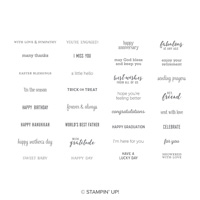
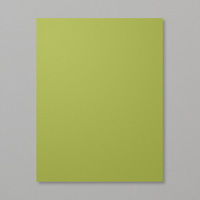
Stampin' Up! Products Used:


Tips to recreate this card:
Cut:
Old Olive Cardstock - base:  5 1/2" x 4 1/4"; and pocket base: 5" x 3 1/2"
Whisper White Cardstock: pocket stamped piece: 4 3/4" x 3 1/4"; scraps for stamped and punched trees
Under the Mistletoe DSP: 10 1/2" x 4"; strip 4" x 1/2"
Next:
1.  Fold you DPS in half and then fold down one top flap about 1 1/2" (I did that for mine);
2.  Glue the 1/2" wide strip of DSP onto the flap as shown in picture;
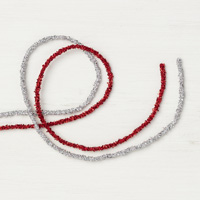
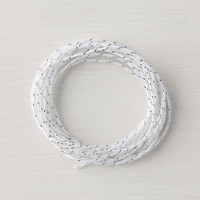
3.  Attach your white/silver Baker's Twine around the folded DSP over the front flap to secure it down.  I wrapped my twine 3 times around and then tied a knot.
4.  Now glue your folded DPS "pocket" to your Old Olive card base.
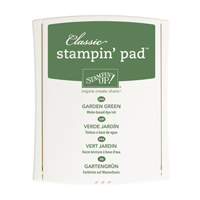
5.  Using Old Olive and Shaded Spruce inks, stamp your trees onto scrap whisper white cardstock and die cut out.
6.  Stamp your trees onto the bottom portion of the Whisper White card piece that goes into the pocket.  Stamp your greeting on the top left corner (see photos above).
7.  Attach your trees to the DSP pocket flap as shown.
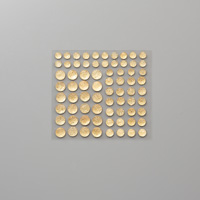
8.  Attach the large Rhinestone Basic Jewels to the tips of your baker's twine.
9.  Stamp the trees and greeting onto your envelope.
You are done!  Whoo-hoo!!!  Now you can remake as many of these cards as you want! Enjoy :)


Saturday, January 27, 2018

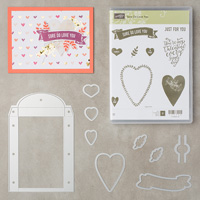
Sea Shore Stampers Blog Hop - Sure Do Love You Mini Narrow Card


Hello and welcome to the Sea Shore Stampers January 2018 Blog Hop!

This month's theme is Valentine related to give you all some inspiration for the upcoming February 14th's Valentine's Day. Are you prepared?  If not, this sweet little notecard will be quick and easy to recreate!


Valentine's Notecard with Envelope

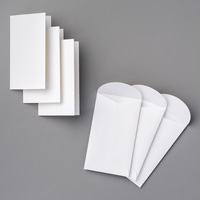
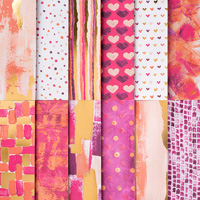
I used the absolutely delightful Designer Series Paper collection from Stampin' Up!'s 2018 Occasions Catalog called Painted With Love (and this paper collection just spoke to my heart! I Love it!), along with the new Whisper White Narrow Note Cards and Envelopes - they are just as cute as the 3" x 3" cards and a wonderful alternative to making our mini 3" x 3"'s - bonus!


Close-up of notecard


Close-up of envelope

I hope you enjoy making something just as special and that your heart sings while you do! 

Thank you for stopping by and enjoy the rest of the hop


Erica
Adrienne


See you again next time.


Stampin' Up! Supplies Used:


Saturday, November 25, 2017

Sea Shore Stampers November 2017 Blog Hop - Christmas Gift Box

Hello happy stampers and welcome to the Sea Shore Stampers blog hop.  


This month our theme is Christmas cards and packaging!  Enjoy your hop  and I hope you are inspired!
Reusable gift box

Front view of box
My crafting idea is a quick and easy gift box using Stampin' Up!'s designer series paper.  You only need one 12" x 12" sheet of DSP and one 12" x 12" sheet of cardstock.  I followed the easy video instructions from Stampin' Up! and, if you want to wach it too, here is the link.

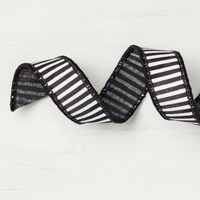
Once you have created your gift box, you can decorate it any way you wish:  I used my Stampin' Up! stamps, punch, ribbon and embellishments.  Thankfully, I still had enough of the black and white 7/8" striped ribbon to wrap around the box to create a sort of "belly band" to hold the gift box closed.  This way your recipient can reuse the box and pass it along to the next giftee :) 
Close-up of gift box topper
Enjoy the rest of the hop, and to our American stampers, wherever you are, I hope you have a wonderful Thanksgiving weekend!


Erica
Adrienne


Stampin' Up! Supplies Used: