The theme this month is Thank You.
How many thank you cards are on on your list to make? I have oodles on mine! Especially during this unique time in our world's history.
 |
| Easy Thank You Card |
So, do you too need a quick and easy to do card? Then please, pull your own supplies and follow along!
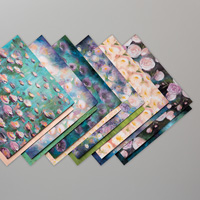
I created this easy card using the first cardstock base I put my fingers on: Stampin' Up!'s Blueberry Bushel - love this color and it is retiring at the end of this month. Next, I found a bit of co-ordinating DPS, then I added some Whisper White cardstock, matching Blueberry Bushel ink, a greeting stamp and a co-ordinating die (a punch works well here to!).
 |
| Inside of card |
Did you have fun? I hope so!
Thank you so much for stopping by - see you next time!

P.S. Directions to recreate this card are posted below.
P.P.S. If you reside in Canada and are looking for a Stampin' Up! demonstrator, I would be honored to be yours.
Stampin' Up! Supplies Used:
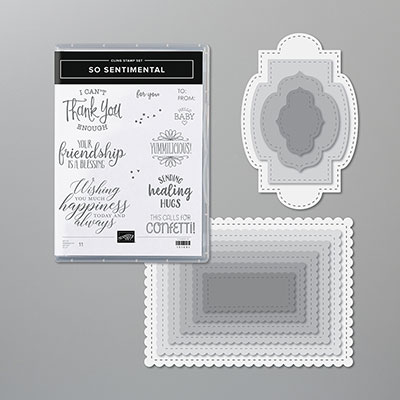
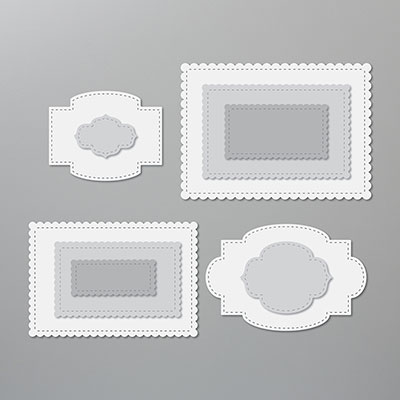
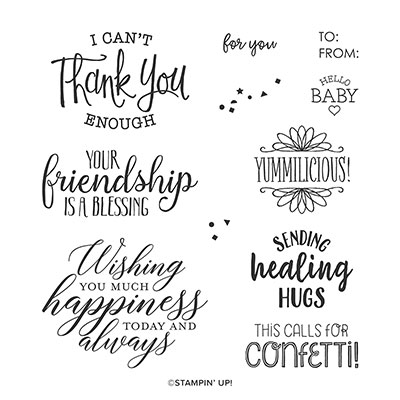

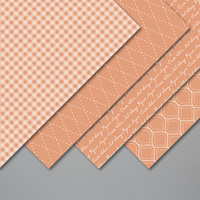

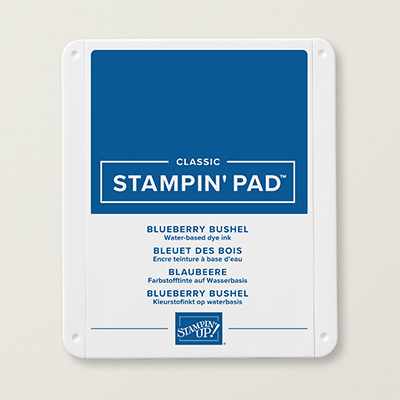



How to recreate this card:
Blueberry Bushel Cardstock base: 11" x 4 1/4"
Scrap of Whisper White for stamping and die cutting greeting
Next:
1. Emboss your 1" fold of cardstock using a favorite embossing folder you have on hand.
2. Glue your DSP to the backside of the embossed cardstock base so that the DSP bottom edge lines up with the bottom back of your card base.
3. Glue the 4" x 3/4" cardstock piece to the bottom backside of the DSP (this will sturdy up your DSP.
4. If you have a left over DSP strip, glue this Whisper White inside card piece where-ever you feel it looks best. I glued mine to the bottom.
5. Using Blueberry Bushel ink, ink your greeting stamp and stamp onto your scrap piece of Whisper White.
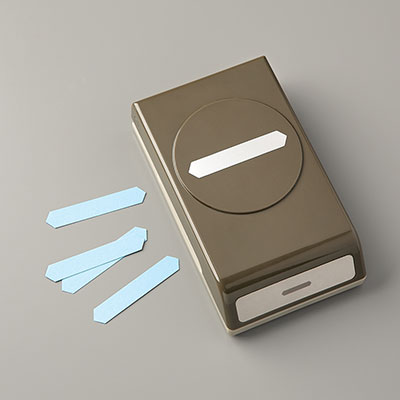
6. Die cut your greeting and also die cut the same shape from the left over Blueberry Bushel cardstock.
7. Cut the die shape apart diagonally and attach to your die cut greeting piece as shown in picture above.
8. Apply the greeting element to the front of your card with Stampin' Dimensionals.
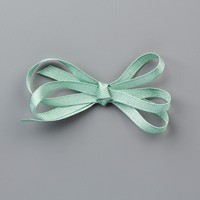
9. Optional: I used the matching Blueberry Bushel 1/8" grosgrain ribbon to make a double bow (I used a bow maker that one of my stamping buddy's hubby made but any method you use to make your bow will work! Even just a knot!
10. Apply bling!!!! I used the basic rhinestones.
Whoo-hoo! You made this card yourself! Now go ahead and enjoy making a few more!
- Score your card base in half and then take the front piece of cardstock and cut off 4 1/2" so that you only have a 1" piece of the cardstock left on the front from the fold.
- cut a 3/4" piece off the scrap piece - you will glue this strip to the backside of your DSP
- use the remaining cut off piece to die cut (or punch) your shape
- if you are using a 6" x 6" piece of DSP (like I did), cut a 4" strip of DSP and then cut to length at 5 1/4" and use the remaining DSP strip to glue to your inside card piece (no waste - yippee!)
Scrap of Whisper White for stamping and die cutting greeting
Next:
1. Emboss your 1" fold of cardstock using a favorite embossing folder you have on hand.
2. Glue your DSP to the backside of the embossed cardstock base so that the DSP bottom edge lines up with the bottom back of your card base.
3. Glue the 4" x 3/4" cardstock piece to the bottom backside of the DSP (this will sturdy up your DSP.
4. If you have a left over DSP strip, glue this Whisper White inside card piece where-ever you feel it looks best. I glued mine to the bottom.
5. Using Blueberry Bushel ink, ink your greeting stamp and stamp onto your scrap piece of Whisper White.
6. Die cut your greeting and also die cut the same shape from the left over Blueberry Bushel cardstock.
7. Cut the die shape apart diagonally and attach to your die cut greeting piece as shown in picture above.
8. Apply the greeting element to the front of your card with Stampin' Dimensionals.
9. Optional: I used the matching Blueberry Bushel 1/8" grosgrain ribbon to make a double bow (I used a bow maker that one of my stamping buddy's hubby made but any method you use to make your bow will work! Even just a knot!
10. Apply bling!!!! I used the basic rhinestones.
Whoo-hoo! You made this card yourself! Now go ahead and enjoy making a few more!