Showing posts with label Stamp set - Flourishing Phrases. Show all posts

Monday, June 19, 2017

Berry and Fig Thank You Notes

Hello stampers.
I had busy week, how was yours?
My post is short and sweet this time and so it the card idea.

A quick and fun one to make, this card is a lovely design. I give thanks to one of my fellow Stampin' Up! demonstrators for the idea: Thanks MiRan!  


The best thing about this design: you can make it in any color combination you wish and by switching out the greetings, well: you have a very versatile card base indeed!  Above you see two color combinations in the notecard size and one color combination in the in full size card version, which I made in landscape position. Pretty neat, don't you think? 

Close-up of regular sized card


Close-up of notecard using Fresh Fig Incolor


Close-up of Berry Burst color combo in notecard size.


Close-up showing details - vary to your heart's content!

Have a really great week!
Happy inky stampin' smiles


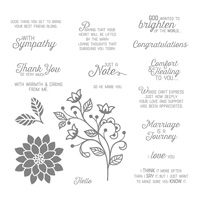
Stampin' Up! Supplies Used:

Tips and Tricks to recreate the cards:
Cut:
Very Vanilla cardbase:  8 1/2" x 5 1/2" (or, if making notecard size, use one of the Stampin' Up! Notecard and envelope sets: you get 20 cards and envelopes - catalogue code item is 144236)
Cardstock color strip in your choice of color: 5 1/2" x 1 1/2" for large card size; or 4 3/4"x 1 1/2" strip for notecard size.
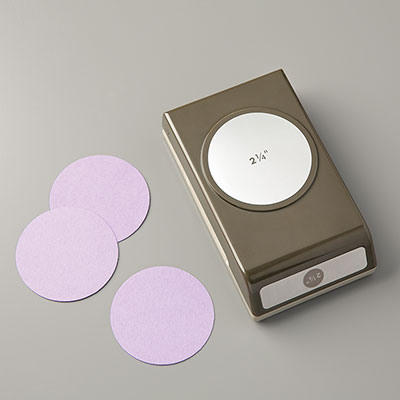
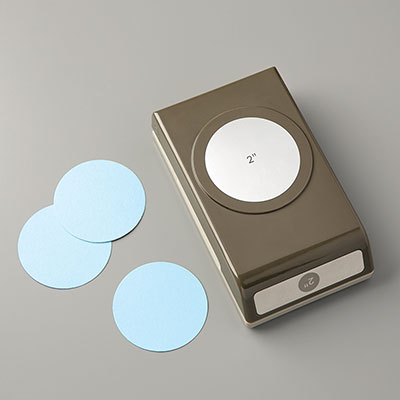
Scrap of Very Vanilla to punch out circle in either 2 1/4" for regular sized card (or 2" circle punch for notecard size.
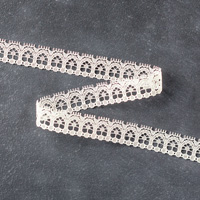
5" length of Very Vanilla lace trim
Next:
1. Create your cardbase by folding your Very Vanilla cardstock/notecard in half.
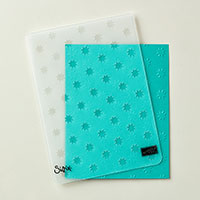
2.  Emboss your colored cardstock strip using your embossing folder (I used the Oh My Stars for these cards).
3.  Glue the embossed strip to the card base.
4.  Stamp your greeting of choice onto scrap piece of Very Vanilla carstock and punch out using either the 2 1/4" punch (for full sized card), or 2" punch for the notecard size. (for the full sized version, I also sponged the edges of the circle using a piece of sponge.
5.  Fold the ribbon in half and secure to back of punched out circle. 
6.  Attach the circle to the card base as shown in photos above using Stampin' Dimensionals.
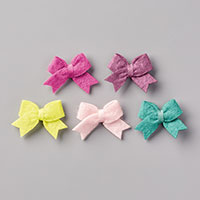
7.  Attach the Bitty Bow to the top of the circle.
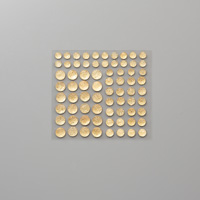
8.  Attach the Gold Faceted Gems/Pearl Basic Jewels/Metallic Sequins as desired.
9.  Stamp on your envelope.
You are done! Now that was easy, wasn't it?  Go ahead a make a few more using colors you love to play with.  See you again next week!


Monday, June 5, 2017

Flourishing Phrases Card with Acrylic Block Coloring

Happy Monday everyone! I hope you had an enjoyable week and that your past weekend was relaxing and refreshing!

I had my annual 2017/18 Stampin' Up! Catalogue launch party along with a hostess workshop and we all had a great time.


card front


This is the card we made using the Flourishing Phrases stamp set from Stampin' Up! and background colouring using our acrylic blocks - everyone thought this was a great hit! Whoo-hoo!  We all had ideas on using different color combinations and I know my stampin' buddies will be trying out a few at home!  Have fun everyone!


Close-up of card front centre


Close-up of upper left of card front


Close-up of card lower right

I hope you have a wonderful week and you too will give this stamping idea a try.
 I look forward to seeing you again next week!
Happy inky smiles!


Stampin' Up! Supplies Used:
Tips & Tricks to recreate this card:
Cut:
Whisper White Thick cardstock card base: 11" x 4 1/4"
Whisper White Thick cardstock stamping piece:  3 3/8" x 3 1/8"
Next:
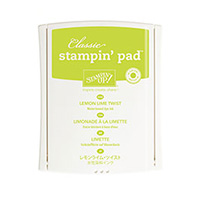
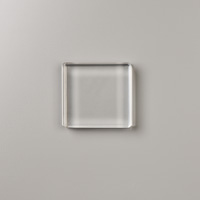
1.  Take the Lemon Lime Twist Ink pad and ink up half your "D" acrylic block.
2.  Take the Tranquil Tide Ink pad and ink up the other half of the "D" acrylic block.
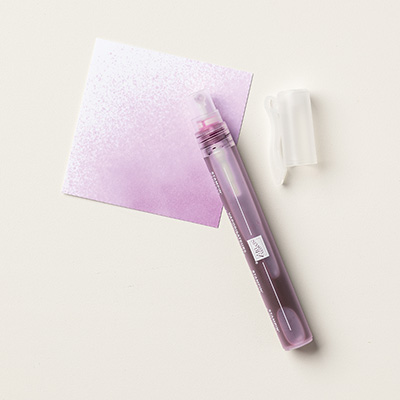
3.  Take your Stampin' Spritzer filled with water and spray your acrylic block (about three spritzes - the more water, the more the ink with spread).
4. Stamp the acrylic block onto your Whisper White stamping piece and set aside to dry.
5.  Fold your card base in half and then taking the flower spray stamp from the Flourishing Phrases stamp set, ink it up with Tranquil Tide and stamp first into one corner and the reink your stamp, turn your card around and stamp again into the oposite diagonal corner (you will overlapping the stamped image in the middle of your card but your stamped piece will cover this).
6.  Check to see if your stamped acrylic block piece is dry.  If not, heat set with your heat gun, or wait a bit and check back again in a bit.  You need your stamped piece dry before you stamp your greeting over top.
7.  If your stamped piece is dry, go ahead and ink up the greeting of your choice with Tranquil Tide Ink and stamp over the inked background (see photos for placement ideas).
8.  Take a sponge and ink up all edges of both your card base and your stamped piece with Tranquil Tide Ink (or, as some of my gals did, they sponged their cards with Lemon Lime Twist ink - looks really sharp too).
9.  Apply Stampin' Dimensionals to the back and attach your stamped piece to your stamped cardbase.
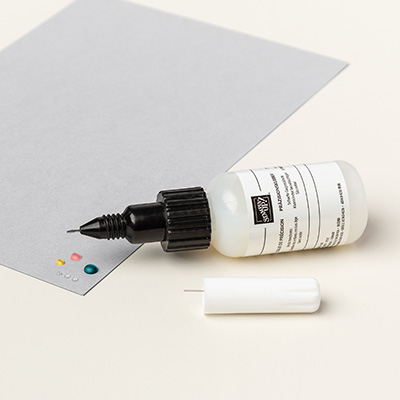
10.  Take the Fine Tip Glue Pen and apply glue to all the spots where you want glitter to bet.  Then apply the Dazzling Diamonds Glitter over the glue and tap excess glue off.
11.  Stamp the inside of your card if you wish and also remember to stamp your envelope.
Ta-Da!  You are finished!  Now wasn't that a fast card?  You can make this style card in any color combination you desire!  See where your imagination takes you!