Showing posts with label 3" x 3" card. Show all posts

Saturday, August 29, 2020

August 2020 Seashore Stampers' Blog Hop - Theme: 3D


Okay, where did the summer go?!  It's already time for the August Seashore Stampers'  Blog hop!

Yikes!

Well, happy hello and it's wonderful you are stopping by!

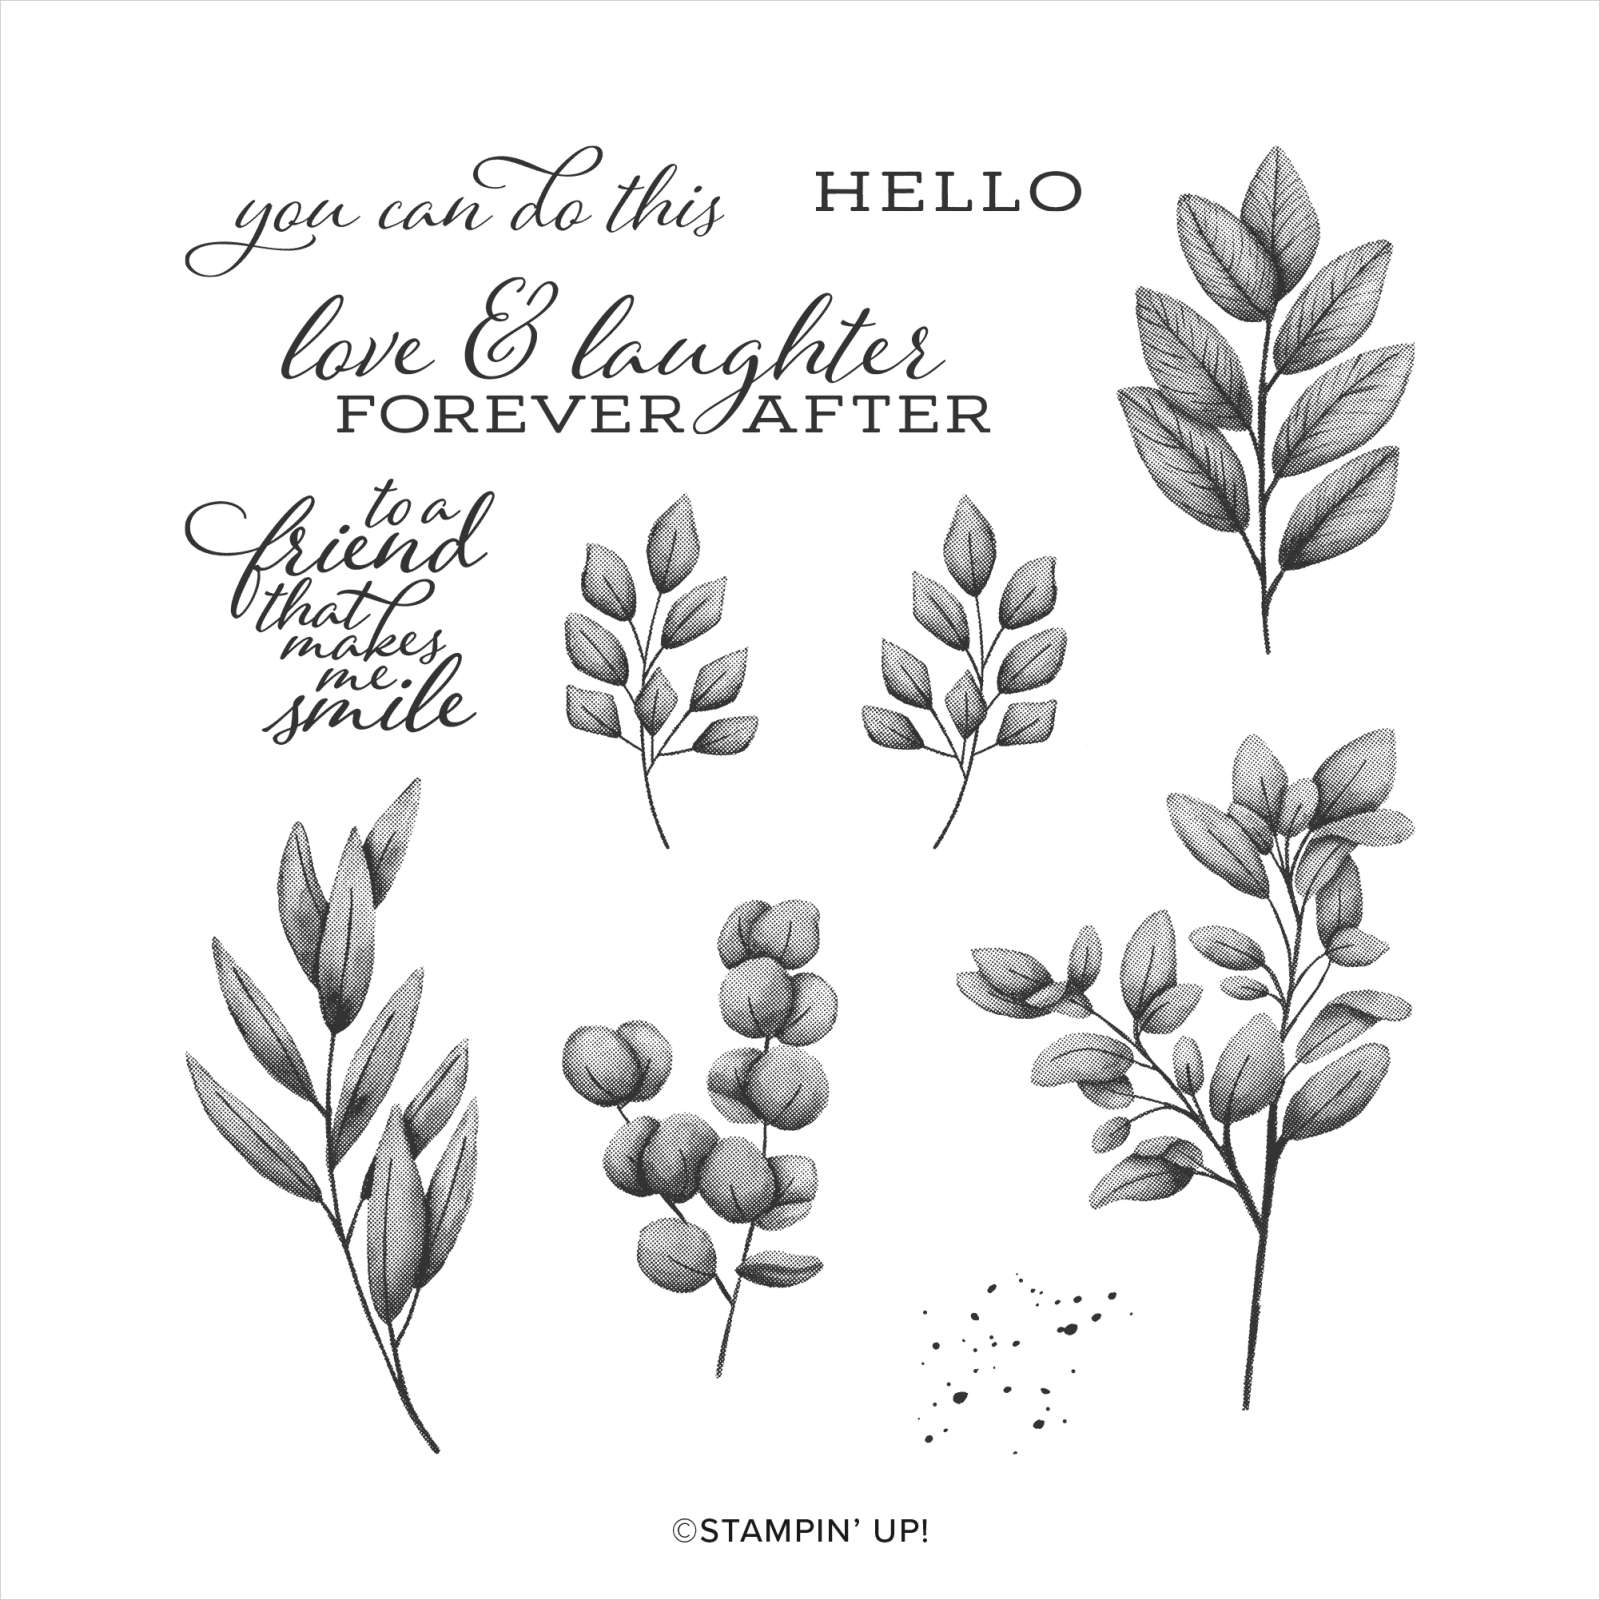
This month's theme is "anything 3D" and I decided to finally create a gift box using Stampin' Up!'s Gold Mini Pizza Boxes along with my still favorite stamp set, Forever Fern. 


I also went ahead and created a few matching 3" x 3" cards to go into the box. You might notice that three of the card bases are Cinnamon Cider (a 2020-2022 incolor) and the other is Melon Mambo.


I incorporated one of my all time favorite ink colors: Melon Mambo. It looks really great with Cinnamon Cider.  A nice and warm transition into, dare I say it - Fall. But you can use any color combination that tickles your fancy!

I also remembered to take a picture of the inside of two of the cards for you too (Just in case you needed some inspiration!)


I still want to create the envelopes but I didn't have time to take pictures for this post so you will just have to use your own imagination.😊

All right, this is it for me today - so please hop on over to the next stop and have fun letting your creative mojo loose!


Adrienne
Erica


Thank you so much for taking time in your day to stop by - I look forward to seeing you next time!


P.S.  If you reside in Canada and you are looking for a Stampin' Up! demonstrator, I would be honored to be yours.

Stampin' Up! Supplies Used:


Monday, October 9, 2017

September Thank You cards (and Happy Thanksgiving)

Happy Thanksgiving everyone!
Thank you for taking time out of your busy weekend with family and friends to stop by here.

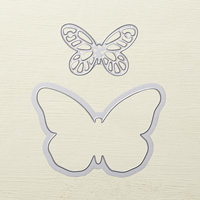
Today I wish to share with you my thank you cards for my customers in September.  I used one of my favorite butterfly die sets from Stampin' Up! called Bold Butterfly Framelits.  I also used a very versitile background stamp called Playful Backgrounds. 


A trio of the Thank you cards for my September customers


Close-up of card
Inside of card

I hope your creative juices are sparked today and that you too go make a thank you card for someone special.  Now go and enjoy the rest of your Thanksgiving Monday.

Have a wonderful week and see you again next time.


Stampin' Up! Supplies Used:
Tips and Tricks to recreate this card:
Cut:
Island Indigo cardstock card base: 6" x 3" folded in half to create your 3" x 3" cardbase
Whisper White cardstock: 1 piece 2 3/4" x 2 3/4" for outside and  one piece 2 1/2" x 2 1/2" for inside of card.
Pool Party scrap to die cut your butterfly
One page from one of your old catalogues to create your envelope (follow your envelope maker instructions to create)
Next:
1.  Stamp your background onto the larger piece of Whisper White cardstock as desired using Pool Party Ink.  Then stamp greeting of your choice into upper right corner using Island Indigo ink.
2.  Stamp dragonfly image onto upper left corner of the smaller Whisper White cardstock piece using Pool Party ink.
3.  Glue/adhere your outside and inside stamped pieces to your card base.
4.  Die cut your butterfly from the Pool Party cardstock and attach your butterfly to the card front as shown.
5.  Attach a large pearl to the center of the butterfly.
6.  Create your envelope.
You are done!

Monday, September 4, 2017

You're Priceless Thank You Cards

Hello stamping friends and welcome to another blog post!
Today I am sharing the thank you cards I made for my customers this past week.

My Thank you cards to my loyal stamping buddies!

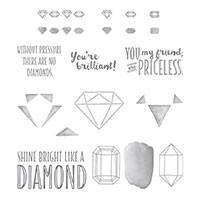
I used Stampin' Up!'s You're Priceless stamp set and the Pretty Lable punch - some of the very same supplies used in last week's stamp class -  bonus!

Now that Stampin' Up! has returned the 3x3 envelopes (whoo-hoo), I am back to making my mini cards!
I hope this week's card share gets your creative juices flowing as we head into September.

Have a wonderful week and I look forward to seeing you again!


Stampin' Up! Supplies Used:
Tips and Tricks to recreate this card:
Cut:
Soft Sky cardstock: 6" x 3" and then scored along long edge at 3" to create 3x3 cardbase
Lemon Lime Twist cardstock strip: 3" x 1" - embossed with the Oh My Stars embossing folder
Whisper White: 2 3/4" x 2 3/4" square for inside of card and a scrap to stamp and punch greeting
Next:
1. Using Soft Sky ink and the diamond outline stamp, stamp the front of the card front as shown.
2. Use the Banner Triple punch to punch out the banner tail in your embossed Lemon Lime Twist cardstock strip.
3.  Glue to the left edge of the card base as shown (you will be trimming off a small amount of the Lemon Lime Twist that will be sticking up at the top of your card base).
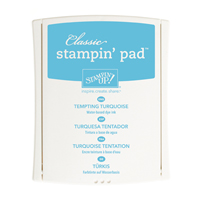
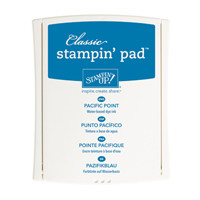
4.  Ink and stamp your diamond focal piece using blue ink colors of your choice (I used Tempting Turquoise, Pacific Point and Island Indigo and then I outlined the whole in Lemon Lime Twist) .
5.  Stamp your greeting onto scrap of Whisper White cardstock using Basic Black ink and then, one the ink has dried, punch out the greeing using the Pretty Label punch.
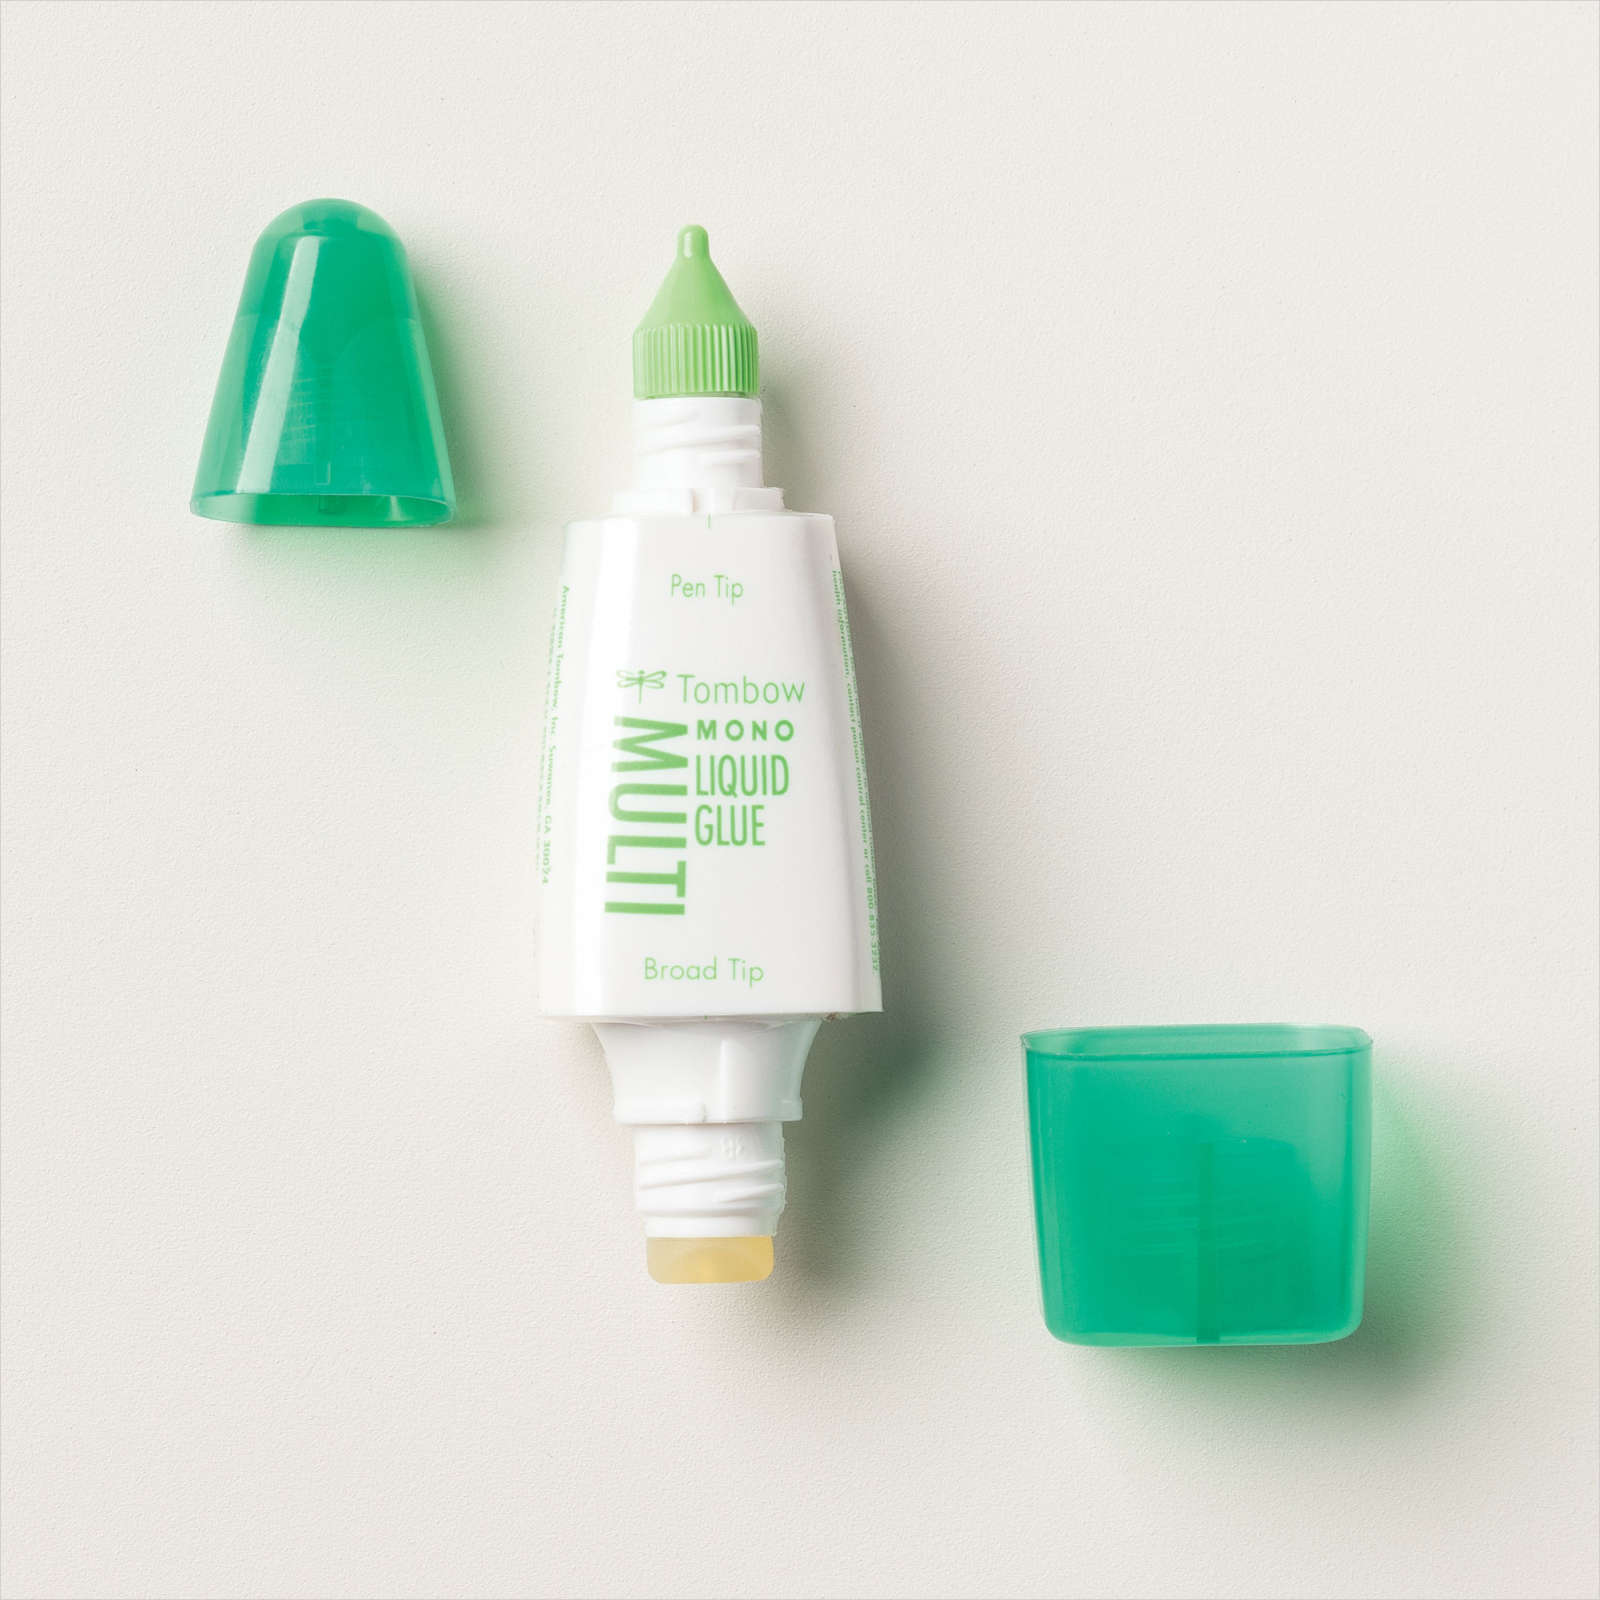
6.  Attach your greeting to the cardbase using the multipurpose glue.
7.  Attach your stamped diamond using stampin' dimensionals.
8.  Glue on a sequin in color of your choice (I used retired brights sequins) to the bottom right of your card (or add more if you so desire!)
9.  Stamp the tiny row of diamonds to the Whisper White square piece using Soft Sky ink. At the same time, stamp your matching envelope!
10.  Now don't forget to sign the back of your card and then send off to someone special!