Showing posts with label Stamp set - Birthday Banners. Show all posts

Monday, March 13, 2017

Floral Affection Embossing Folder - card

Happy Monday everyone!
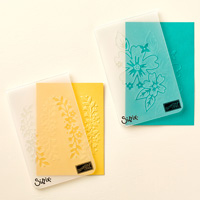
I am wishing for spring so I pulled out my long neglected Stampin' Up Embossing Folder called Foral Affection and created a very simple but elegant card.  I had seen a picture of a similar card on the internet some time ago and I made a sketch of it.  A happy thank you to the person who shared it with us on the Internet!


Card front

Close-up


Have a wonderful week!


Stampin' Up Products Used:
Tips and Tricks to Re-create this card:
Cut:
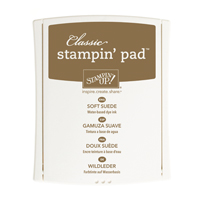
Card base in Soft Suede: 11" x 4 1/4"
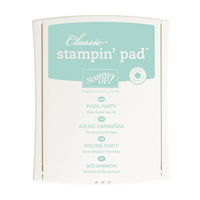
Mat 1 in Pool Party:  5 1/4" x 4"
Mat 2 in Soft Suede: 5" x 3 3/4"
Focal piece (embossed and inked and decorated:  4" x 2 3/4"
Inside of card:  Pool party (or Very Vanilla): 5 1/4" x 4"
Scrap strip 1 1/2" wide of Very Vanilla for the flowers
Scrap strip 1 1/2" wide of Pool Party and of Vellum for banner
Next:
1.  Fold your card base in half to create card.
2.  Glue your Mat 1 onto card base.
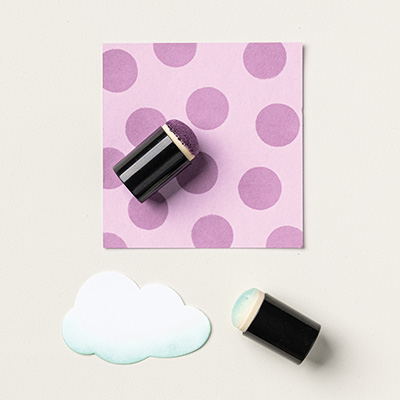
3.  Sponge Mat 2 with Soft Suede ink using sponge dauber (or sponge) and then glue to card.
4.  Emboss focal piece with the Floral Affection embossing folder.
5.  Use Pool Party ink and sponge dauber to ink up the raised embossed image and edges of focal piece.
6.  Glue to matted card base.
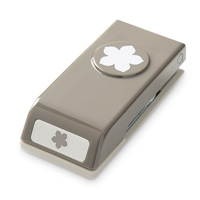
7.  Use Pool Party ink and stamp two flowers using Petite Petals onto Very Vanilla cardstock and punch out.
8.  Shape your punched flowers with embossing tool (end of your piercing tool or score tool will work!) by placing stamped flowers upside down onto your Stampin' Pierce mat and "shape" the petals by pushing the petal edges down into the mat with your "tool".  Then turn flower over and press the center of each flower into the mat with your "tool".
9.  Glue your flowers onto the the focal piece as shown in photo.
10.  Stamp your greeting with Soft Suede ink onto scrap strip of Pool Party ink and then cut out banner shape.
11.  Cut out an identical banner shape from vellum scrap.
12. Attach vellum banner over stamped banner using two glue dots on either end, which will be covered with a "pearl" (see photo).
13. Attach embellished banner onto your focal piece using Stampin' Dimensionals.
14.  Attach the Basic Pearl Jewels to your focal piece as desired (look at photo for ideas).
15.  Stamp some Petite Petal flowers to inside of card and your envelope as desired.
Enjoy your masterpiece! 

Monday, January 9, 2017

Avant-Garden Birthday Card

Happy Monday Stampers.
I hope you had a lovely week.  My card share today is a simple one and I hope you take the time to make it too! Please don't be intimidated with all the written instructions below - it's just in detail so you can follow along on how I made mine.  It really does come together quite quickly.


Close-up so you can see the ribbon and flower details

Close-up of banner greeting


Inside of card

Close-up of inside of card so you see the stamping detail

Enjoy your week and I hope to see you next time.


Stampin' Up Supplies Used:

Tips to recreate this card:
Cut:
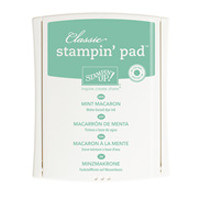
Mint Macaroon cardstock 11" x 4 1/4"
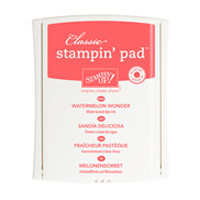
Watermelon Wonder cardstock - 5 1/4" x 4"
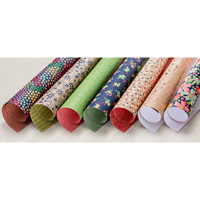
Affectionately Yours Specialty Designer Series Paper - 5 1/8" x 3 7/8"
Whisper White for inside of card - 5 1/4" x 4"
Scrap Whisper White for stamping piece strip of 2" x 5 1/2" or so
Next:
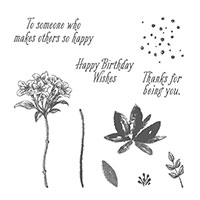
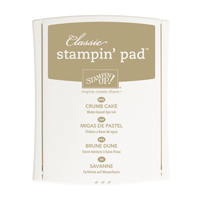
1.  Stamp the flower spray twice from Avante-Garden stamp set onto scrap Whisper White cardstock using Crumb Cake Ink.  Also stamp the image onto the inside piece of Whisper White (ink once and stamp 3 times up the left hand side of cardstock (as shown in picture).
2.  From the second stamped spray you will cut out three individual flowers that you will attach over the same base flower image using Mini Glue Dots.
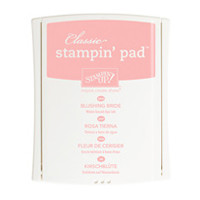
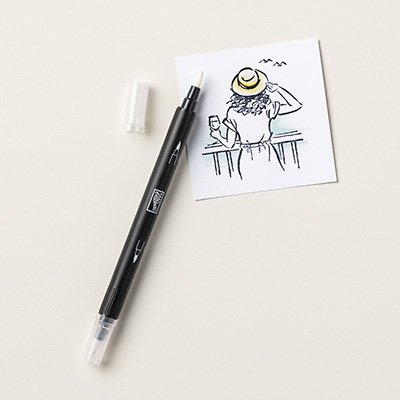
3.  Using blender pen and Blushing Bride ink, color the flower images. 
4.  Using blender pen and Mint Macaron ink, color in the leaves in the flower spray.
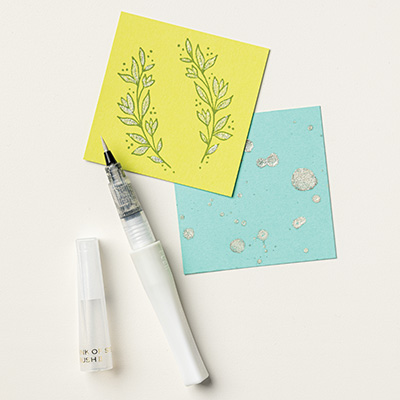
4(b).  If you wish, apply a coat of Clear Wink of Stella over the inked flowerheads to give them some sparkle!
5.  Now, using one of the smaller layering oval framelits cut out your flower image and set aside for now (but keep the same framelit handy and remember which side of the framelit is up - it makes a difference when you try to place this stamped and die-cut image into the cut out oval in the Watermelon Wonder cardstock! Trust me I know - I already goofed once so you don't have to!).
6.  Using same oval framelit and in same orientation as you used to cut out your stamped image, place oval framelit onto Watermelon Wonder cardstock where you like and cut out oval shape (tip: remember which side of oval is up!)
7. Now place your Affectionately Yours Specialty Designer Series Paper piece over the cut out Watermelon Wonder piece and viewing this "sandwich" through a window or light source place another larger oval die over the SDSP and secure the die with a couple of small pieces of washi tape to hold the die in place. Remove the Watermelon Wonder cardstock piece and die cut the oval from the SDSP. 
8.  Now glue/tape the diecut SDSP piece to the Watermelon cardstock piece and you will see a "matting" effect (neat huh!).
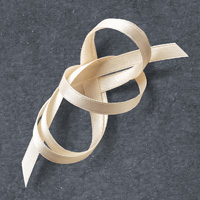
9.  Now take a piece of the Vanilla satin ribbon (about 6 to 8 inches but use what you feel you need) and wrap around the left hand side of the oval opening and tie half of a knot.  Before tieing the second half of the know place the 2" piece of metallic ribbon over the first half of your tied ribbon and then as you tie the second half of your vanilla satin ribbon, the gold metallic ribbon piece will be tied into the knot (see photo).
10.  Now glue this die cut and ribboned sandwich to the Mint Macaron cardbase! Whoo-hoo - you have done great so far!
11.  Now you get to glue your stamped Whisper white oval image into the matted opening - sneaky idea but really cute!
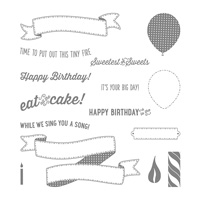
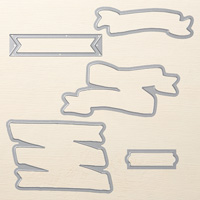
12.  Stamp and cut out your greeting - I stamped the banner outline first using Crumb Cake Ink and then I stamped the Happy Birthday greeting in Watermelon Wonder ink.  I next cut out the greeting with scissors but you can use the Bunch of Banners Framelits, if you have them.
13.  Attach the banner greeting to your card either as shown or wherever you want to put it on the card.
14  I also attached a scrap of the Affectionately Yours Speciality Designer Series Paper to the inside bottom of the card (see photo).
15. All that's left to do is sign your card creation and give to someone special!
Enjoy!