Happy Saturday everyone, and welcome to the Seashore Stampers' Blog Hop!
I believe you will find wonderful eye-candy ideas for your next stamping project as you hop through each blog - enjoy!
This card was a delight to make and I had my Mom in mind when I was making it, so it is filled with happy love. If you need an idea for your own Mother's Day card, I hope you give this card a try.
 |
| Card front |
 |
| Close-up of card front |
 |
| Closer view of card to show flower details |
Now hop on over, or back, to the next blog and get some more creative eye-candy!
 |
| Adrienne's Blog |
 |
| Erica's Blog |
Happy Inky Smiling Hugs.

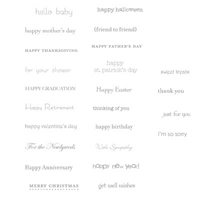
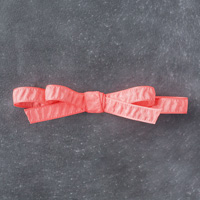
Stampin' Up! Products Used:


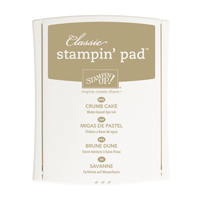
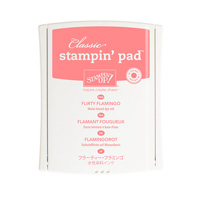
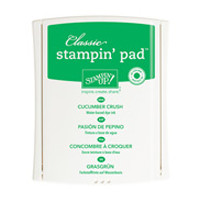
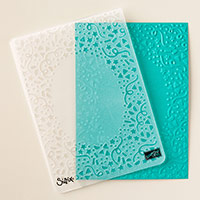



Tips and Tricks to Recreate this card:
Cut:
Flirty Flamingo Cardstock for cardbase: 11" x 4 1/4"
Whisper White cardstock: 5 1/4" x 4" (twice: one piece for embossing and the other one for inside of card)
Scraps of cardstock in colors Flirty Flamingo, Cucumber Crush, Whisper White (for flower, leaves and greeting)
Strip of Gold Glimmer paper for flag strip: 5/8" x 3 1/2"
Next:
1. Fold Flirty Flamingo cardstock in half to create your card base.
2. Take one of the Whisper White cardstock pieces and dry emboss it with the Confetti TIEF.
3. Take one of the medium size flower stamps from the Love & Affection stamp set, ink up with Flirty Flamingo ink, and stamp onto the scrap Flirty Flamingo cardstock and cut out with your paper snips.
4. Take the same flower and stamp 3 times onto your white embossed piece of cardstock with the Flirty Flamingo ink - see photo for ideas.
5. Then take one of the smallest flower stamps in the set and using Flirty Flamingo ink stamp randomly onto the embossed whisper white card. Again look at photo for ideas.
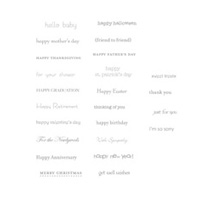
6. Ink up and stamp the "Happy Mother's Day" greeting onto a strip of Whisper White cardstock using Crumb Cake ink.
7. Cut out a flag shape on left had side of stamped greeting (the right end will be underneath your stamped and cut out flower. (I added a tiny strip of Flirty Flamingo cardstock just underneath the top of the stamped greeting strip to give it a bit more color).
8. Cut out flag shapes at each end of the Gold Glimmer Paper.
9. Using the Multipurse Glue, glue your glimmer strip over the stamped flowers as shown in photo.
10. Now glue the greeting strip over top of the glimmer strip and let dry.
11. Stamp three leaves onto the piece of Cucumber Crush cardstock using Cucumber Crush ink.
12. Fussy cut out leaves using your paper snips.
13. Shape the flower and leaves on your piercing mat and then glue the leaves to the back of the flower and then the flower onto your card using the Multipurse Glue.
14. Last, attach some Pearl Basic Jewels to your card as desired! (See photos for ideas).
Now all you have to do is stamp the inside of your card as desired and you are all ready to send it out your Mother's Day Card! Whoo-hoo!
Oh, right, don't forget your envelope - stamp as desired too!
I hope you had creative inky fun!