
I had a busy work-week and a wonderful weekend: nice weather and fun play-time stamping with some stamping buddies. How about you?
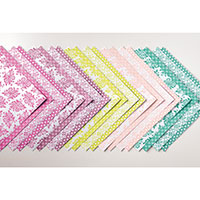
I want to show you a simple yet effective card I made using the Floral Phrases stamp set from Stampin' Up! and the Designer Series Paper Stack called Fresh Florals. With a total of 40 sheets in a choice of five (5) colors, one has a lot of paper to play with! By changing out the color combination, DSP paper design and greeting, you really have unlimited choices!
 |
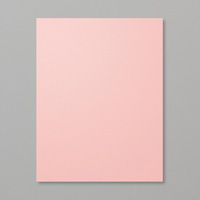
| Card front |
 |
| close-up of card front |
 |
| Inside of card |
Now go ahead and play yourself and see how easy it is to create this card! You'll be happy you did!
See you again next week!

Stampin' Up! Supplies Used:


Cut:
Sahara Sand cardstock card base: 11" x 4 1/4"
Whisper White cardstock for inside: 5 1/4" x 4"
Designer Series Paper strip: 2" x 5 1/4"
Strip of Whisper White cardstock 2" wide: to stamp floral design and punch out with 2" circle punch
Scrap of Blushing Bride cardstock: 2 1/4" circle punch
Scrap of Soft Suede cardstock: 2 1/2" circle punch
Next:
1. Score and fold your cardbase in half.
2. Attach your DSP strip of paper.
3. Ink up your choice of greeting with Soft Suede ink and stamp your greeting just above the DSP.
4. Ink up your floral stamp with Blushing Bride ink and stamp onto the scrap of Whisper White cardstock.
5. Then also stamp the inside of your card and your envelope with same stamp and ink.
6. Now punch out your stamped image with the 2" circle punch.
7. Punch out a 2 1/4" circle from the scrap of Blushing Bride cardstock.
8. Punch out a 2 1/2" circle from the scrap of Soft Suede cardstock. **Note: the 2 1/2" circle punch from Stampin' Up! is now retired so use whatever circle punch or die you have available to you.
9. Now glue your circles together layering them as you see in the photo above.
10. Attach your assembled circle art piece to your card with dimensionals.
11. Add a bit of glitter to your stamped rose image by applying some Clear Wink of Stella!
Enjoy your hand made card and send it out out someone who deserves it!
No comments:
Post a Comment