Hello stampers and welcome to the Seashore Stampers' December 2016 Blog Hop. Please, sit back and enjoy your hop (I personally suggest a lovely cuppa of your choice, and maybe a snack, to keep you energized).
I have a New Year's card to share - I used bright colors for my focal image and stamped the greeting in Basic Black. The edges were also sponged using the same ink colors as used in the matting - and yes, there is quite a bit of matting here: five layers to be exact! The stamped focal point and the card base are layers 5 and 6, if you want count all the layers! I hope you like it.
 |
| Doesn't the stardust spray remind you of fireworks? |
 |
| Close-up so you can see the inked colors in the stardust spray |
 |
| Inside of card - you can see the sponging along the edges! |
 |
| You can see a bit of the sponging along the bottom edge here as well as the details of where I placed the rhinestones and where I placed the glitter. |
Now onto the next blog on this hop, or back to the previous blog on this hop (are you tired yet? :)):
 |
| Adrienne's Blog |
 |
| Erica's Blog |
Happy Inky Smiles and Cheers to a very Happy New Year!
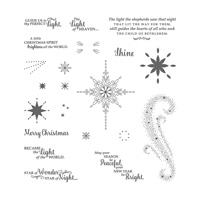
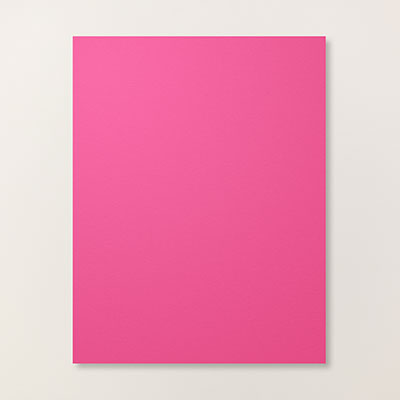
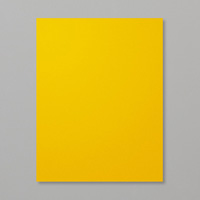
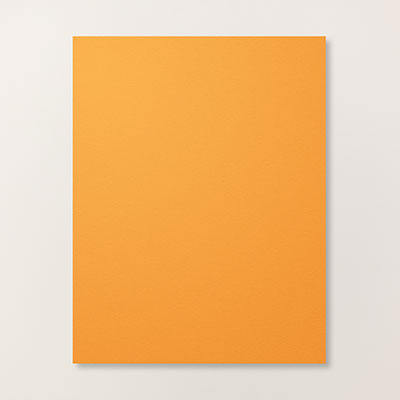
Stampin' Up! Products used:
Cut:
Card base is Bermuda Bay: 8 1/2" x 5 1/2"
Mat layer #1 in Basic Black: 5 3/8" x 4 1/8"
Mat layer #2 in Pumpkin Pie: 5 1/4" x 4"
Mat layer #3 in Crushed Curry: 5 1/8" x 3 7/8"
Mat layer #4 in Melon Mambo: 5" x 3 3/4"
Mat layer #5 in Basic Black: 4 7/8" x 3 5/8"
Stamped focal piece in Whisper White: 4 3/4" x 3 1/2"
For inside of card: Whisper White 5" x 3 3/4"
Next:
1. Ink up the greeting with Basic Black ink and stamp at the bottom right hand corner.
2. Ink up the sparkly spray using sponge daubers as follows: bottom part of spray is Bermuda Bay; top portion of spray is Crushed Curry; the spray portions in between I sponged with Pumpkin Pie and Melon Mambo - but please feel free to try your own combinantion (even change up the colors if you want!)
3. Without reinking the spray - stamp it onto the Whisper White card piece for the inside of your card.
3. Using sponges I then went around the edges of the Whisper White stamped card pieces (including the piece for the inside) inking up sections using the same ink colors: Bermuda Bay, Melon Mambo, Pumpkin Pie and Crushed Curry.
4. I then used my snail to attach each incrimental mat piece to the stamped art piece - the last being the whole matted piece to the Bermuda Bay cardstock!
5. You might want to consider using extra matting pieces too for the inside of the card - I didn't this time round, but I want to try it again with one or two cardstock colored mats.
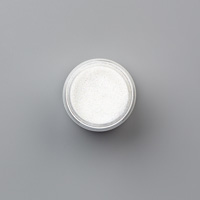
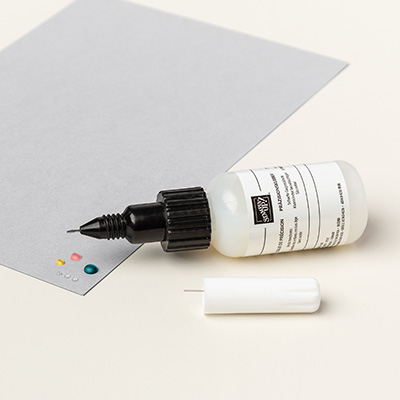
6. I applied Basic Rhinestones to the stamped card piece and then I used my retired 2-way glue pen to apply glue to random areas on the inked spray and then applied my Dazzling Diamonds glitter as a finishing touch! You can use the Fine Tip Glue bottle as well for this!
Enjoy your card and I hope it brings a smile to your heart.


