Hello!
I wanted to get out a quick notice to you all about the upcoming promotion at Stampin' Up! If you love to use Designer Series Paper (or DSP for short) in your creations, then you won't want to miss this! From October 1st through October 31st, 2016, you will get one package of Designer Series Paper free for every three you buy - a great time to stock up!
Have a wonderful day and see you again soon!
Thursday, September 29, 2016
Wednesday, September 28, 2016
Wednesday Card-break - Love You Lots Froggie
Happy Wednesday everyone!
Today my card share is a card my stamping buddies made last Saturday afternoon at a workshop. My idea for this card came from Stamp With Amy K. She lists the cardstock sizes on her blog and I shall list my variations below. Enjoy:
 |
| Card front |
 |
| Closeup of card front details |
Thank you for stopping by and spending some stamping time with me. Have a wonderful day!
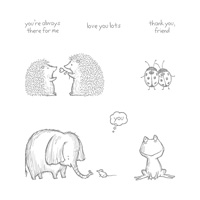
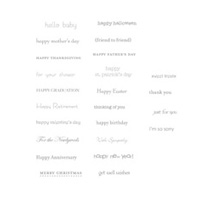
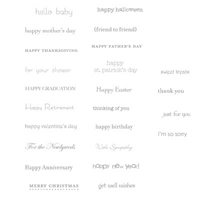
The Stampin' Up products I used are listed below:
If you wish to recreate this card, here are some tips:
Cut Cardstock:
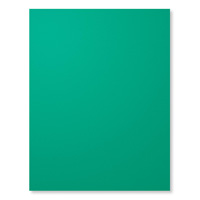
Emeral Envy card base cut 8 1/2" x 5 1/2"; Mat cut 5" x 3 3/4";
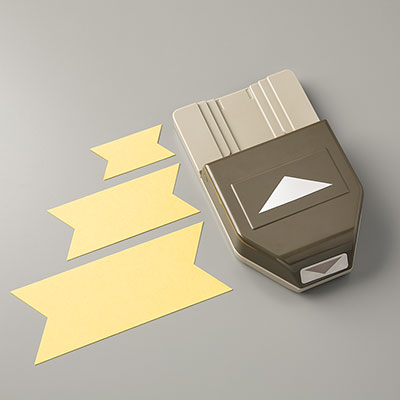
Strip for banner cut 5 1/4" x 1 1/4" and it will shorten when you punch out the flag end using the Banner Triple Punch - save the small punched piece for your card embellishment!)
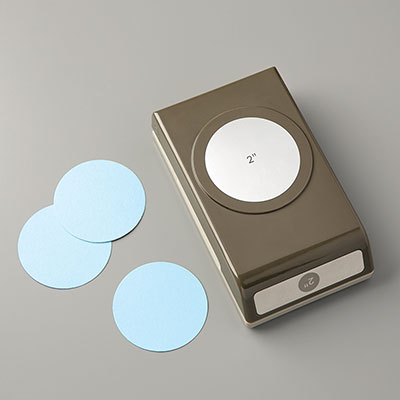
Very Vanilla cardstock: two (2) pieces cut 4 7/8" (one for stamping on card front and one for inside of card; and one piece cut 5" x 3/4" for your banner piece (again, save the small punched out piece for your card embellishment!); and one scrap piece to stamp froggie and punch out with 2" circle punch
Scrap piece of Flirty Flamingo punched with 2" circle punch
Stamp:
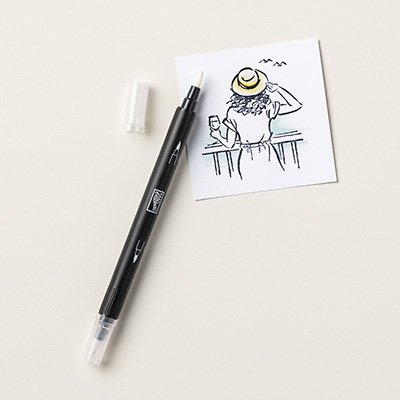
Frog using Basic Archival Black then, when ink is dry, color him in using aqua painter and Emerald Envy Ink. Then, once that is dry, use the clear Wink of Stella to color all over froggie to give him sparkle.
Stamp background using the Gorgeous Grunge Background stamp set (the bubbles) and your Sahara Sand ink pad. (Ink up stamp, stamp lightly onto scrap paper and then stamp onto your cardstock. This gives you a lighter shade making the bubbles more subtle.)
Also, ink up your other two Very Vanilla pieces with the bubble stamp (for inside card and banner piece)
Ink up your greeting using markers - use the brush side of the marker and gently ink each word with the side of your brush. (I used Emerald Envy and Flirty Flamingo).
Assemble card front by glueing stamped Very Vanilla piece to your Emerald Envy Mat piece
Then, glue on your Emerald Green Banner and the Very Vanilla stamped banner pieces on top.
Line up your small punched pieces from your banner as shown in picture above (you will end up trimming a bit of the Very Vanilla as it will be a bit longer than the Emerald Envy piece. You want to line this piece up with the top edge of the Very Vanilla card front
Next glue your Flirty Flamingo punched circle to the backside of your stamped and punched froggie :)
Attach Metallic Enamel heart (or as some gals did, a star) onto your froggie and a small Metallic Enamel circle (or circles if you prefer) onto the accent piece as shown in pictures above.
Attach your assembled froggie onto card front with Stampin' Dimensionals.
Monday, September 26, 2016
Cookie Cutter Christmas Reindeer
Hello fellow stampers!
Sorry I missed the Blog Hop deadline, but I am posting my Christmas card for the Seashore Stampers Blog Hop today!
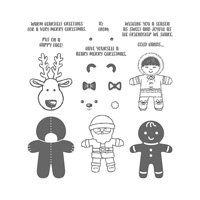
My card for the hop is my rendition of a very cozy Miss Reindeer who sending out warm heartfelt greetings.
If you wish to recreate this card, here are some tips:
Cardstock:
Card base: Cajun Craze cut at 8 1/2" x 5 1/2"
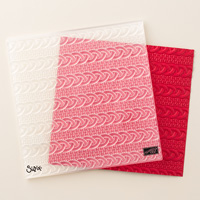
Mat:for embossing: 1/4 sheet (5 1/2" x 4 1/4") - emboss in cable knit Textured Impression Embossing Folder
Mat: Whisper white 5 3/8" x 4 1/8"
Inside of card: Whisper White 5 1/4" x 4" Scrap Whisper White for stamping and punching out your Reindeer
Another Scrap Whisper White for greeting on front of card
Scrap of Flirty Flamingo for punching out the 2" circle
Stamping: Stamp reindeer image and greeting with Cajun Craze ink. I then used my black Stampin' Up marker to color in the eyes.
I used my blender pen to pull in the color from the stamped image of the reindeer.
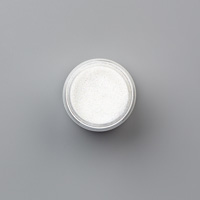
Then I covered the reindeer with glue and applied Dazzling Diamonds Glitter.
Accessorized the card:
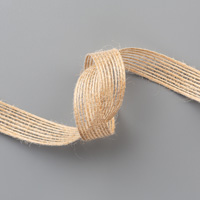
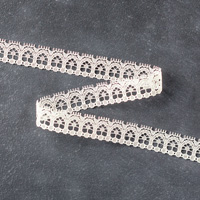
I used 6" of the burlap ribbon and 6" of the Victorian Lace Ribbon.
Wrapped ribbon to backside of Cable embossed matting.
When using the Cable Knit Embossing Folder, I first sprayed both sides of my cardstock with plain water just to dampen the cardstock - it made the impression of the cables that more pronounced!
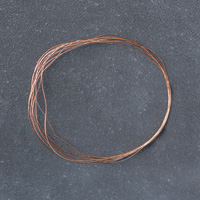
I also punched a scrap 1" circle out of Whisper White to place my copper thread onto which I then sandwiched to the back of the reindeer.
I popped up Ms. Reindeer and the greeting with Stampin' Dimensionals.
I then put on several Pearl Basic Jewels to dress up the card front (I even placed a tiny pearl into the tiny red heart on the greeting).
Last but not least, I stamped my greeting for the inside of the card using Cajun Craze.
Sorry I missed the Blog Hop deadline, but I am posting my Christmas card for the Seashore Stampers Blog Hop today!
My card for the hop is my rendition of a very cozy Miss Reindeer who sending out warm heartfelt greetings.
Here are a couple of closeups:
And here is the inside - very simple and easy:
Hope you enjoyed my share today. Have a wonderful day. use the buttons below to take you back or forward in the hop:
 |
| Erica's |
 |
| Adrienne's |
Here are the Stampin' Up products I used for this card:
If you wish to recreate this card, here are some tips:
Cardstock:
Card base: Cajun Craze cut at 8 1/2" x 5 1/2"
Mat:for embossing: 1/4 sheet (5 1/2" x 4 1/4") - emboss in cable knit Textured Impression Embossing Folder
Mat: Whisper white 5 3/8" x 4 1/8"
Inside of card: Whisper White 5 1/4" x 4" Scrap Whisper White for stamping and punching out your Reindeer
Another Scrap Whisper White for greeting on front of card
Scrap of Flirty Flamingo for punching out the 2" circle
Stamping: Stamp reindeer image and greeting with Cajun Craze ink. I then used my black Stampin' Up marker to color in the eyes.
I used my blender pen to pull in the color from the stamped image of the reindeer.
Then I covered the reindeer with glue and applied Dazzling Diamonds Glitter.
Accessorized the card:
I used 6" of the burlap ribbon and 6" of the Victorian Lace Ribbon.
Wrapped ribbon to backside of Cable embossed matting.
When using the Cable Knit Embossing Folder, I first sprayed both sides of my cardstock with plain water just to dampen the cardstock - it made the impression of the cables that more pronounced!
I also punched a scrap 1" circle out of Whisper White to place my copper thread onto which I then sandwiched to the back of the reindeer.
I popped up Ms. Reindeer and the greeting with Stampin' Dimensionals.
I then put on several Pearl Basic Jewels to dress up the card front (I even placed a tiny pearl into the tiny red heart on the greeting).
Last but not least, I stamped my greeting for the inside of the card using Cajun Craze.
Subscribe to:
Comments (Atom)


