Monday, February 27, 2017

Sparkly Celebration

Happy Monday everyone!
I hope you had a good weekend - I am recouperating from a nasty cold/cough that is running around and I spent most of my time in bed with cups of tea and listening to CBC radio.  Housecleaning is having to wait! 

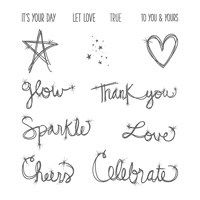
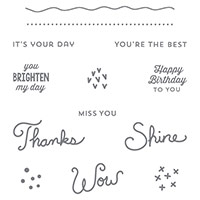
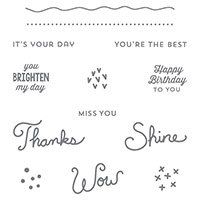
In any case, I did make a very quick and easy card to share with you today and I hope you like it. I again used the Stampin' Up! stamp set Love Sparkles.  You can use any color combination you like - I just find the yellow cheerful, fun and uplifting!


Card and Envelope
Card front
Close-up
Inside of Card

Have a wonderful week and I look forward to seeing you next week.


Stampin' Up Supplies Used:
Tips and Tricks to recreate this card:
Cut:
Card base in Daffodil Delight:  11" x 4 1/4" and scored in half
Matting in Basic Black: 4 1/8" x 2 3/8", and for inside of card: 5" x 3 3/4"
Stamped pieces in Whisper White: 4" x 2 1/4", and for inside of card:4 3/4" x 3 1/2"
Scrap of Daffodil Delight for star
Next:
1. Tape the Whisper White stamping piece temporarily to your card base.
2.  Ink up your Star from the Love Sparkles Stamp set with Crushed Curry ink and stamp the stars onto your card as shown in photo.
3.  Remove the stamped Whisper White piece from your cardbase and attach to the Basic Black Mat.
4.  Ink up your greetings with Basic Black Archival Ink and stamp onto your card piece as shown.
5.  Attach your stamped and matted Whisper White piece to your card base.
6.  Ink up "Sparkle" greeting in Crushed Curry and stamp sideways as shown in photo.
7.  Ink up star with Crushed Curry and stamp onto scrap piece of Daffodil Delight cardstock; cut out.
8.  Attach to card base with a Stampin' Dimensional.
9.  Color in the greeting "Celebrate" using the Crushed Curry marker.
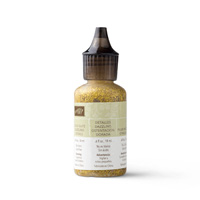
10.  Apply retired Clear Dazzling Details where desired on card and let dry (you can use the Gold Dazzling Details instead which is in the current Stampin' Up Catalogue).
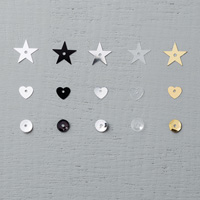
11.  Glue some gold metallic star sequins to card as shown.
12.  Apply a few Rhinestone Basic Jewels where desired (I applied to the word "Celebrate" and to the sequin stars).
13.  Stamp the inside of your card and the envelope as shown in photos.
Whoo-hoo - you are done!  Now doesn't that cheer you up and make you smile?!

Saturday, February 25, 2017

Frameable Calendar - Blog Hop


Happy Saturday everyone and welcome to the Seashore Stamper's Blog Hop!  
This month the theme is "something frameable".  I thought I would repurpose my desktop plastic calendar case and create another background for a new mini 2017 calendar.  I really enjoyed making it and it did not take long.  I hope this inspires you to create something yourself!


Stamped background for a mini calendar 


Closeup of  stamped and embellished background


Now please hop on forward to Erica's blog to see what she has wonderfully created!


Adrienne's Blog
Erica's Blog


Until next time, 


Stampin' Up Products Used:
Tips to recreate this project:
Cut: 
Base for calendar: Crumb Cake Cardstock 5 1/2" x 4 5/8"
Mat: Real Red 5 1/4" x 4 3/8"
Stamping piece:  Shimmery White cardstock 5 1/8" x 4 1/4"
Next:
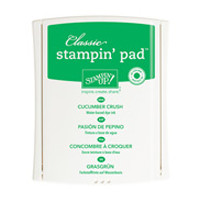
1.  Take one of your acrylic stamp blocks and randomly ink up the block using Cucumber Crush, Crushed Curry and Real Red inks.  Then spray the inked block with water and "stamp" onto your shimmery white cardstock.
2.  Ink up words from the Love Sparkles stamp set in Early Expresso and stamp onto background (see photos for ideas).
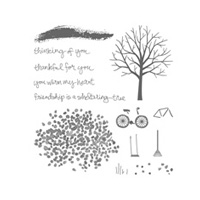
3.  Stamp tree from Sheltering Tree stamp set with Early Expresso ink.
4.  Stamp leaves from Sheltering Tree stamp set with Cucumber Crush ink.
5.  Color in the word "celebrate" with Crushed Curry marker.
6. Write "today" in your own handwritting using Early Expresso marker.
7.  Using the Fine Tip Glue pen apply metallic shapes randomly to the stamped background.
8.  Apply Dazzling Details glue in gold over the metallic shapes and over the sparkle sprays on the words.
9.  Apply Rhinestone Basic Jewels where you wish.
10.  Attach the mini calendar.
11.  Once your stamped artwork is try, place into your repurposed plastic calendar case (I believe a plastic CD case would work too - just measure the plastic case you plan on using to cut your cardstock to the correct size).

Monday, February 20, 2017

Sunburst Floral Petals Birthday Card

Hello, how are you? 
Thank you for stopping by today.
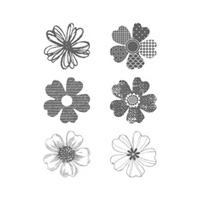
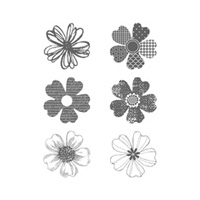
I hope you find some creative inspiration here.  I enjoyed making a floral birthday card at the request of a fellow co-worker.  I used a combination of Stampin' Up!'s stamp sets: Sunburst Sayings and Flower Shop.

Card front
Close-up of card front


Close-up of inside of card


Inside of card and envelope


Have a wonderful week and I hope to see you again soon!


Stampin' Up! Supplies Used:


Tips to recreate this card:
Cut:
Card base: Island Indigo cardstock cut 8 1/2" x 5 1/2" (folded in half to create you card base)
Mat in Sahara Sand: 5 3/8" x 4 1/8"
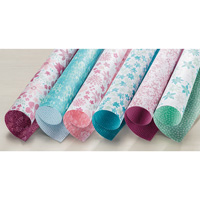
Mat in Blooms & Bliss DSP: 5 1/4" x 4"
Inside card in Very Vanilla: 5 1/4" x 4" and strip of DSP: 5 1/4" x 1/2"
Scrap of Very Vanilla for stamping flowers and greeting
Scrap of DSP for envelope
Next:
1. Attach Sahara Sand mat piece to card base with glue or tape.
2. Attach DSP mat Sahara Sand mat piece with glue or tape.
3. Stamp 3 flowers using Mint Macaron and Island Indigo ink and punch out using matching flower punch (oops, forgot to list in supplies - it is called Pansy punch and is item 130698).
4. Stamp 3 flowers using Blushing Bride ink and again punch out using matching punch (it is called Petite Petals punch and is item 133322). (you can also just fussy cut out the flowers if you don't have the punches - just takes a bit of time but a nice thing to do in front of the TV).
5.  Take the ribbon straight from the roll and before cutting, start by tying about 5 knots down the length of the ribbon taking up about 9" of ribbon.  Cut knotting ribbon from roll after you have created the length you desire to glue down onto card front.  Play with shaping right on your card and then apply the ribbon to card front using Glue Dots along strategic spots along the ribbon (I left areas free so the ribbon mianders over the card front area and allowing space to place flower petals underneith the ribbon (play and have fun here!)
6. Shape your flower petals as desired and then glue to card (use photos above for placement ideas).
7.  Stamp greeting with Island Indigo Ink onto scrap of Very Vanilla cardstock and punch or cut out (I used the retired Window Punch).
8.  Apply to card front as desired (see photos).
9.  Apply Pearl Basic Jewels to card front as desired and then apply glue and Dazzling Details to the centers of your large flowers.
10.  Stamp inside greeting using Mint Macaron and Island Indigo inks.
11.  Stamp hearts on inside of card using Blushing Bride.
12.  Attach strip of DSP to inside of card.
13.  Make and decorate an envelope as desired (I glued a scrap piece of DSP down the left hand side of the envelope and then I punched out a couple of hearts and glued those to the envelope too!)
Voila!  Now sign your masterpiece and send off to someone special!