I hope you had a wonderful weekend!
We are nicely snowed in here on the Island and I'm staying warm and cozy at home today with a nice cup of tea. I wish to share my make-n-take card with you that those who attended my open house made two weekends ago.
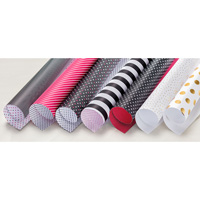
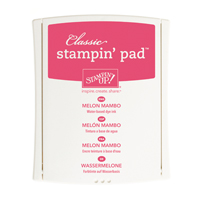
I used my favorite Stampin' Up stamp set (at the moment), along with one of my favorite colors (Melon Mambo) and a co-ordinating Designer Series Paper pak (Pop-of-Pink Specialty Designer Series Paper). Of course, those of you that know me, know I love using shiny bling and this project is perfect for adding sparkly Rhinestone Basic Jewels! As well, the the metallic silver ribbon from the Sale-A-Bration brochure adds the extra shiny bling too! I found the ribbon soft and shiny and easy to tie onto my stamped creation - yippee!
 |
| A sampling of the mak-n-take cards |
 |
| The group of cards again but showing a few of the many variations you can make using the stamp set and DSP! |
 |
| Close-up of one card with "Sparkle" saying |
 |
| Close-up of the "Thank You" card |
 |
| The inside of all cards were stamped the same - ink up, stamp off (lightly!) three times onto scrap paper and then once onto bottom of card and then last onto top of card. |
P.S. This card can easily be changed up with different colors and matching Designer Series Paper of your choosing! Enjoy!
Stampin' Up! Products Used:
Tips and Tricks to recreate this card:
Cut:
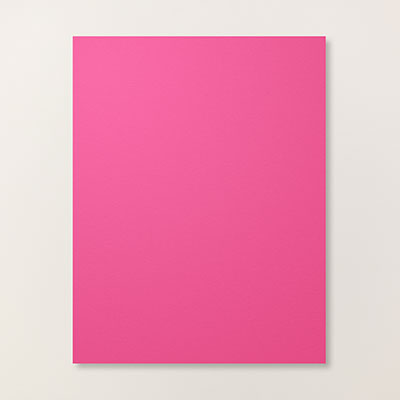
Melon Mambo Cardstock for cardbase: 8 1/2" x 5 1/2"
Pop-of-Pink Specialty Designer Series Paper: Strip 5 1/4" x 2 1/2" (5 1/4" x 2 1/4" works too!)
Basic Black cardstock mat: 4" x 3 1/4"
Whisper White Cardstock stamping piece: 3 3/4" x 3"
Whisper White Cardstock inside card: 5 1/4" x 4"
Next:
1. Using Basic Black ink stamp your staying on the bottom portion of the Whisper White stamping piece.
2. Add the silver metallic 3/8" ribbon.
3. Using Melon Mambo ink, stamp your stars as shown on picture (I inked up once and then stamped my stars without restamping (and I also continued stamping the inside card piece right after I stamped the stars onto the front piece - this way I had variations of lightened ink without having to change ink colors!).
4. Attach your stamped piece to the Basic Black mat piece.
5. Glue your Pop-of-Pink DSP piece to your cardbase.
6. Attach your matted stamped piece to the cardbase as shown using Stampin' Dimensionals.
7. Attach your inside card piece.
8. Sign your beautifully sparkly creation and send of to someone you know! They will love receiving a handstamped card from you this time of year! You can also stamp your envelope! (I forgot to do one for the photos but I used the same stamps and inks to decorate my envelope).


No comments:
Post a Comment