
Welcome, and I hope today's post gives you another creative idea to work with.
My card was adapted from a very neat video tutorial I watched a while ago on Splitcoast Stampers, which I want to share with you. Please watch it here.
 |
| Card front - unique fold |
I wanted to try a different style of card because a few of my stamping friends are trying out uniquely folded cards. So this is my inspiration using, again, my present favourite stamp set from Stampin' Up!: Eastern Beauty! I hope you give it a try as well! Once I got the folding/scoring down, the card came together quite easily.
 |
| Close-up of card front |
 |
| Inside of card |
 |
| Back of card - couldn't just let it stay plain! |
Happy inky smiles

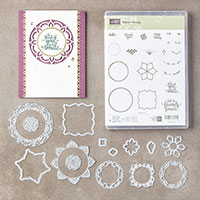
Stampin' Up Supplies Used:


Cut:
Tranquil Tide cardstock for card base: 8 1/2" x 5 1/2"
Peekaboo Peach cardstock: 4 1/4" x 2 1/2"
Whisper White cardstock: 2 pieces 2 3/4" (one for front and one for back of card; and one piece 4 1/4" x 2 1/2" for inside of card.
Next:
1. Follow the well-explained video tutorial to get your cardstock base folded into the card base.
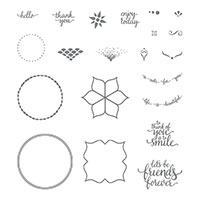
2. Using the stamps in the Eastern Beauty Stamp set, ink up the flower shape with Tranquil Tide ink and stamp onto the two square pieces of Whisper White cardstock.
3. Stamp the Peekaboo Peach cardstock piece as shown in photo with Peekaboo Peach ink and the greeting in Tranquil Tide ink.
4. Stamp the remaining Whisper White cardstock rectangle as desired - this is for the inside of your card. I stamped the corners with Peekaboo Peach.
5. Glue all your inked pieces onto your cardbase.
6. Add the largest basic pearls onto the card front as shown.
7. Decorate your envelope as desired.
Whoo-hoo! Enjoy your card creation - you did great!
No comments:
Post a Comment