
I hope you had a wonderful week!
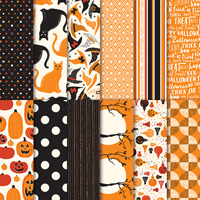
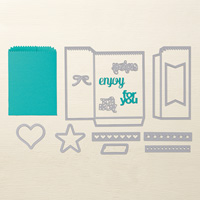
Do you celebrate Halloween? Do you need a cute treat bag for someone special? Well, I am sharing a treat bag I made yesterday afternoon. It was so very easy to create using Stampin' Up!'s Mini Treat Bag Thinlits die and a 12" x 6" strip of Designer Series paper!
 |
| Halloween Treat Bag |
By changing up the Designer Series Paper and color combination, you can create a treat bag for any occasion. As well, you can tuck in quite a few treats, whether home made from your kitchen, or purchased at the store.
 |
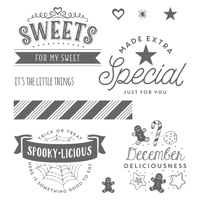
| Close-up of stamped decorative element |
For now, have a wonderfully creative week and see you again next time.

Stampin' Up! Supplies Used:


Cut:
From any 12" x 6" strip of Designer Series Paper (DSP) die cut the mini treat bag
(save the remaining end for use on a card.
Cajun Craze cardstock scrap 3 1/2"x 3 1/2" (to stamp greeting and punch out 2" circle
Crushed Curry cardstock scrap 3 1/2" x 5" (to die cut from layering Circles Thinlit dies and greeting)
Basic Black cardstock scrap (to punch out two 1 1/4" circles
Next:
1. Assemble your treat bag using Tear & Tape or Multipurpose glue.
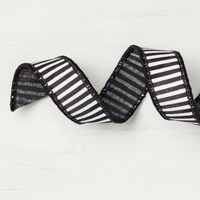
2. Wrap a length of the 7/8" striped ribbon around bag as shown and cut so that you have 3/4" overlap. Put one staple into centre of overlapped ribbon.
3. Place each black punched circle over and under the overlapped ribbon and staple in place.
4. Using Black Memento ink, stamp your greeting onto Cajun Craze cardstock and punch out using 2" circle punch.
5. Using Black Memento ink, stamp the ribbon portion of the greeting onto Crushed Curry cardstock and fussy cut the ribbon banner as shown in photo.
6. Die cut a layering circle scallop die from your scrap of Crushed Curry cardstock.
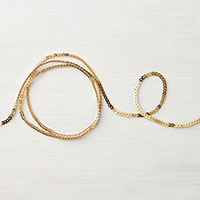
7. Cut a 6 1/2" length of mini gold sequin trim.
8. Now assemble your pieces onto the 7/8" striped ribbon trim: glue the Crushed Curry die cut circle to the black circle; next apply two strips of Tear & Tape to backside of your Cajun Craze greeting circle and attach the gold mini sequin trim; apply two more strips of Tear & Tape over the trim and attach this section centered overtop of the Crushed Curry scallop circle; place two (2) or three (3) Stampin' Dimensionals to the backside of your cut out ribbon banner and attach overtop the matching stamped portion on your Cajun Craze circle greeting.
9. Place a 1" strip or so of Tear & Tape between the ribbon and treat bag on the backside (this will secure your ribbon band to the treat bag without it falling off.
10. Apply Wink of Stella to the spider web and to the banner - this will make it shimmer :)
11. Optional: Take your Fine Tip Glue Pen and apply glue over the words "Spooky-licious". This will make the greeting pop!
10. Now all that's left is for you to place goodies into your treat bag and you are done!
Additional option: Did you know you can place one of Stampin' Up!'s mini notecards into the bag as well?! Just another idea for you to ponder and try out :)
Wheeeee - have fun creating more using items from your own stash!
Let me know how you do.
No comments:
Post a Comment