Happy hello and welcome to my stop on the Seashore Stampers' June 2019 Blog hop!
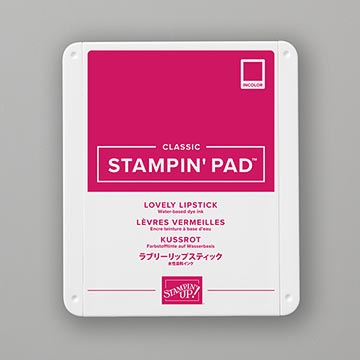
This month's theme is something red and I wanted to use Stampin' Up!'s color "Lovely Lipstick"! This card is my mother's birthday card as well. Happy Birthday Mom! Love you!
 |
| Card Front |
 |
| Inside of Card |
I'm off now to celebrate with mom so will edit this post and add on the supplies and measurements used on this card tomorrow. (Update: I have now updated info for you below - Enjoy!)
In the meantime, please hop on (or back) to the next blog for additional "red" eye-candy!
 |
| Erica |
 |
| Adrienne |

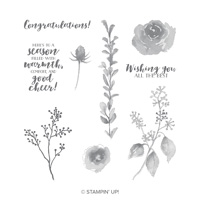
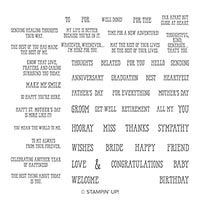
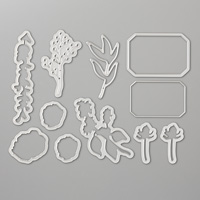
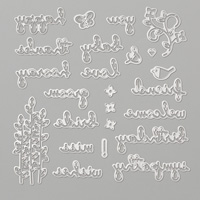
Stampin' Up! Supplies Used:
How to recreate this card:
Cut:
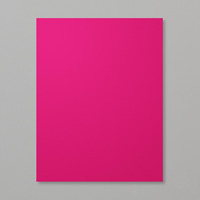
Lovely Lipstick cardstock base: 8 1/2" x 5 1/2"
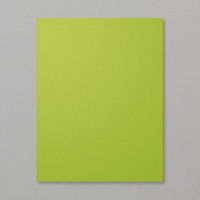
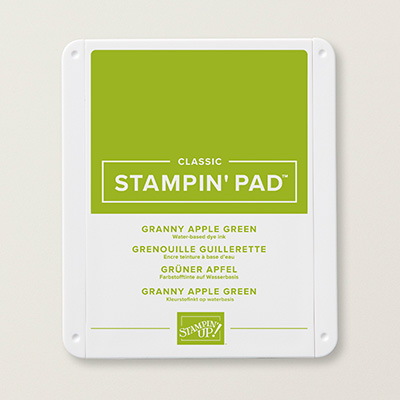
Granny Apple Green cardstock mat: 5 1/8" x 3 7/8"
Whisper White Embossed piece: 5" x 3 3/4"
Whisper White piece for inside of card: 5 1/4" x 4"
Scrap of Whisper White for stamping and die cutting flowers
Scrap strip of Lovely Lipstick cardstock for greeting
Next:
1. Fold card base in half and set aside.
2. Using Lovely Lipstick ink, ink up your large flower and stamp 3 times without re-inking. Do the same thing with the small flower.
3. Using the matching dies for the flowers, run through the Big Shot until you have all 6 flowers die cut out.
4. Die cut 2 or 3 sprigs out of the center of the Granny Apple Green cardstock.
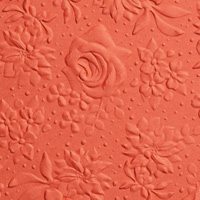
5. Now run your smaller Whisper White cardstock piece through the Big Shot with the Country Floral embossing folder.
6. Attach your embossed piece to the Granny Apple Green mat and then glue down to your card base.
7. Ink up your greeting of choice using Versamark and stamp onto strip of Lovely Lipstick and then emboss using Silver embossing powder.
8. Cut tails into your greeting strip to your desired length.
9. Arrange all your stamped and die cut pieces onto your embossed mat as shown in photos above (or change it up as you desire).
10. Now using adhesive of your choice, glue your pieces down onto your embossed mat.
11. Stamp and decorate your Whisper White piece for the inside of your card as well as your envelop using stamps from the set.
11. Also, please feel free to use Wink Of Stella onto your card (you can't see it well in the photos, but I placed a few strokes onto the flower centers and the green sprigs where I didn't have any pearls. It added just that bit of "sparkle" to finish off this wonderful card!




No comments:
Post a Comment