Thursday, September 8, 2016

Stampin' Up! Video Moment - Gift Boxes

Happy Thursday Stampers!

Today I want to share with you a very informative video from Stampin' Up! on how to make gift boxes.  Donna Griffiths from the Stampin' Up! Home Office shares her tips and shows us how to make them. Great idea for the upcoming holiday season!  Enjoy:


Wednesday, September 7, 2016

Wednesday Card-break - Greetings from Santa

Happy Wednesday fellow stampers!

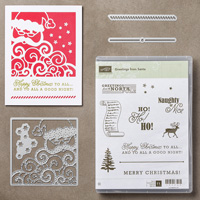
I want to share a Christmas card I made for a swap using the Greetings From Santa Bundle set from the Stampin' Up! 2016 Holiday Catalogue.  I CASED the card from the catty (p.11) and dressed Santa up a bit using my favorite bling.


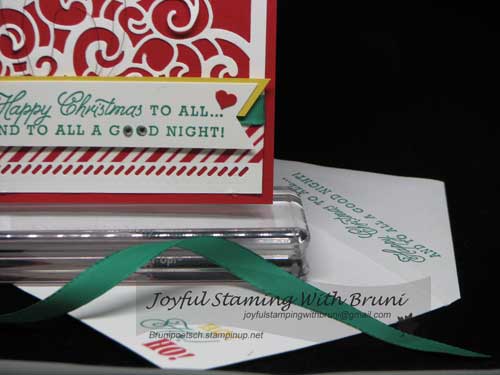
Here is a closeup that gives you a better peak at the card and the envelope :)


Here is the stamped inside:


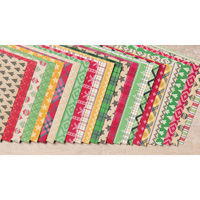
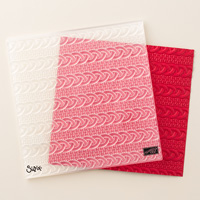
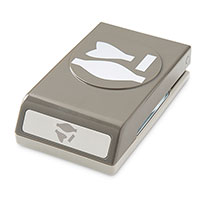
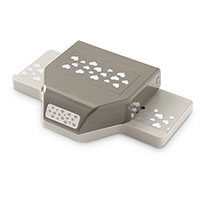
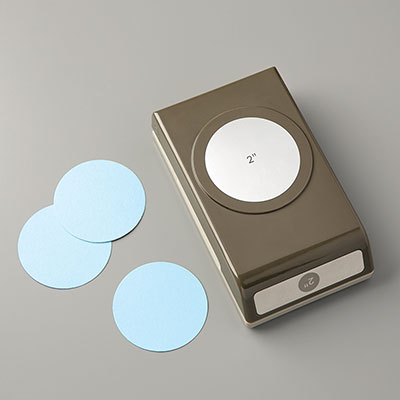
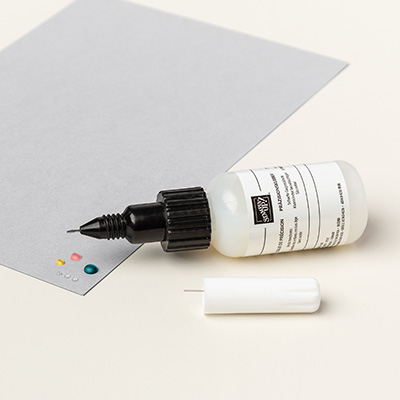
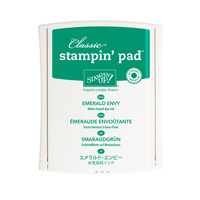
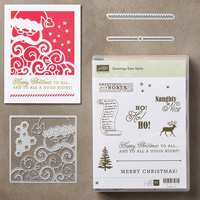
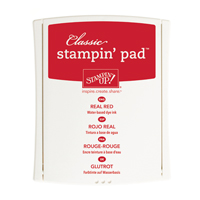
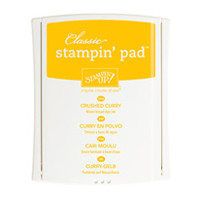
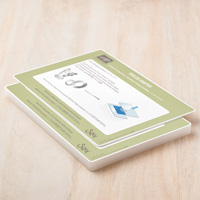
Here are the products used:


Here are some additional details to hopefully help you out if you want to recreate this card:

Card Base: Real Red cut 8 1/2" x 5 1/2"
Card Die Cutting Piece:  Whisper White cut 5 1/4" x 4"
Run through on the Big Shot Machine using this sandwich (from the bottom of machine upwards):
- new multipurpose platform pieces (thick on bottom, then the skinny one next on top)
- the precision plate
- your cardstock
- your dies (with cut sides down!!!!)
- one of your cutting plates
Run this sandwich through your machine. Next:
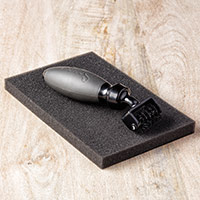
- use the niffty Die Brush and mat to remove all the pieces from your die.
- admire your die-cut!
Embellish Your Die-Cut Piece:
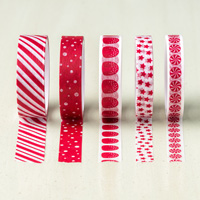
Take a strip of Washi tape (I used the red diagonal one) and place onto the blank space of your die cut (between Santa's beard and the diagonal die cut accent ).  Wrap the ends of the washi tape end to the backside of die cut.
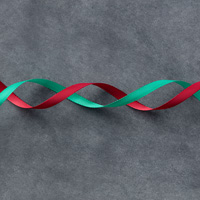
Take a piece of the Emerald Green Ribbon (I used about a 5 1/2" piece) and apply directly above the washi tape piece.
Stamped Greeting Pieces: 
Whisper White CS:  Whisper White cut 3 3/4" x 7/8"
- ink Greeting stamp in Emerald Green and stamp onto Whisper White CS
Crushed Curry CS cut 4" x 1/2"
- layer this behind and slightly up onto your stamped greeting on Whisper White (CSP)
-once glued in place behind your greeting you can cut the end off to match the tail on the right hand side :)
Embellished Red Metallic Thread accent:
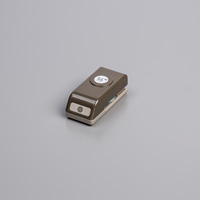
-Punch a 1/2" circle from scrap Whisper White CS
-cover one side with Snail
-take metallic thread and start by securing end onto the tape
-next make three uneven circle loops with the thread so each loop is bigger each time around
-once happy with result cover the loops on the circle with another lay of snail - this secures the threads
-glue/tape the embellished thread circle to the back of your greeting so the threads are mingling with Santa's beard
Add Stampin' Dimensionals to the backside of your embellished greeting and apply to your card as shown.
Add Rhinestones and punched heart also as shown.
Inside card mat (ICM):  Whisper White cut 5 1/4" x 4"
-color the "ho,ho,ho" image with co-ordinating markers in Crushed Curry, Real Red and Emerald Green. Then stamp onto bottom corner of ICM
Envelope: I used the same message stamps on my envelope as I did on the card!


Saturday, August 27, 2016

Blog Hop - Organizational Stamp Space Tip


Welcome from Adrienne's site!  I hope you enjoy this blog hop!  I think everyone has such great ideas to share with everyone.
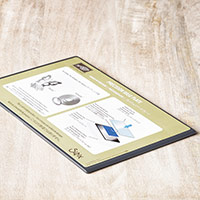
Here is my stamp space organizational tip for you:
Everyone has a different way of storing their colored cardstock (8.5" by 11") and this is mine!


I really appreciate the compact nature of this cardstock bin - I can actually store two Stampin' Up! color cardstock families in one bin!  All I do is put one each of 10 colors into the 10 bin trays and then I put the second color family on top!  I follow the color sequence in the current Stampin' Up! Catalogue so I know what color is which (you can always add a tab to each tray for easy reference).  It takes up very little real estate in my crafting space and I have a quick overview of my cardstock (I also easily notice when I am running low on a specific color and it reminds me to put the cardstock on my re-order list).  Also, I can add to my storage collection as my budget allows - and I love that!

Here is a photo of the bin on it's side with two color families:


If you want one exactly like mine, I got mine from John Myers in Victoria, British Columbia, Canada. Information can be found here !


Thank you for taking the time to visit my blog, and now, please, I invite you to hop on over to Erica's blog and check out what she has to share with you today:


Monday, August 15, 2016

Floral Phrases Congratulations Card in Dapper Denim

What do you think about this quick and classic card?

I put it together quite quickly and it was a real delight to do!

Go give it a try and even switch out colors if you want . A good thing:  you only need one matching ink and cardstock color, along with the whisper white.


P.S. Thanks Mom!


Want to recreate it:?
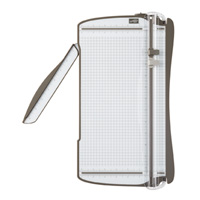
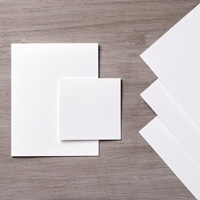
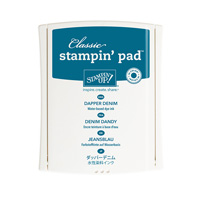
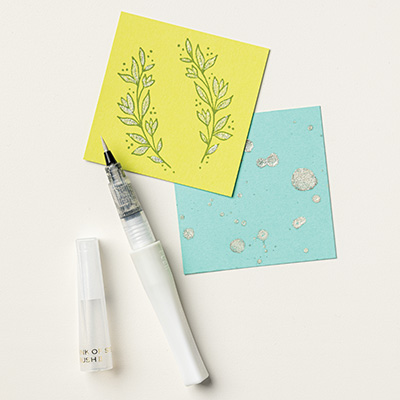
The products used are listed above, and below are some additional particulars to help you out:

Card Base: Whisper White Thick cut 11" x 4 1/4"
Card stamping Piece (CSP):  Whisper White cut 5 1/8" x 4 1/8"
- ink image in Dapper Denim
- stamp onto CSM
- now, without reinking, stamp image again
- see - you get a lighter colored impression without having to change color!
Colored cardstock mat piece:  Dapper Denim cut 5 1/4" x 4"
Sentiment Banner: A Whisper White  scrap piece cut  1/2" wide by about 4"  or longer (you cut it down to about 3 1/2" with tails after you have stamped the sentiment.  This way you have some play room to allow you to cut the ends).
Inside card mat (ICM):  Whisper White cut 5 1/8" x 4 1/8"
-ink up image in Dapper Denim, stamp once onto scrap paper then onto corners of ICM
***Sponge the edges of all whisper white cardstock pieces
Envelope: I inked up image with Dapper Denim and stamped image 3 times, without reinking!

Alternate idea:  Use Shimmery White in place of the Whisper White cardstock stamping mat piece