
I hope you find some stampin' inspiration here today to get your creative mojo going!
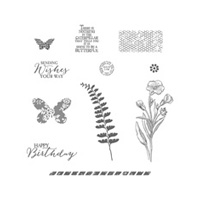
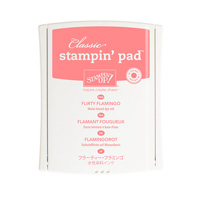
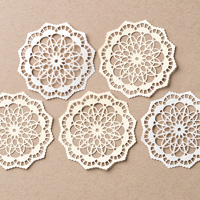
My card share today is a spin off from last week's card. I really love using Stampin' Up!'s stamp set called Butterfly Basics - it is such a versatile set! I also enjoy working with the subtle but beautiful color scheme of Crumb Cake, Whisper White and any soft pastel colors. In this case, I again used the color Flirty Flamingo. I also incorporated the lovely lace doily, linen thread and my favorite Pearl Basic Jewels.
 |
| Card front |
 |
| Closer view of card front |
 |
| Close-up to show coloring, sponging and embelllishment details. |
Have a wonderful week!

Stampin' Up Supplies Used:


Cut:
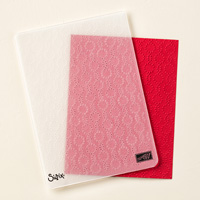
Whisper White Thick cardstock for cardbase: 11" x 4 1/4"
Crumb Cake mat: 5 1/4" x 4"
Whisper White Thick stamping piece: 4 1/4" x 3" and a scrap piece for greeting
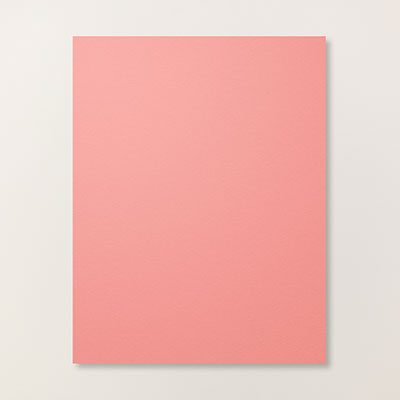
Scrap of Flirty Flamingo for punched 1" circle
Next:
1. Use the Elegant Dots Textured Impressions Embossing Folder to emboss the Crumb Cake piece;
2. Using a sponge and the Crumb Cake Ink, sponge the edges of the embossed matting and then glue to your Whisper White Thick cardbase (I glued mine on an angle but you don't have to!).
3. Stamp and clear emboss the flower image from the stamp set to your stamping piece by first inking up your stamp with Versamark Ink and then ink directly with the Early Expresso Ink. This gives you extra time to cover your stamped piece with the clear embossing powder.
5. Now coat your stamped image with clear embossing powder and heat set with your heating tool.
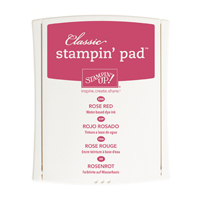
6. Color in your stamped image as desired using inks and blender pen. I used Flirty Flamingo, Rose Red, Wild Wasabi and Crushed Curry ink pads.
7. Trim your colored image down so that it is 2" wide and that a bit of the stamped image "extends past" the right cut line. I used my trimmer to cut up to, but not through, the stamped part of the image on the right hand side, and then I used my paper snips to cut around the "extended part" of the stamped image.
8. Punch the top of your 2" stamped strip using the Scalloped Tag Topper punch.
9. Attach a 4" piece of Flirty Flamingo ruched ribbon to the tag top using a small amount of your snail or a mini glue dot to each side of the tag. This holds the ribbon in place while you then tie a bit of the linen thread around the top portion of the ribbon (see photos above).
10. Stamp greeting of your choice onto a scrap piece of Whisper White Thick using Early Expresso Ink (you can emboss this too if you wish). I then punched out the greeting us the Classic Label punch. (I also punched out another piece using Flirty Flamingo cardstock and glued it to the backside of the greeting as shown in photo).
11. Punch out a 1" circle from Flirty Flamingo cardstock.
12. Cut a lace doily in half.
13. Glue the 1" circle to the backside of the doily as shown and then place the doily to the backside of the tag as show in photo.
14. Attach your stamped creation to the cardstock base with Stampin' Dimensionals.
15. Attach your greeting as shown in photo with the Multipurpose Glue.
14. Finish off the inside of the card as you desire (I left mine blank, but you could use same idea from last week's card) and also make a matching envelope.
You are finished! Enjoy!!!!
No comments:
Post a Comment