

Happy Saturday and welcome to the Seashore Stampers monthly blog hop!
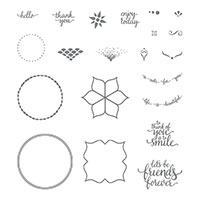
This month's theme is Father's Day or a card for a man. I love working with Stampin' Up!'s Eastern Palace Suite so I created this card for the hop.
 |
| Card front |
 |
| Close-up of card front |
 |
| Inside of card |
Now, please carry on, or back, and enjoy the next stop on this hop:
 |
| Adrienne |
 |
| Erica |
Happy Inky smiles!

Stampin' Up! Supplies Used:


Cut:
Whisper White Thick cardstock 11" x 4 1/4"
Tranquil Tide cardstock scrap: 3 1/2" square for die cutting medallion
Whisper White cardstock scrap: 3" square for die cutting and stamping large flower medallion
Next:
1. Fold your Whisper White Thick cardstock piece in half to create your card base.
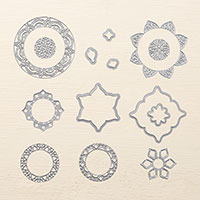
2. Die cut the large circle medallion from the Tranquil Tide cardstock.
3. Using Tranquil Tide Ink, stamp your large flower onto the Whisper White cardstock piece.
4. Die cut the large flower outline as well as the inside flower.
5. Using Pumpkin Pie Ink and the small heart stamp, stamp each "flower petal" inside the diecut (see photos above).
6. Glue your Tranquil Tide die cut medallion to the bottom left of your card base as shown in photos above.
7. Glue your stamped and die cut flower onto the Tranquil Tide medallion shape.
8. Ink up the decorative swish with Pumpkin Pie Ink and stamp around the medallion, and in the upper right corner of the card base (as shown in photos above).
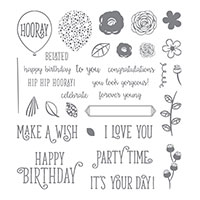
9. Ink up your greeting of choice with Tranquil Tide Ink and stamp onto card base.
10. Apply Basic Rhinestone Jewels to card as desired (use photo for ideas).
11. Stamp up inside of card, as well as your envelope, as desired.
Whoo-hoo! You are finished your card! Enjoy!
Beautiful card Bruni
ReplyDeleteLoved how you used the Eastern Palace suite
ReplyDeleteWhat a beautiful way to remember your Dad. Lovely card, Bruni.
ReplyDeleteLove it! and thanks for sharing how to make it at our meeting. I will definitely try those two colours together.
ReplyDelete