

Hello, and welcome to the Seashore Stampers' Blog Hop for June. Our theme this month is "wedding" and were all busily creating something wonderful. I hope you enjoy the hop as you visit all of our blogs and maybe you too find some inspiration.
I made this card keeping in mind the bride and groom's color scheme: Coral, navy and off white. You can easily change up the colors to match the wedding colors of your intended recipients.
 |
| Front of closed card |
 |
| Card with band removed |
 |
| Close-up of card and band |
 |
| Inside of card |
Blessings to you and yours.

Now you can go either forward or back on the blog hop:
 |
| Erica |
 |
| Adrienne |
Stampin' Up! Supplies Used:


Cut:
Shimmery White Cardstock for lacey die cut: 11" x 4 1/4"
Calypso Coral Cardstock for inside of card: 5 1/4" x 4"
Very Vanilla cardstock mat: 5 1/8" x 3 7/8"
Scrap of Calypso Coral cardstock for punching the Pretty Label (x2)
Scrap of Very Vanilla cardstock for punching 1 1/4" circle
Next:
1. Score Shimmery White Cardstock at 3 1/2" along the long side at one end and then 2" at the other end.
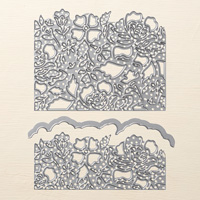
2. Using your Detaild Floral Thinlits, die cut the pieces as shown in photo.
3. Score the die cut card base.
4. Fold the Calypso Coral cardstock in half and glue to back inside of Shimmery White die cut card base.
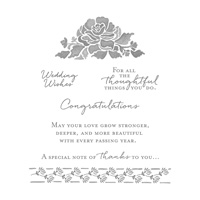
5. Stamp images from the Floral Phrases stamp set using Calpyso Coral ink and then glue to inside of the Calypso Coral card base.
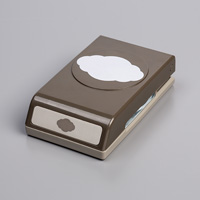
6. Punch out two pieces of the Pretty Label punch from Calypso Coral cardstock.
7. Stamp wedding greeting with Calypso Coral Ink onto Very Vanilla scrap and then punch out with your 1 1/4" punch.
8. Place one Pretty Label punched piece over closed opening of the card and wrap a length of the 1/8" Gold ribbon from back to front overlapping ribbon at the center of the punched shape. I used Fast Fuse to hold the ribbon in place (make sure to give the ribbon enough ease to be easily removed from the card so it opens but not so loose that the label doesn't hold the card closed.
9. Glue the second Pretty Label punched shape over the first label shape, which now covers the ribbon ends.
10. Glue your inked 1 1/4" punched circle to the center of the Pretty Label shape.
11. Make a double bowed ribbon detail using a fork and glue your bow to the top of the greeting.
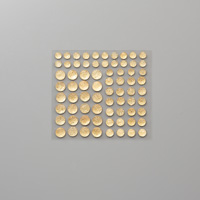
12. Attach Pearl Basic Jewels and the Gold Faceted Gems to the card as shown in photos.
Now you are ready to give this card to the bride and groom on their wedding day! Cheers!
Lovely card. Very intricate ... perfect for a wedding.
ReplyDelete