
 |
| Card front |
I had a lot of fun with a few stamping buddies yesterday and we made a card that was based on one I found at Stampin' Pretty's site here.
 |
| close-up of card front |
 |
| Inside of card |
I hope you give this card a try as it is much easier to make when you just break down the steps and do each step one at a time! Let me know how yours turned out!
Have a great week and see you again soon!

Stampin' Up Supplies Used:


Cut:
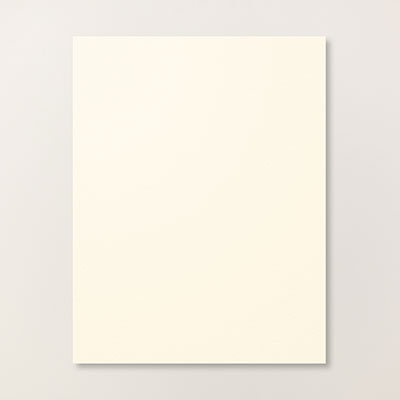
Very Vanilla Thick cardstock for card base: 8 1/2" x 5 1/2"
Old Olive cardstock mat: 5 1/4" x 4"
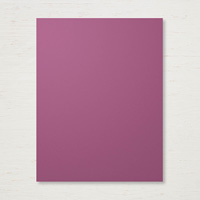
Fresh Fig Banner: 5 1/2" x 2" - trimmed down in length to your choosing once embossed (mine is 5")
Very Vanilla mat for inside of card: 5 1/4" x 4"
Very Vanila mat for stamping main image: 3" x 4"
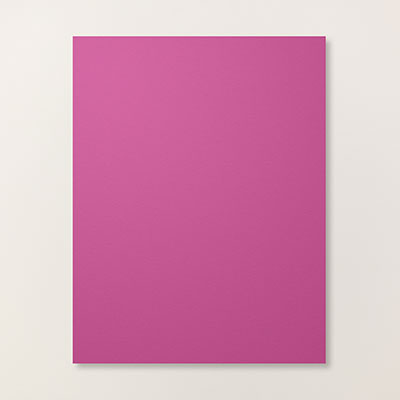
Berry Burst Cardstock mat: 3" x 2" (top edge punched out with scallop topper punch
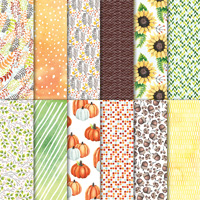
Painted Auntumn DSP 4" x 1 1/4" strip with one short edge punched out with Tripple Banner Punch
Lemon Lime Twist scrap strip to stamp and punch out two sets of leaves
Vellum cardstock scrap strip to punch out two sets of leaves
Next:
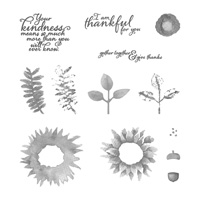
1. Stamp your main image onto Very Vanilla cardstock using Early Expresso ink.
2. Color in the grapes with blender pen and Fresh Fig ink.
3. Color in the grape leaves with blender pen and Old Olive ink.
4. Cut out shape using your paper snips.
5. Stamp the strip of wine glassing onto bottom right of Old Olive cardstock mat using Old Olive ink. Then spruce up the "wine" in the glasses using Clear Wink of Stella. You can also add the wink to your grapes!
6. Stamp the inside of the card mat as shown using Old Olive and Fresh Fig inks and then glue into the inside of your card.
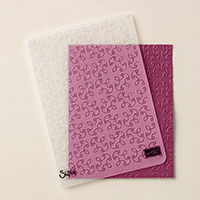
7. Emboss the Fresh Fig Strip with the Garden Trellis Embossing folder.
8. Punch one short edge using the Triple Banner Punch and the trim top short edge (if necessary) to fit onto the Old Olive card mat as shown. Glue down onto the Old Olive card mat.
9. Glue this whole piece to your Very Vanilla card base.
10. Punch the short edge of your DSP strip with the Triple Banner punch and then glue onto card as shown.
11. Punch the top edge of your Berry Burst strip with the Scalloped Topper punch and glue as desired to back of your main stamped piece.
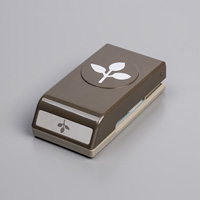
12. Stamp your leaves twice using Early Expresso ink onto Lemon Lime Twist cardstock and punch out using the leaves punch.
13. Punch out two leaves from the Vellum scrap.
14. Glue the vellum leaves to the back of the stamped/punched leaves and then attach each group to the back of your Berry Burst backed image as shown in photo.
15. Attach the Gold Faceted Gem to the top of your stamped image.
16. Attach this "group" to the front of your card as desired using Stampin' Dimensionals.
17. Stamp the back of your card and your envelope.
Now you can send your beautiful creation off to some one special in your life!
No comments:
Post a Comment