Monday, October 3, 2016

Greetings from Santa - Easy Christmas Card

Happy Monday everyone!

How about an easy christmas card idea you can mass produce?
I showed my stampin buddies how to create this card this last Saturday and they loved it!

Hope you do too!


There were two options: one with all white cardstock and one with colored cardstock base.  You choose which one you prefer to make.

Have a wonderful day and see you again soon!


Stampin' Up! Supplies used: (I'm listing all supplies - you choose which version of cardstock you prefer):


Stamping tips for you, if you want to recreate the card(s) :)

Cardstock:
Cut card base in choice of (choose 1 only!): Whisper White Thick, Whisper White, or Mint Macaron cut 8 1/2" x 5 1/2"
Cut your choice of matting in either Whisper White Thick or Shimmery White
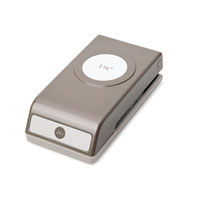
Cut greeting strip 4 1/4" by 1 1/4" (you punch out the tail using your triple builder punch)
Scrap bit of white cardstock 
Stamp:

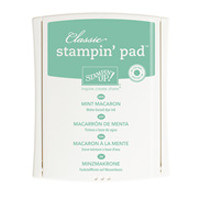
  • Take your aqua painter brush and dip into Mint Macaron ink to create a nice watercolor wash.
  • Then "paint" on your choice of matting: whisper white thick/whisper white/shimmery white;  a Mint Macaron "wash" starting about 1" down from the right hand side of your mat and spread the wash so it creates the look of a rough circle (see photos above)
  • Once your "paint wash" is dry take Mint Macaron Ink and the snowflake stamp and stamp the snowflakes from bottom left to top right of your mat.
  • With Crumb Cake ink, stamp your reindeer onto scrap of white cardstock (again, your choice, but I used Whisper White Thick).
  • Punch out reindeer with 1 3/8" circle punch
  • Punch a tiny hole at top of punched circle and run a 6" length of white baker's twine through hole.
  • Attach the baker's twine to your stamped mat as shown in picture with the stapler.
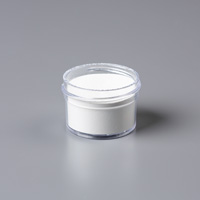
  • Now stamp your greeting onto the strip of Crumb Cake cardstock with Versa Mark ink and cover stamped saying with White Embossing Powder. Heat set with your heat tool. Admire your work so far!
  • Next attach your stamped mat piece to your choice of card base with Stampin' Dimensionals
  • Next attach your stamped greeting strip to your card with Stampin' Dimensionals making sure you keep your baker's twine clear and running between any dimensionals (this allows the circle to flow loose when you move the card
  • Last attach Basic Rhinestones to your card wherever you wish
  • Optional: use Wink of Stella to coat your reindeer
  • Enjoy your creativity!


Saturday, October 1, 2016

Happy World Card Making Day!

Hello fellow stampers!


I hope you all have had a wonderful day!
As it is International Card-making Day - I wanted to share the following cards with you that I made with my stamping buddies.
Enjoy!


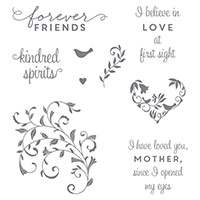
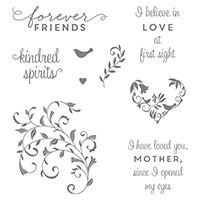
Stampin' Up Products used:
P.S.  I also used the leaf vine from the stamp set "Designer Tin of Cards" (item 141739) and I used Mint Macaron ink (item 138326).  On some of the cards I first stamped the leaf vine lightly off onto scrap paper before I stamped it onto my punched out greeting, which gives you a lighter image.
Also, to celebrate the occasion, Stampin' Up is having a sale from October 1st to October 5th on the following products:


Helpful tips for you to recreate today's card:
Card base: Very Vanilla cut 8 1/2" x 5 1/2"
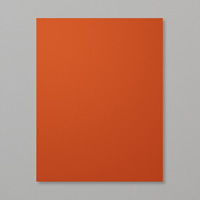
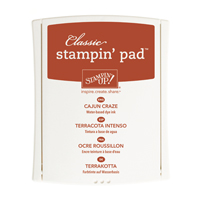
Card mat:  Cajun Craze cut 5 1/4" x 4"
Designer Series Paper (DSP) cut 5" x 3 3/4"
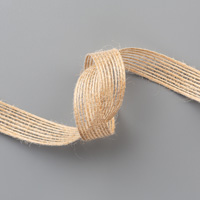
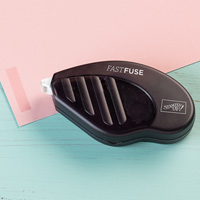
Burlap Ribbon cut 3" and then folded in half (I used Fast Fuse to glue the ends together - and keep them together without undoing!)
Punch: To save cardstock, before I glued the Cajun Craze mat to my card base, I first punched the Decorative Lable out from the matting (the hole will be hidden by the DSP).
Next:

  • I then first inked by greeting onto a scrap strip of Very Vanilla and then lined up the Decorative Label Punch to punch out the saying.
  • I cut the punched Cajun Craze from corner to diagonal corner while being careful to keep all the pieces together right side up and in the same place before cutting - otherwise you will end up with wonky pieces that won't match up when you attach them to the backside of the punched and stamped greeting.  The reason for cutting the Cajun Craze punched piece into 4 is so that you spread each cut piece apart a wee bit as you attach each piece to it's related cousin of the Very Vanilla punched greeting.  Look at the photos to see what I am writing :)
  • Appy the ribbon accent piece to the backside of the put together punched greeting.
  • Apply your Stampin' Dimensionals to your assembed art greeting and apply to your card wherever you please!

Now, give your handmade card to someone special! 


Thursday, September 29, 2016

Heads Up - October 2016 DSP Promotion

Hello!
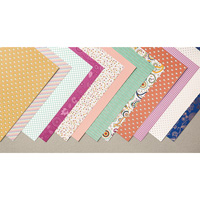
I wanted to get out a quick notice to you all about the upcoming promotion at Stampin' Up!  If you love to use Designer Series Paper (or DSP for short) in your creations, then you won't want to miss this!  From October 1st through October 31st, 2016, you will get one package of Designer Series Paper free for every three you buy - a great time to stock up!


Have a wonderful day and see you again soon!